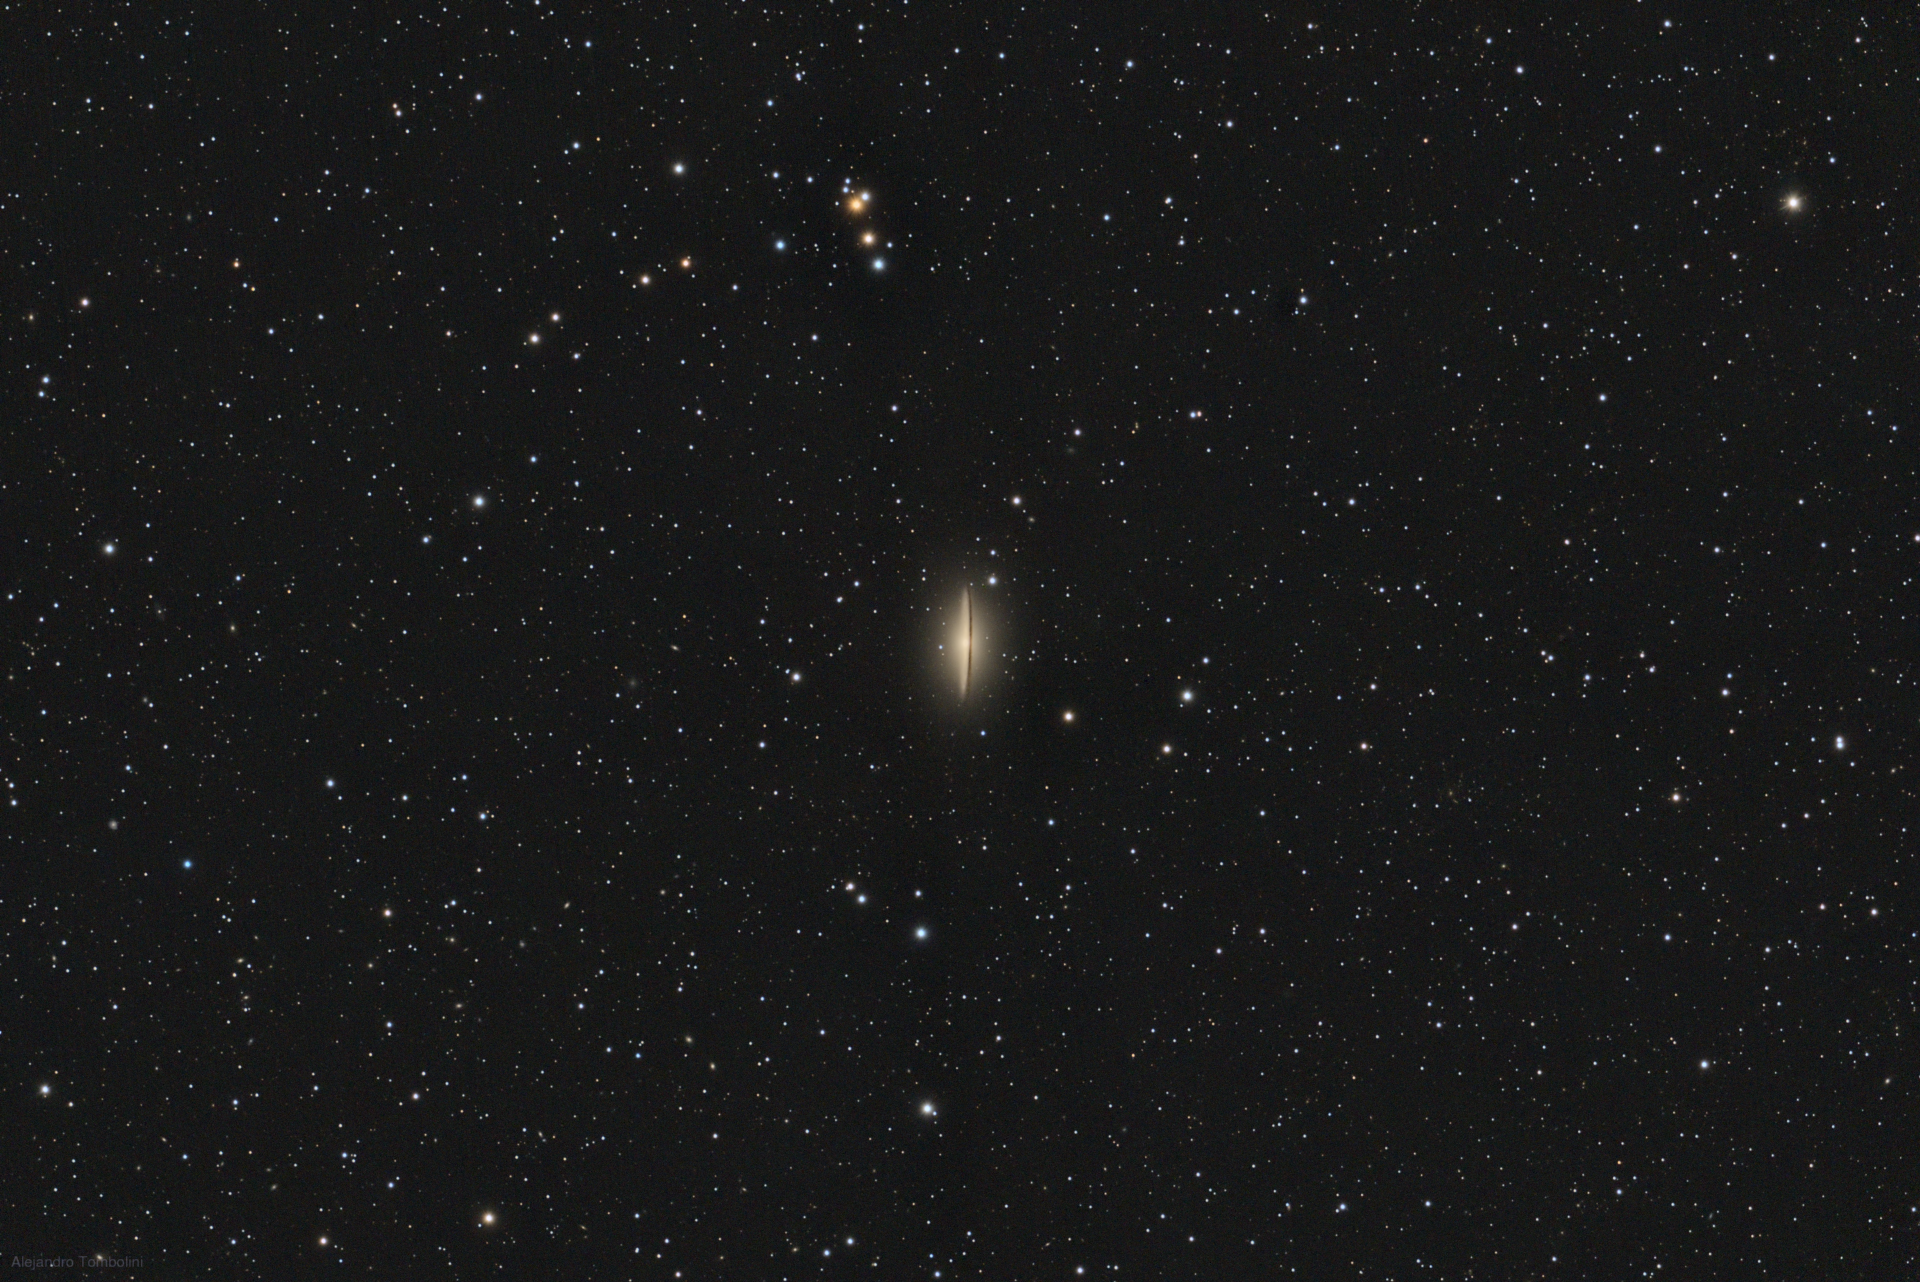
Messier 104 Sombrero Galaxy
by Alejandro Tombolini
Introduction
Complete description of a RGB image - Main notes: DBE and CBR for gradients and banding, MLT to increase details and noise reduction. Date: June 2015.
Image Details
- Object: Messier 104 (NGC 4594)
- Camera: Canon 5DIII - Filter Type I
- Telescope: William Optics 132 FLT - Focal length 925 mm - f/7
- Number of images: 24 x 5 minutes. ISO 1600
- Total time: 2 hours
- Program: PixInsight
- Comments: Guided with Orion 100 mm and SSAG from Trenel, La Pampa - Argentina.
Processing
The preprocessing (calibration and registration) of this picture was made with BatchPreprocessingScript and the integration with ImageIntegration tool to fine tune rejection parameters in a small preview of the image.
Note: the image integration feature of BPP is for previewing purposes only, not for generation of production images. Image integration must always be fine tuned manually to get better results.
The following images are the complete sequence for introducing images and parameters in BPP Script:
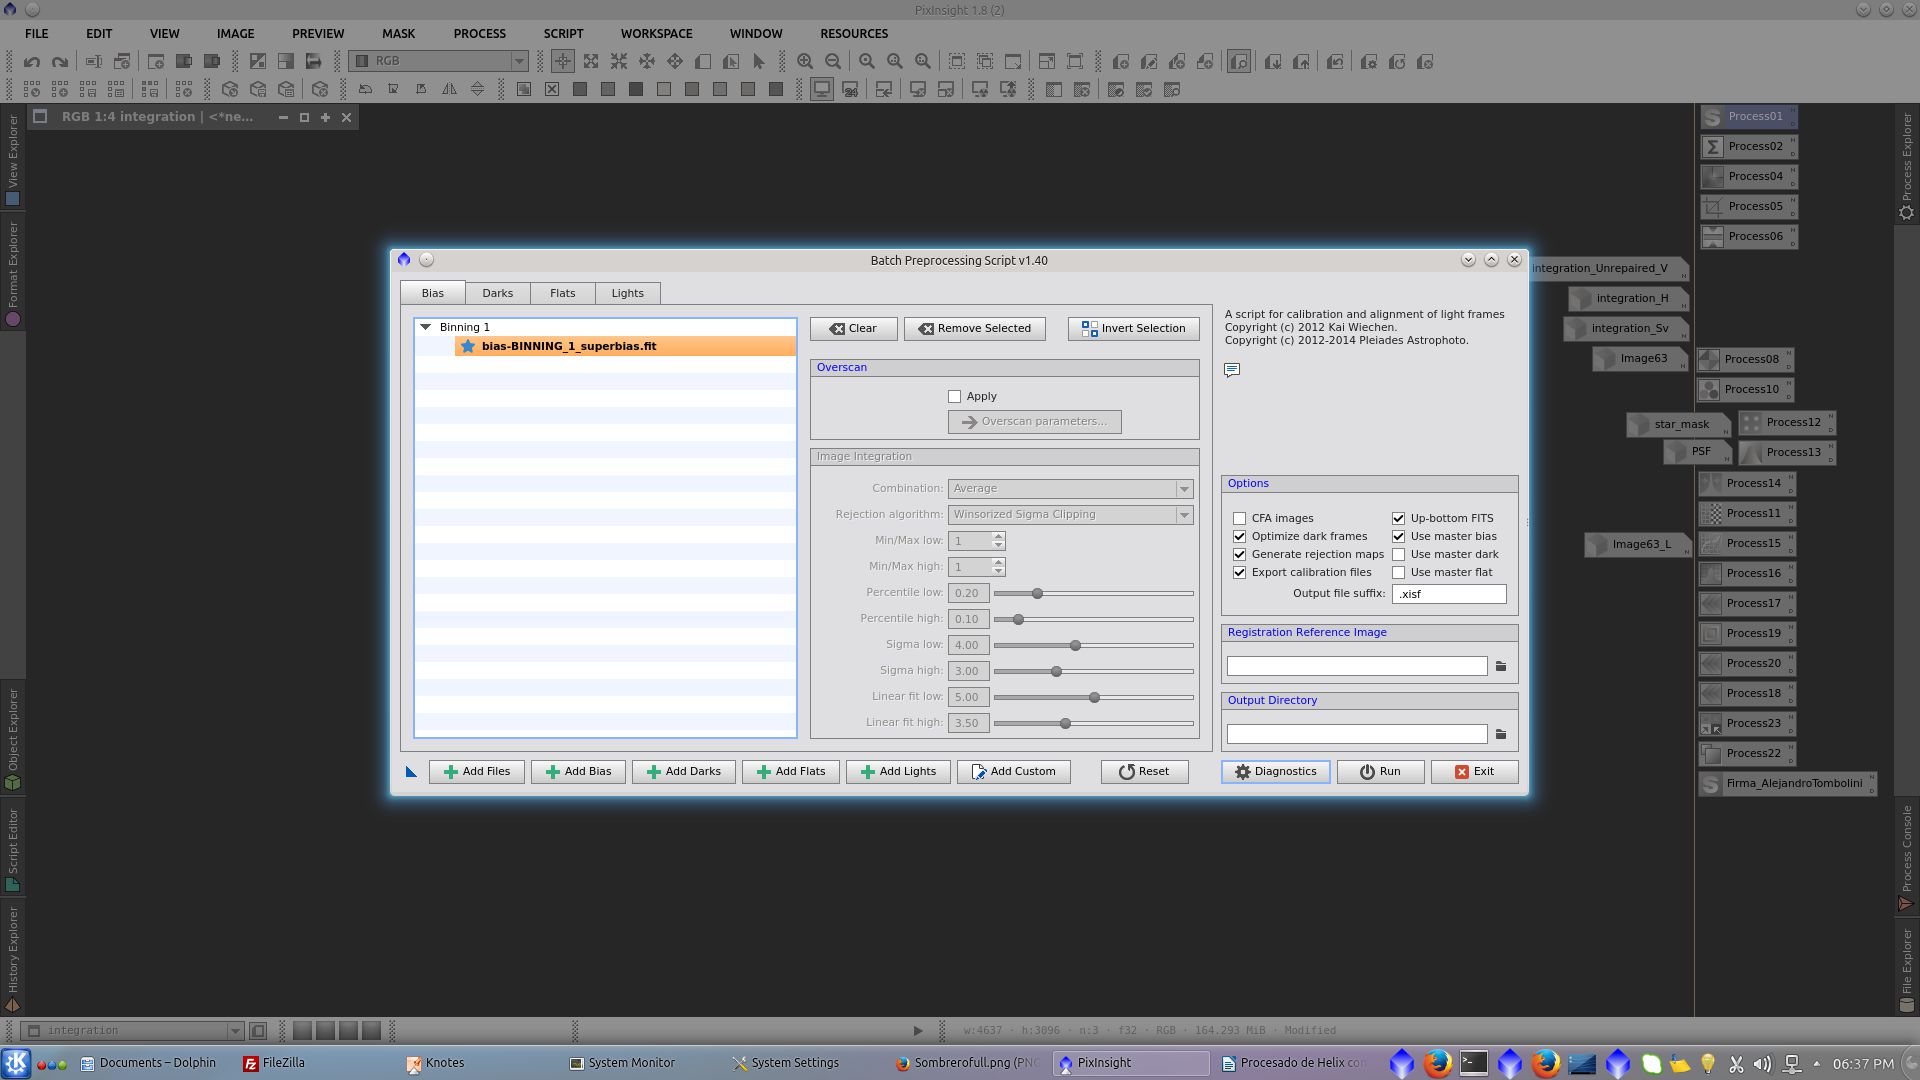
Add Bias, in this case I select a previously made superbias from my gallery and check "use Master Bias"
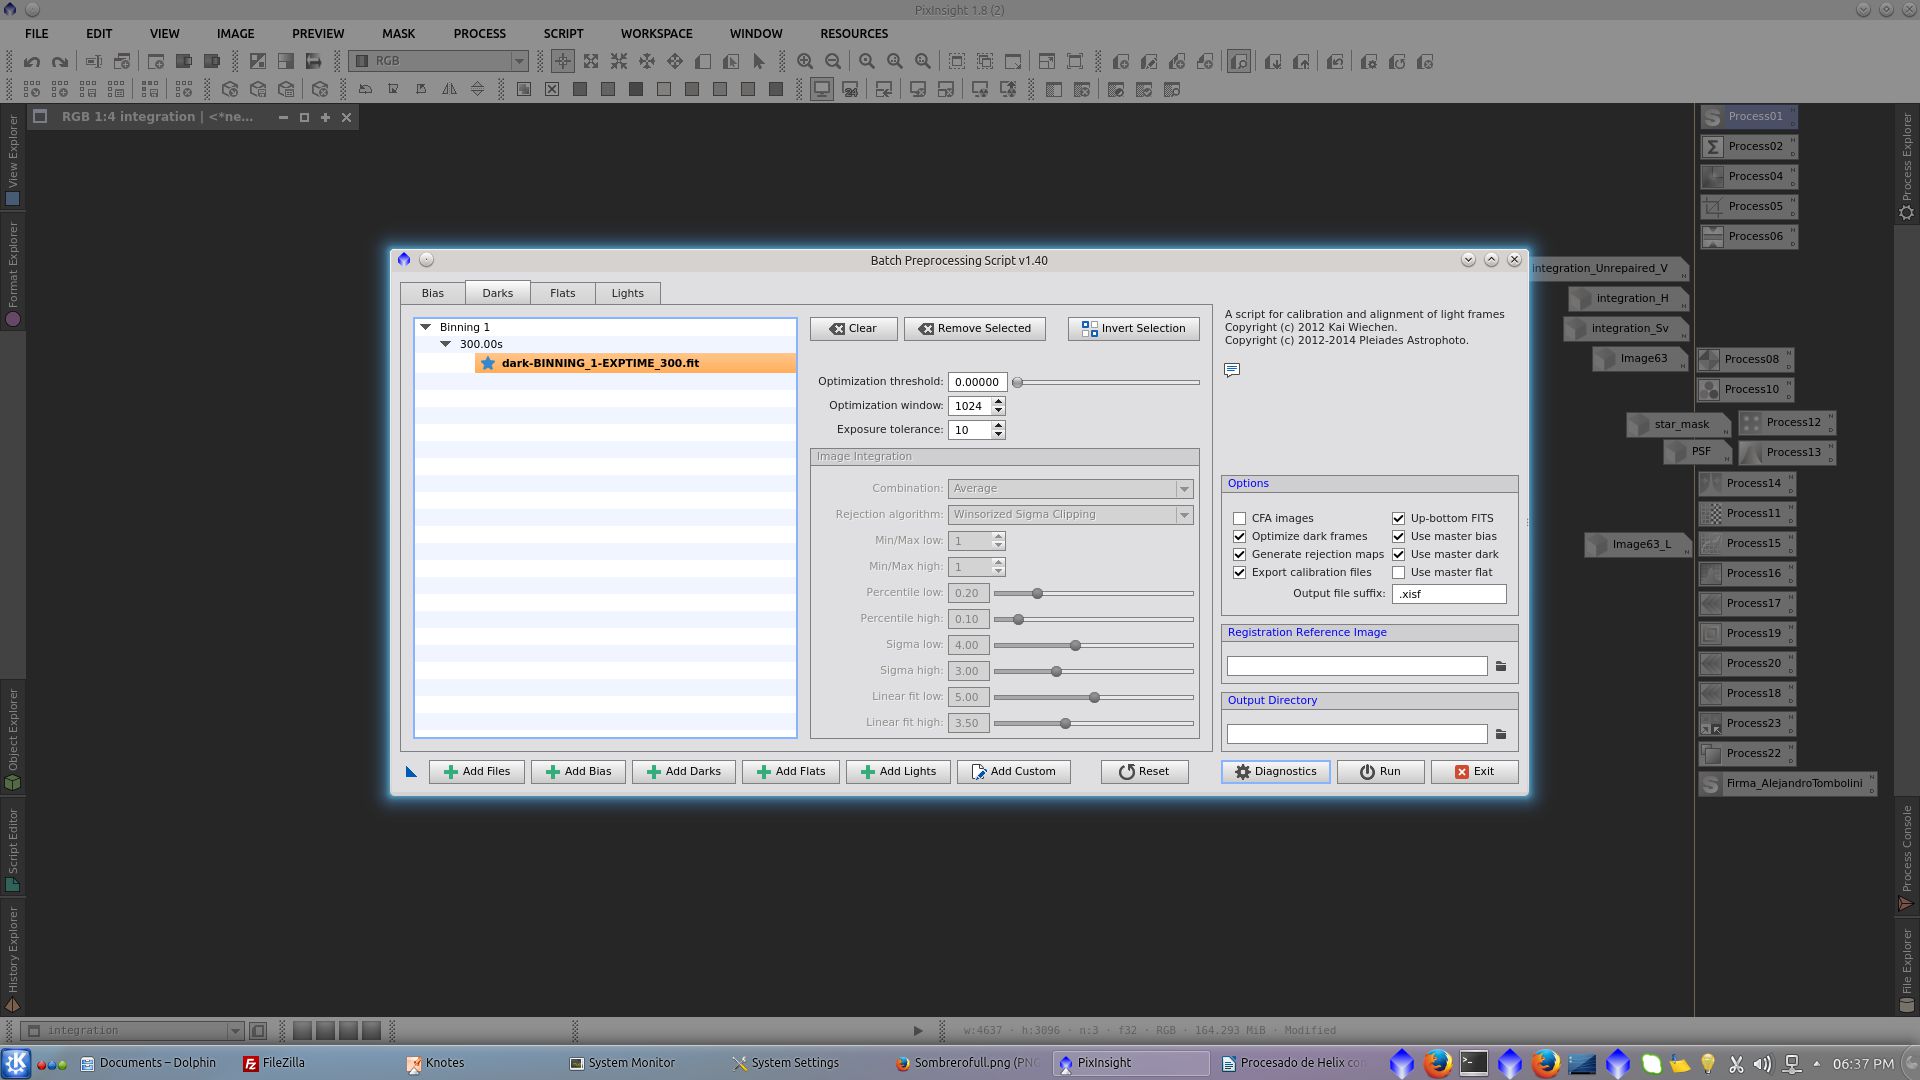
Add Darks, in this case I select a previously made MasterDark from my gallery and check "use Master Dark"
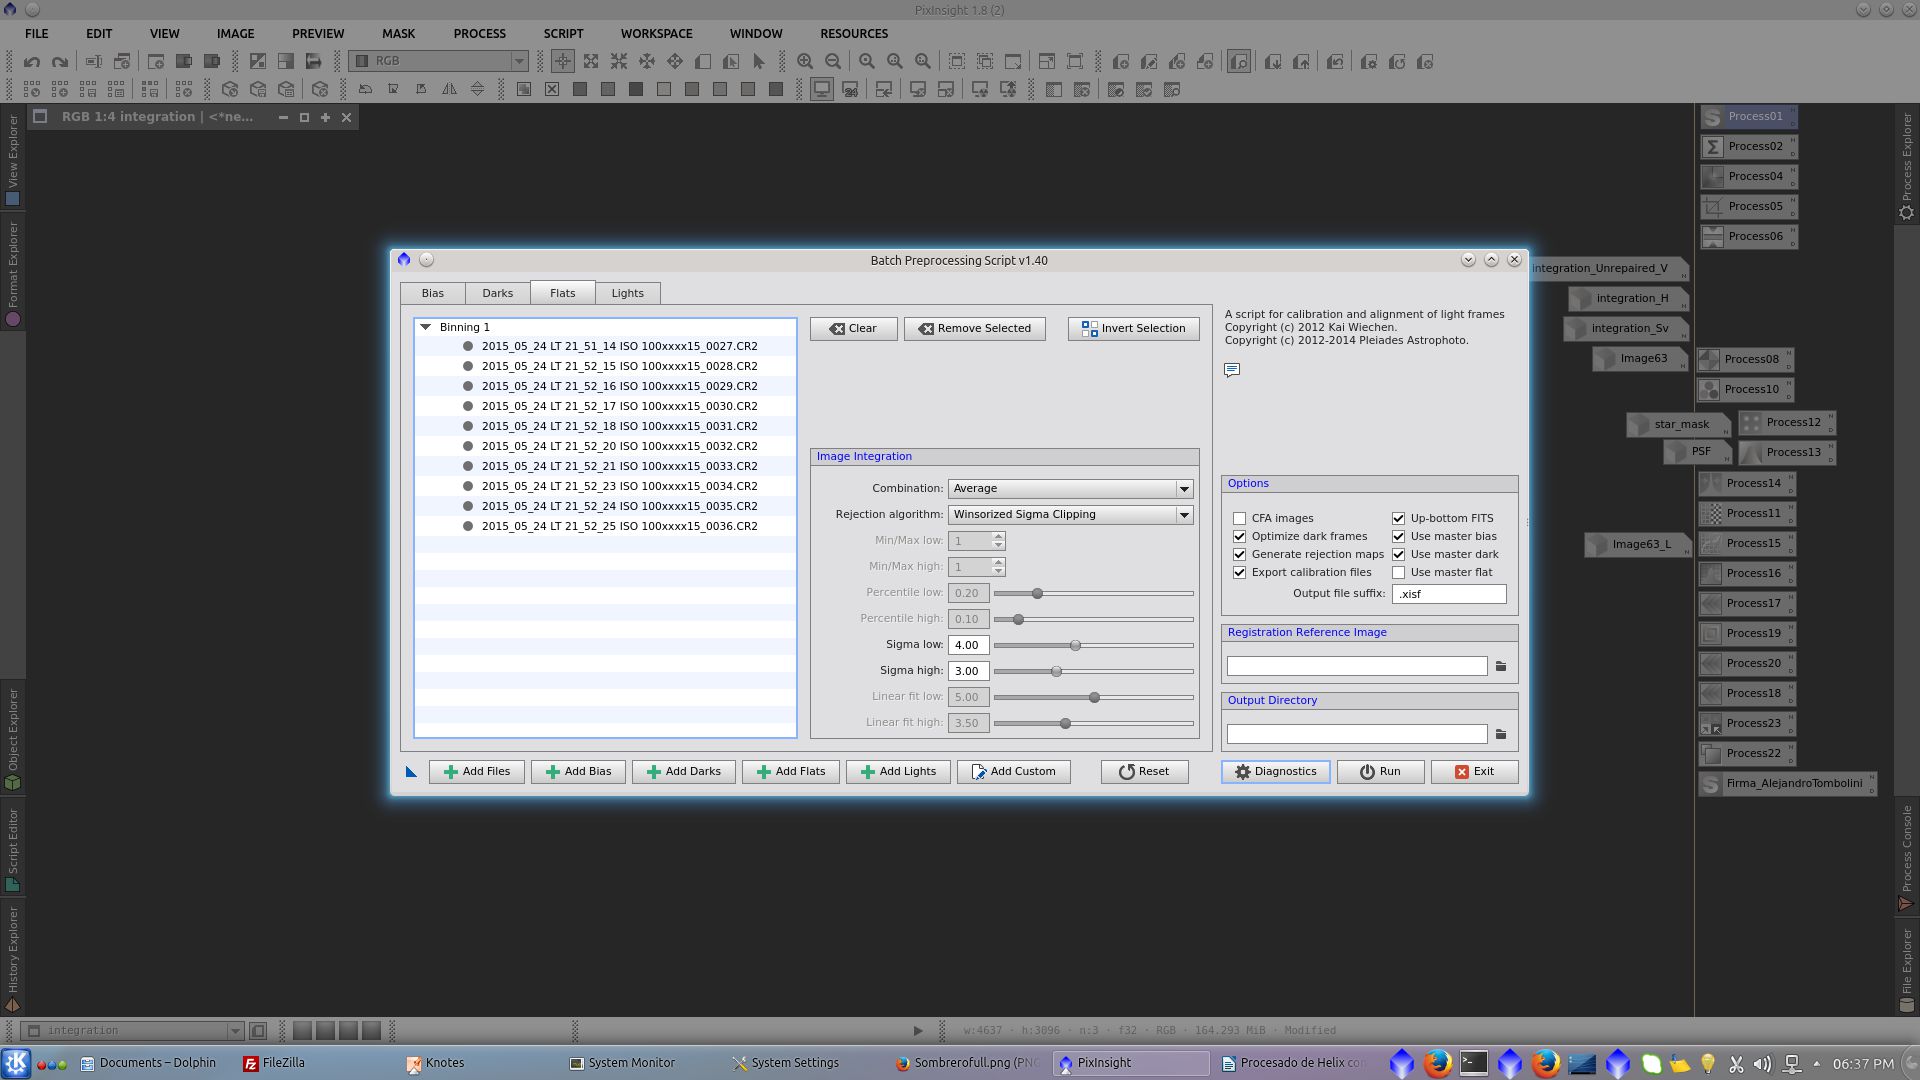
Add Flats, in this case I select the individual flats and leave unchecked "use Master Flats"
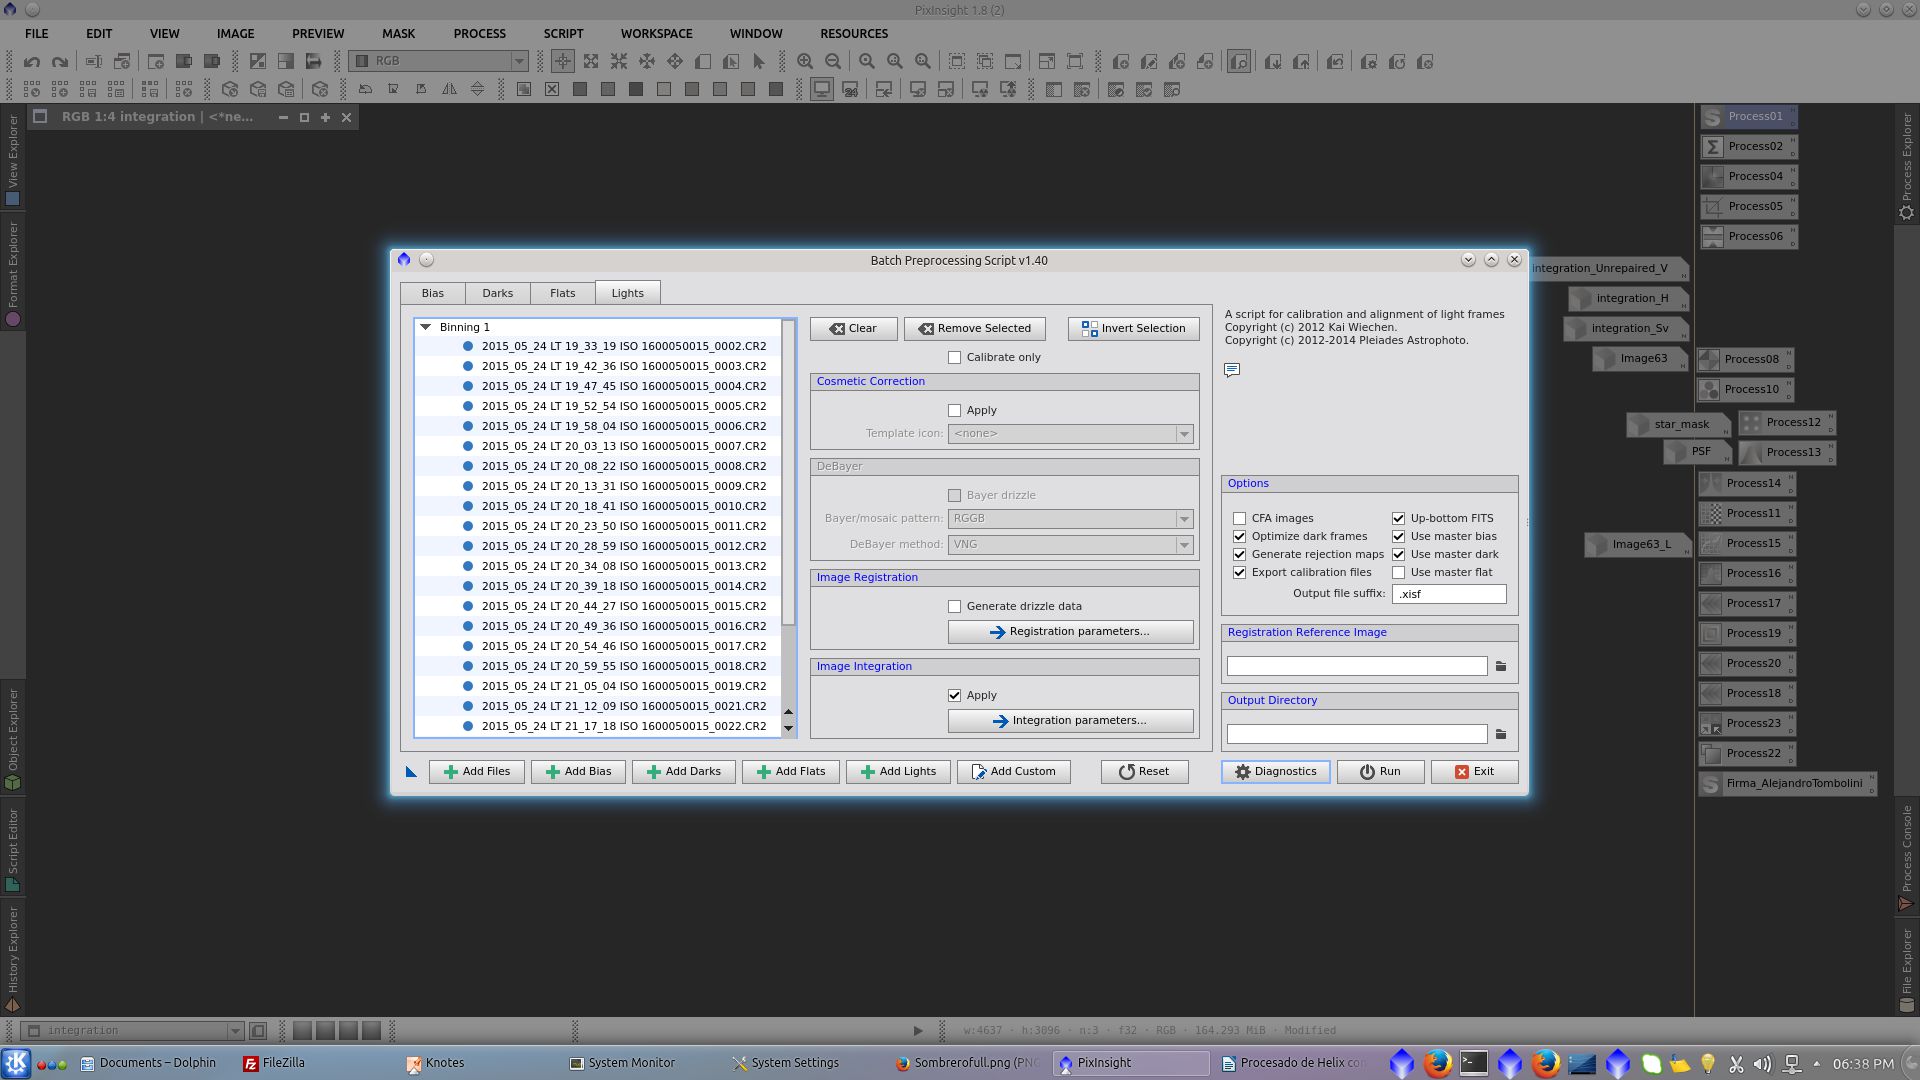
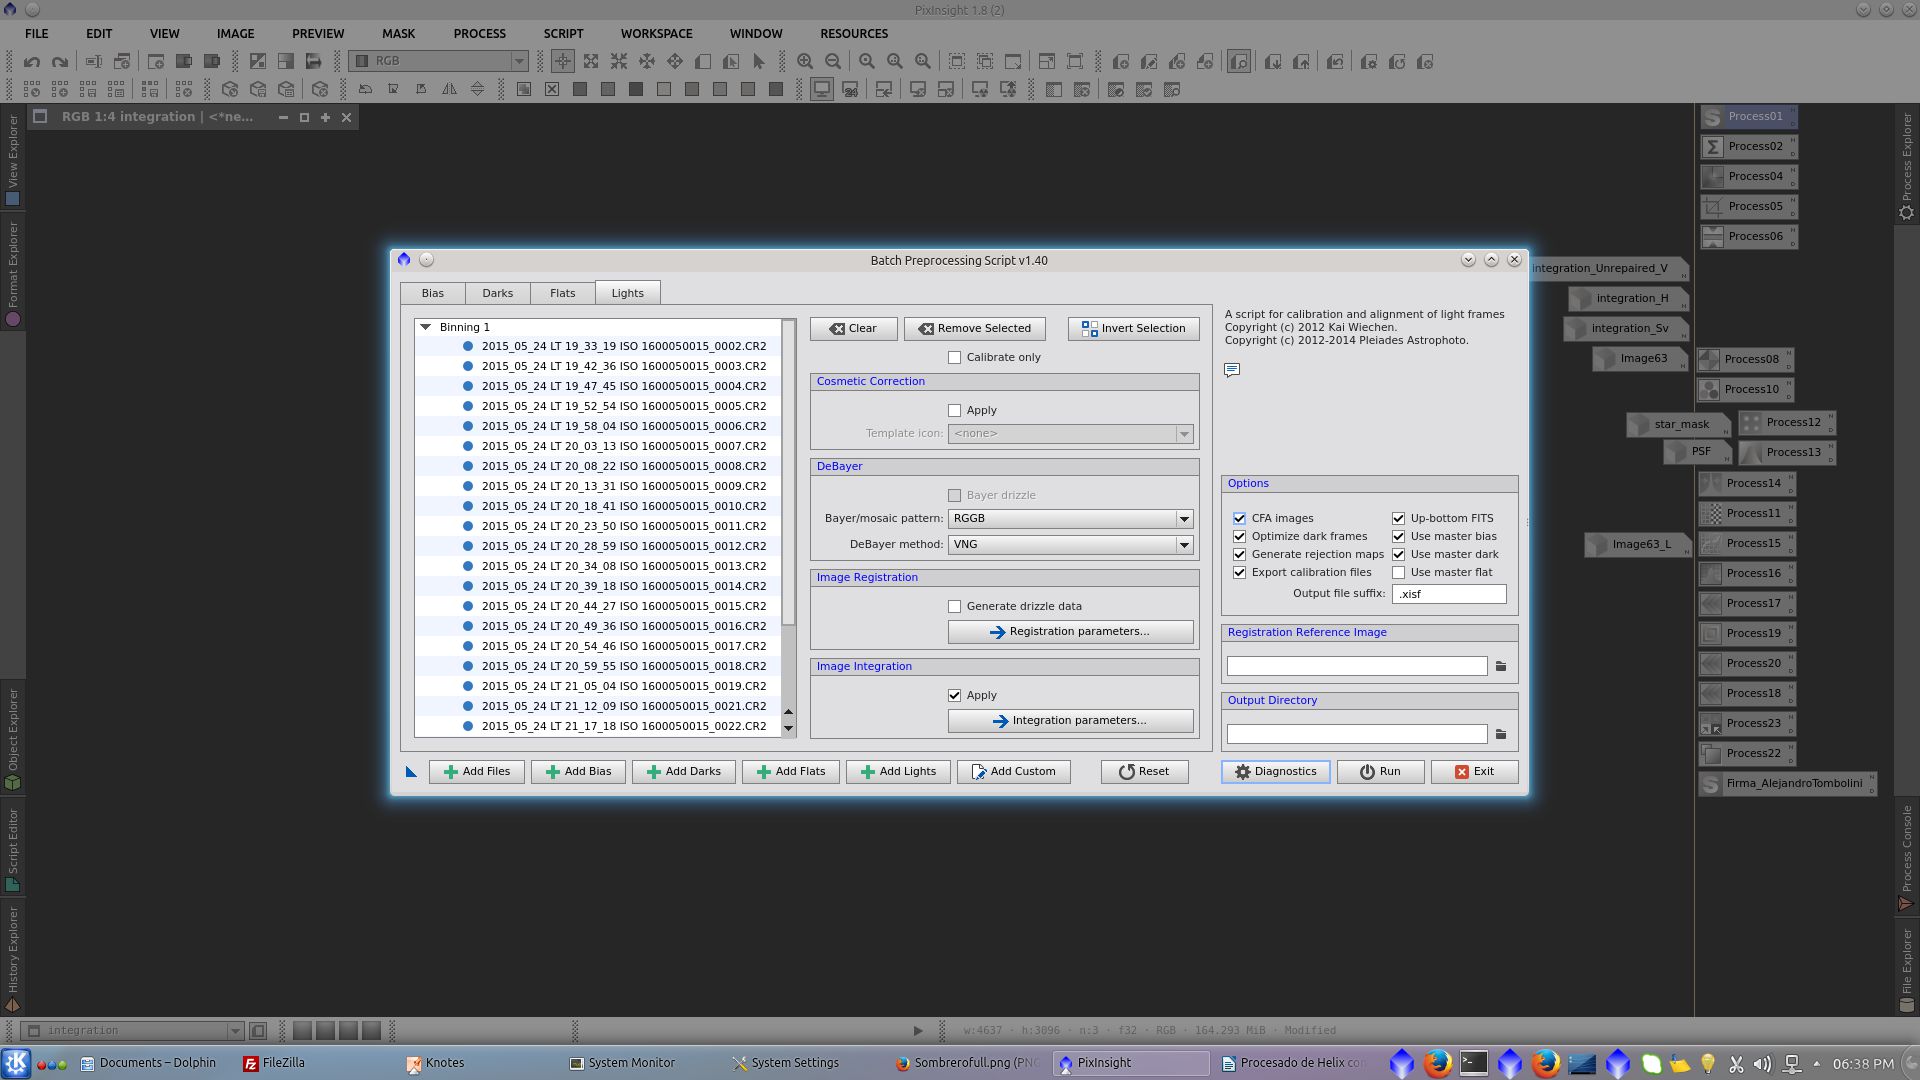
As I am using color images, check "CFA images"
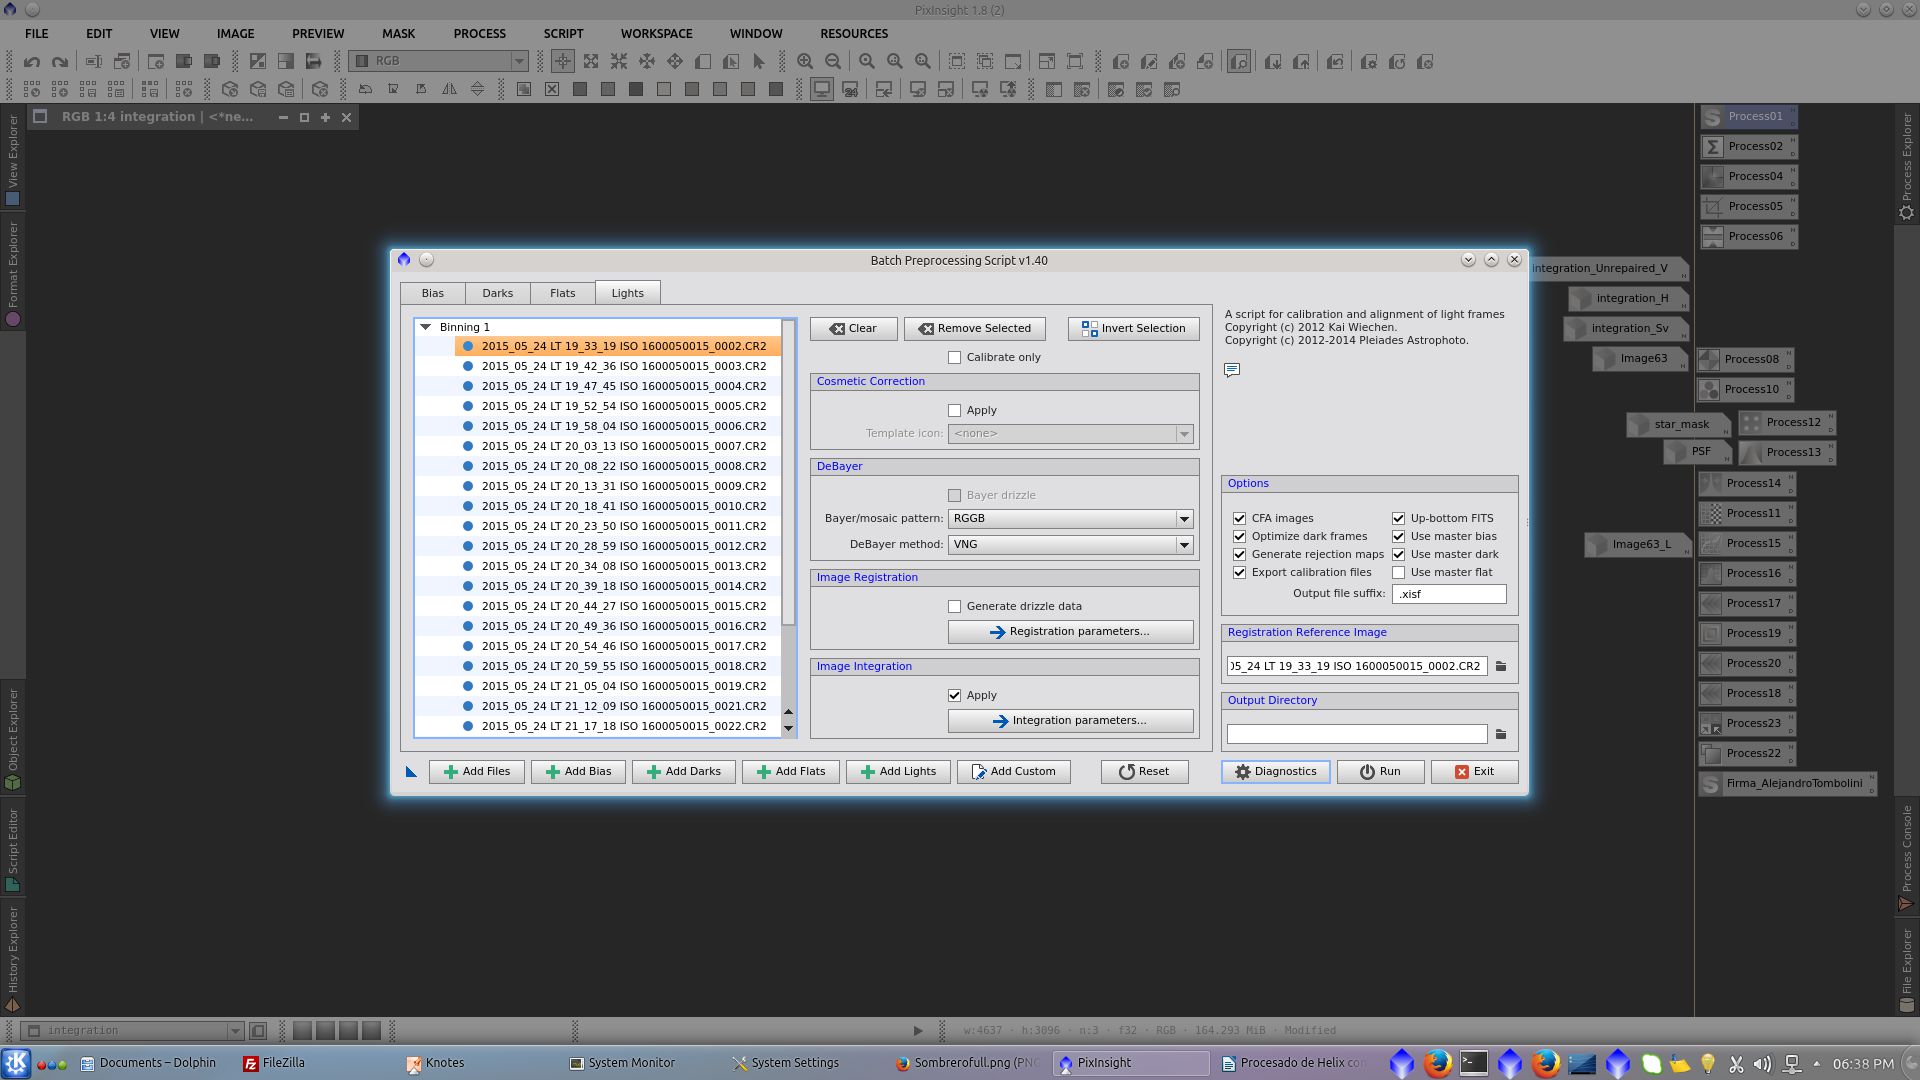
Double click in one of your lights to select it as Registration Reference Image. (I first used Blink tool to inspect the images, deleted the bad ones and selected the best one to be use as reference)
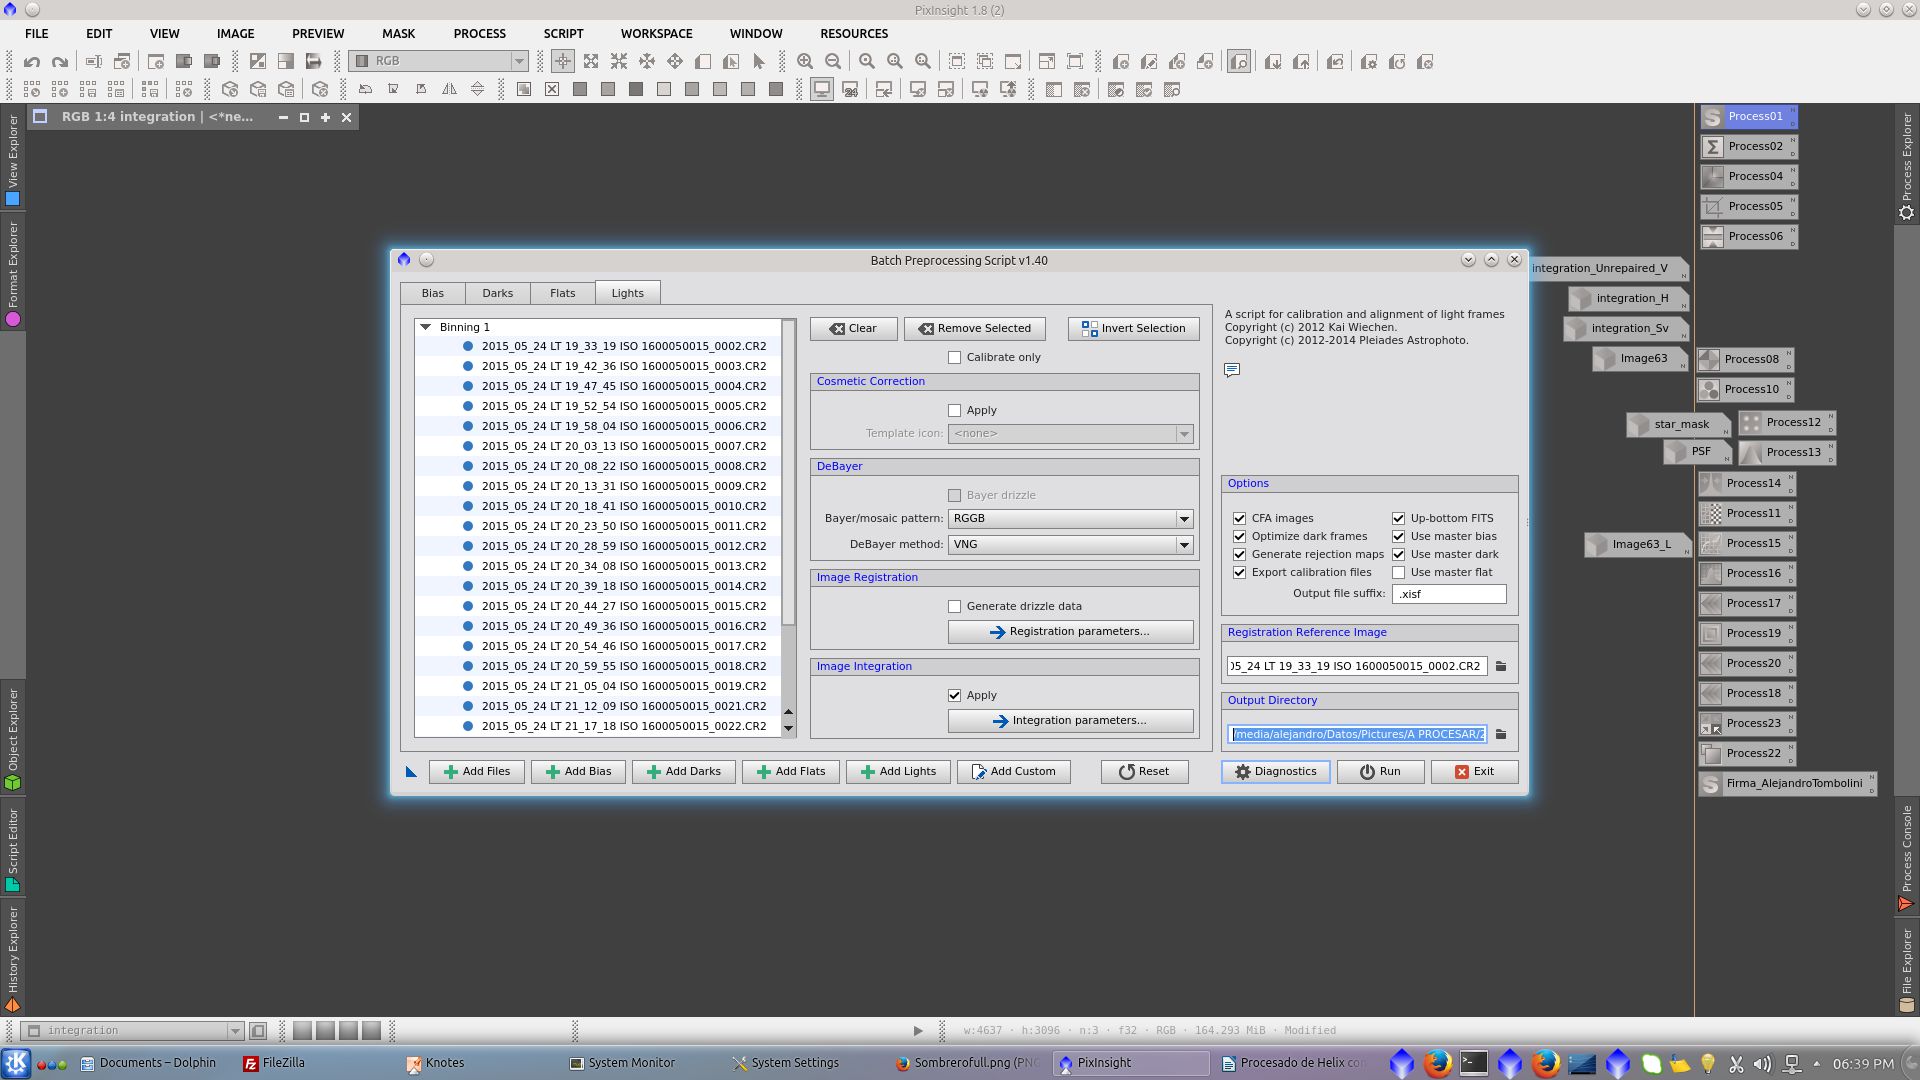
Select the Output Directory where the output image will be located.
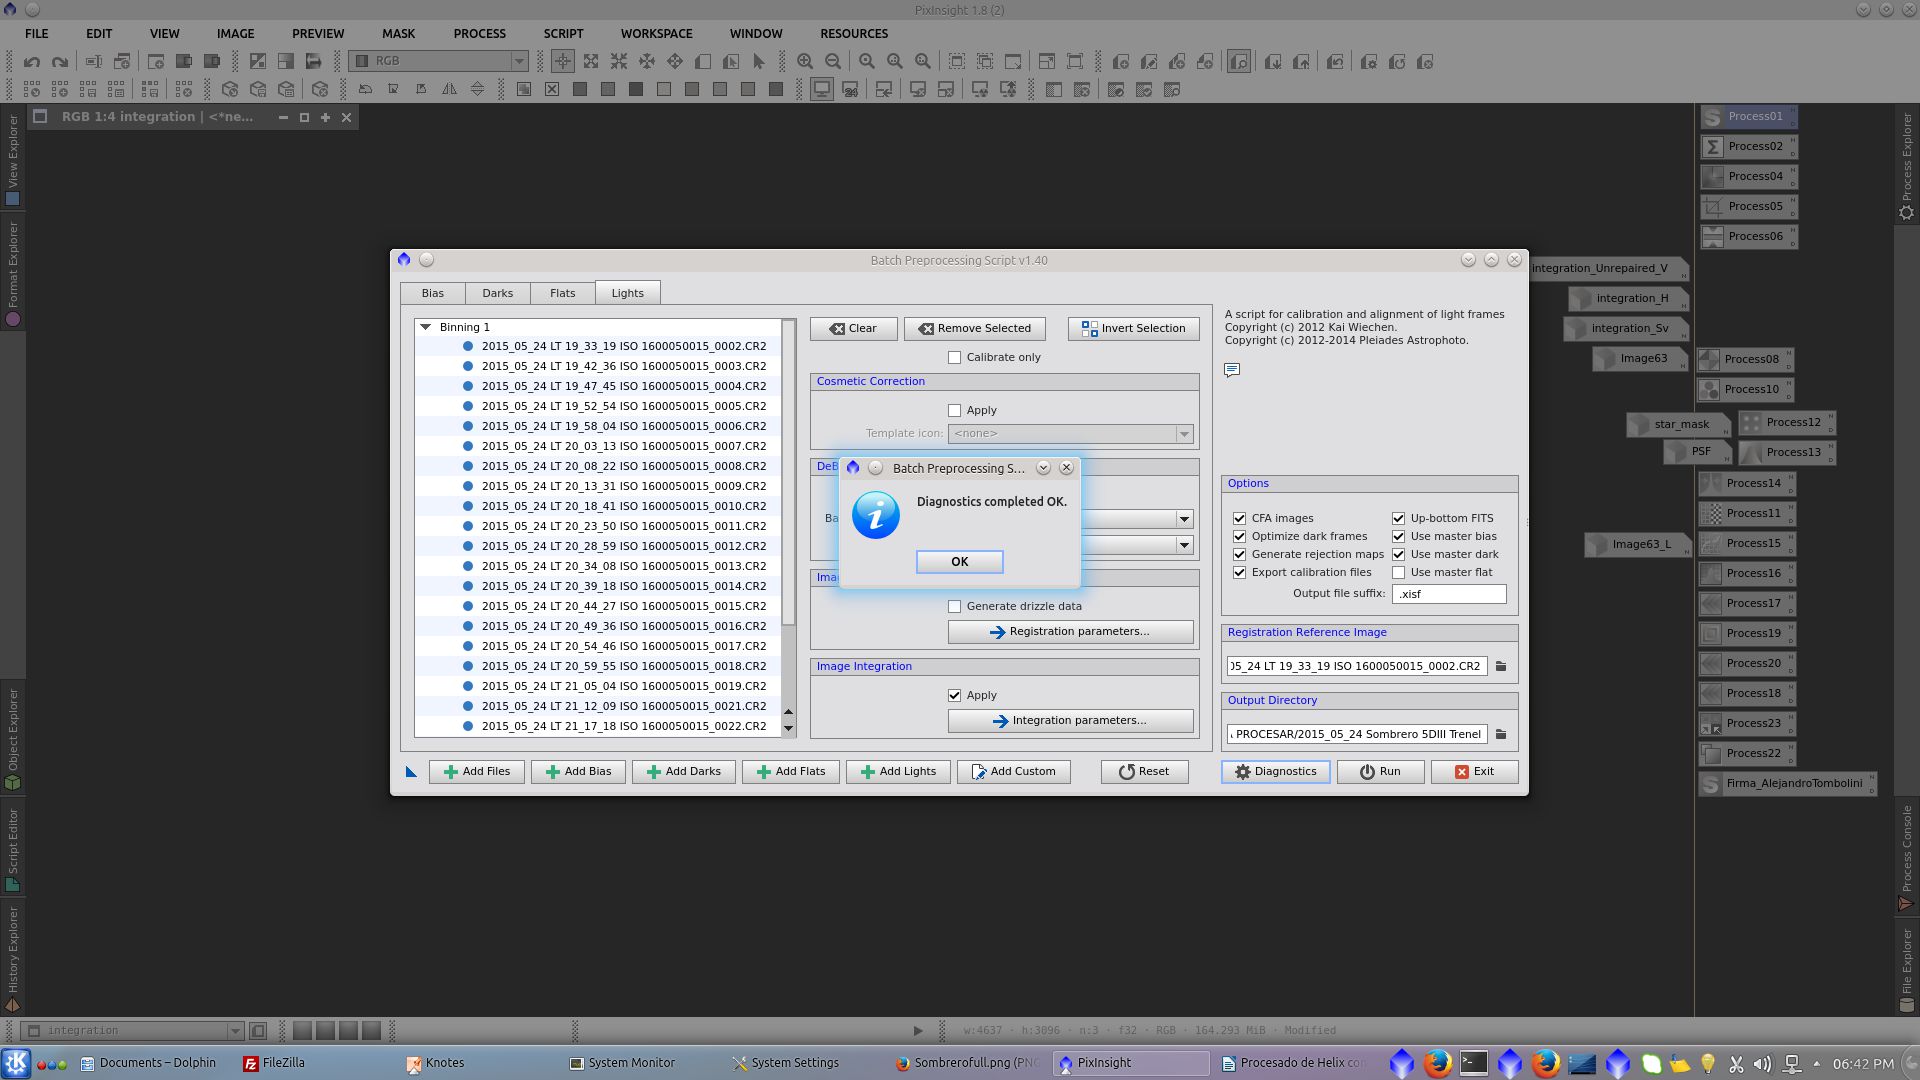
Finally Diagnostics to be sure you did not forget anything.
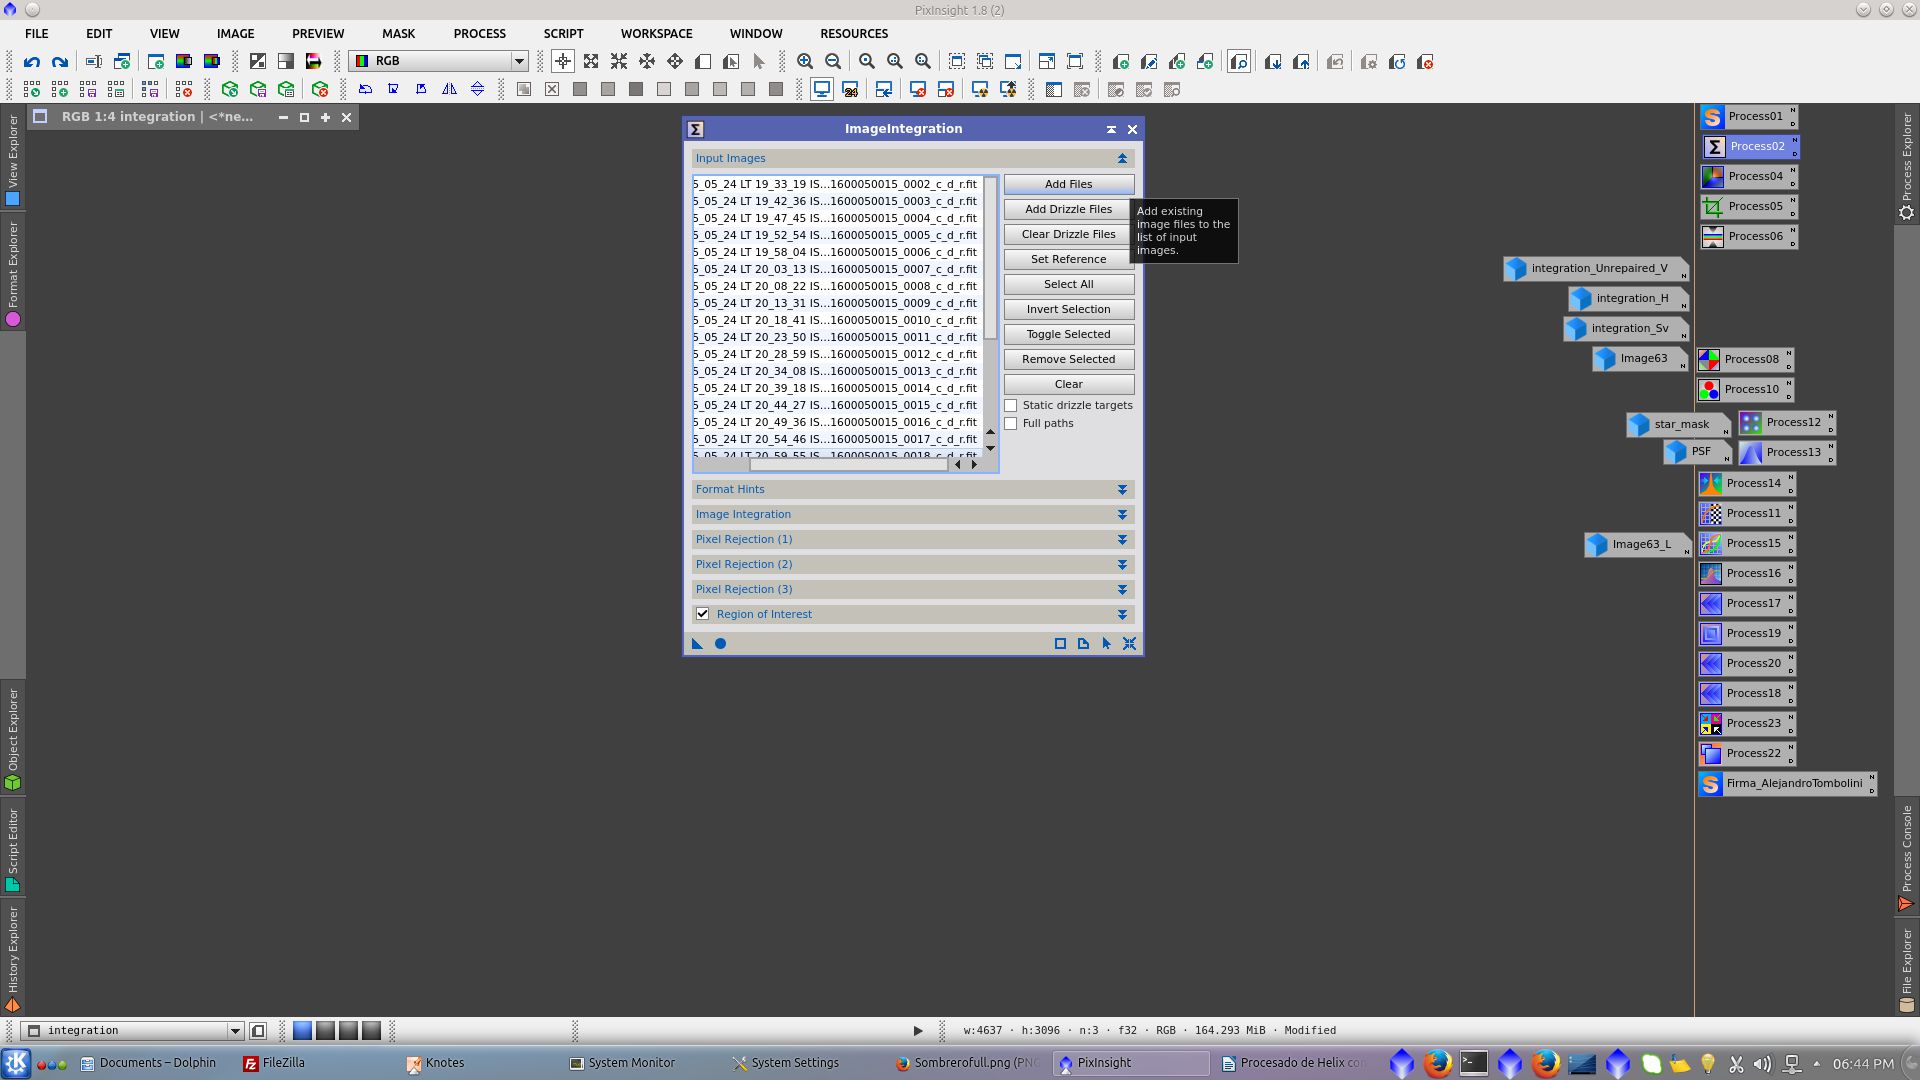
Now open ImageIntegration tool and select the _c_d_r images. (The images calibrated, debayered and registered)
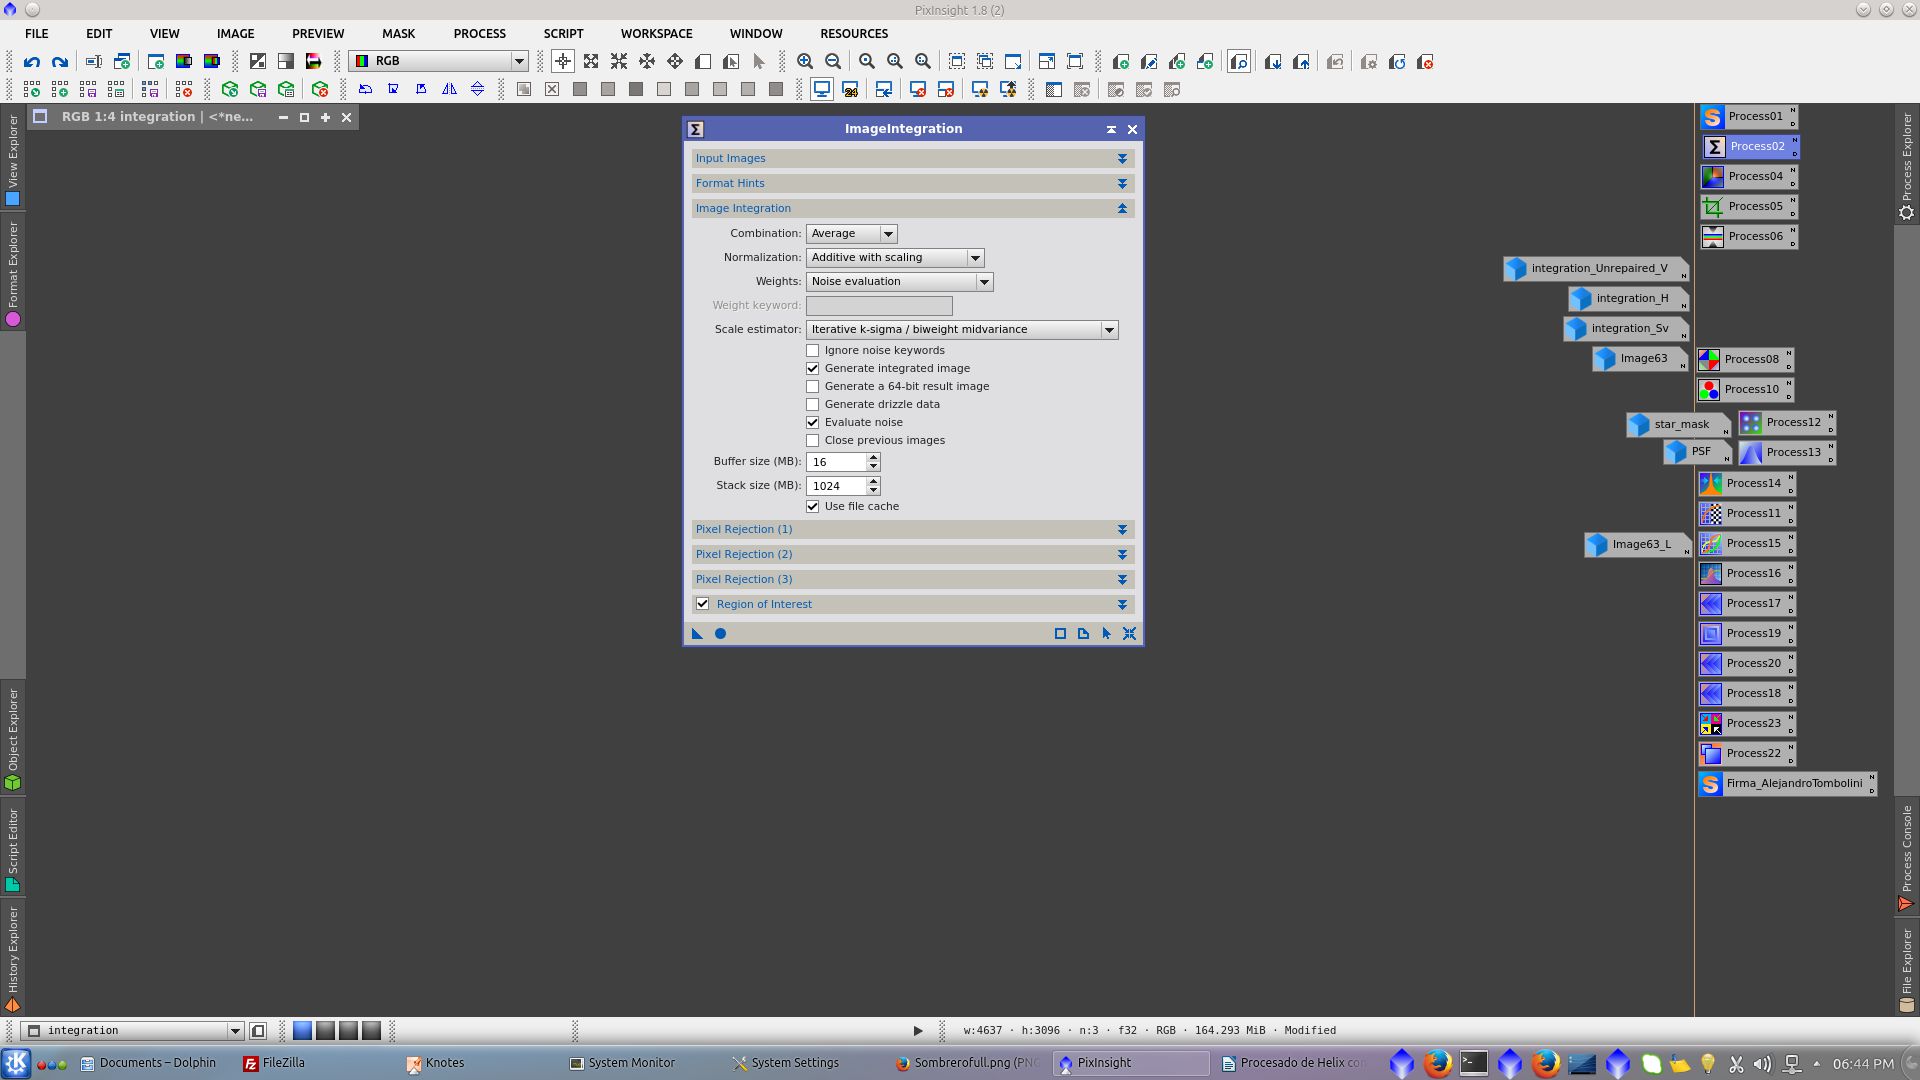
In ImageIntegration tool select the Image Integration parameters. I leave them as defalut
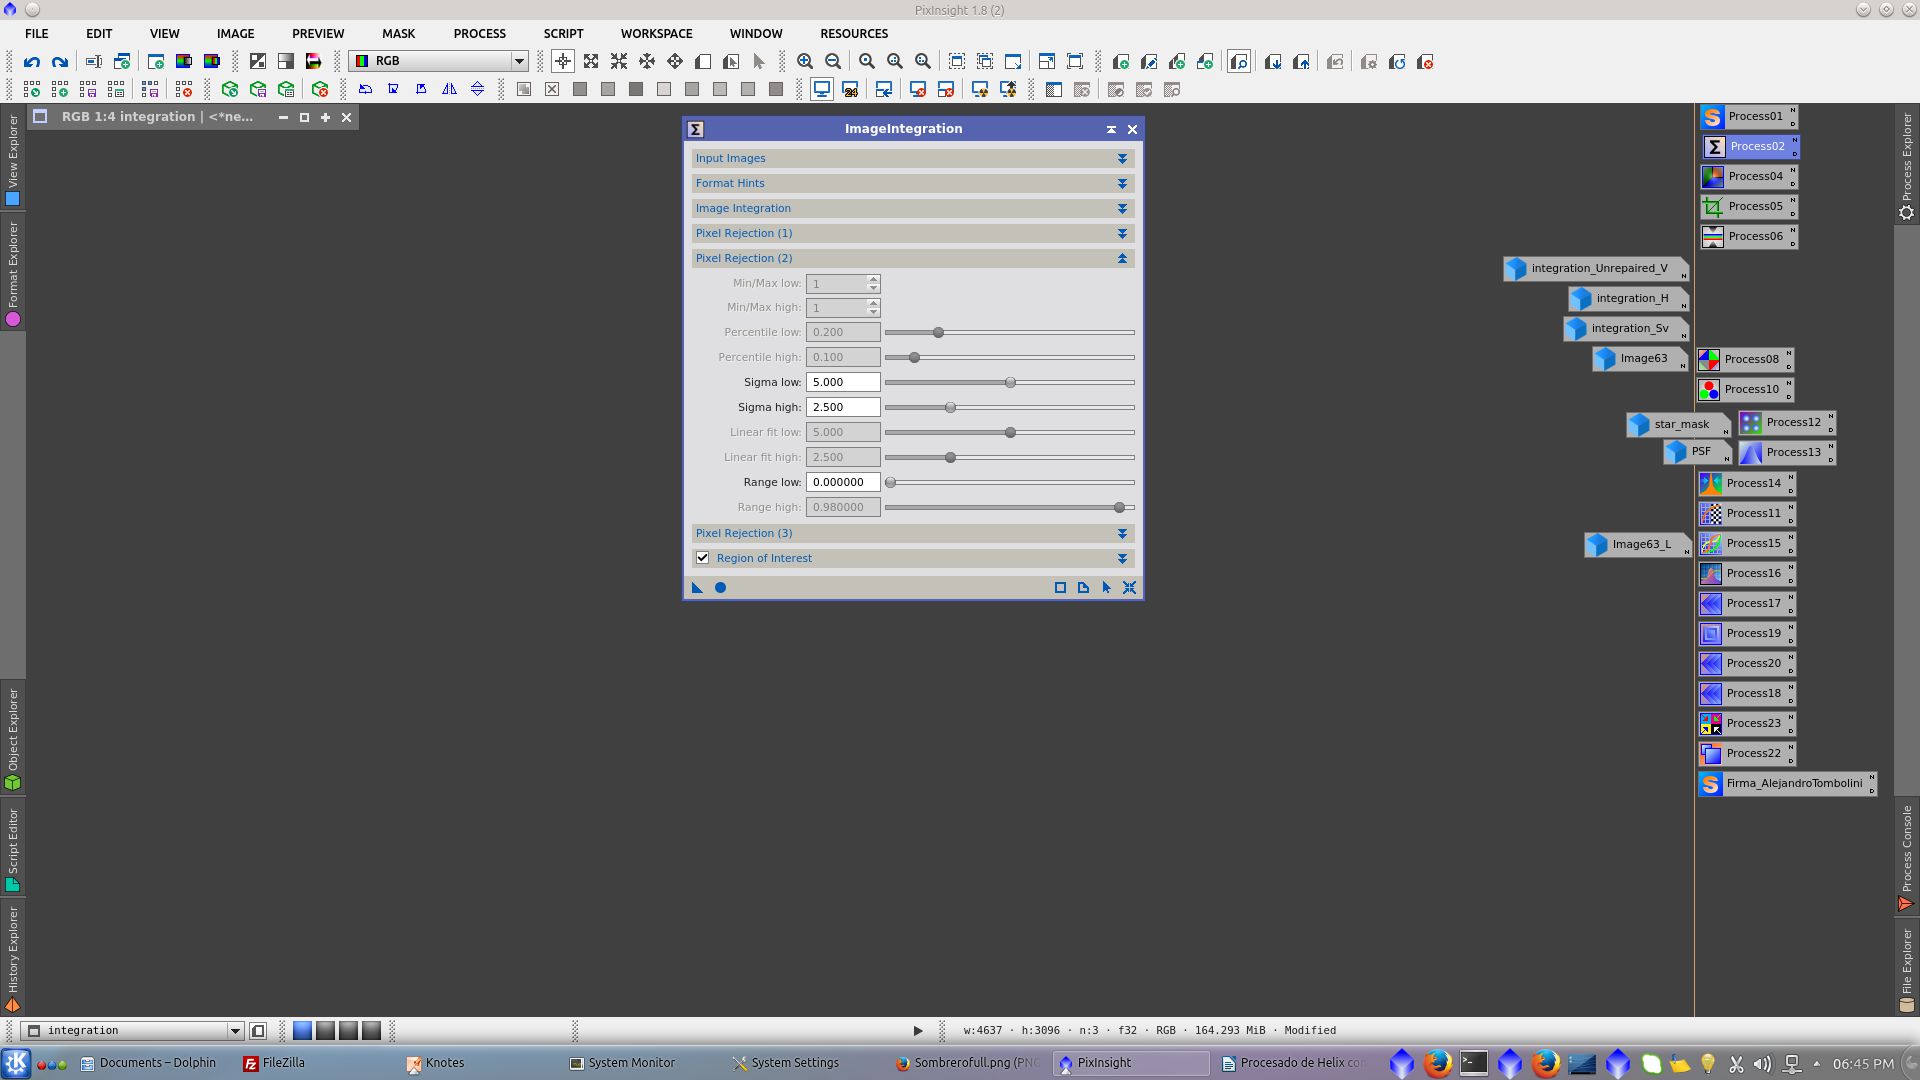
In ImageIntegration tool select the Pixel Rejection algorithm. I choose Winsorized Sigma Clipping that works well with my 24 images.
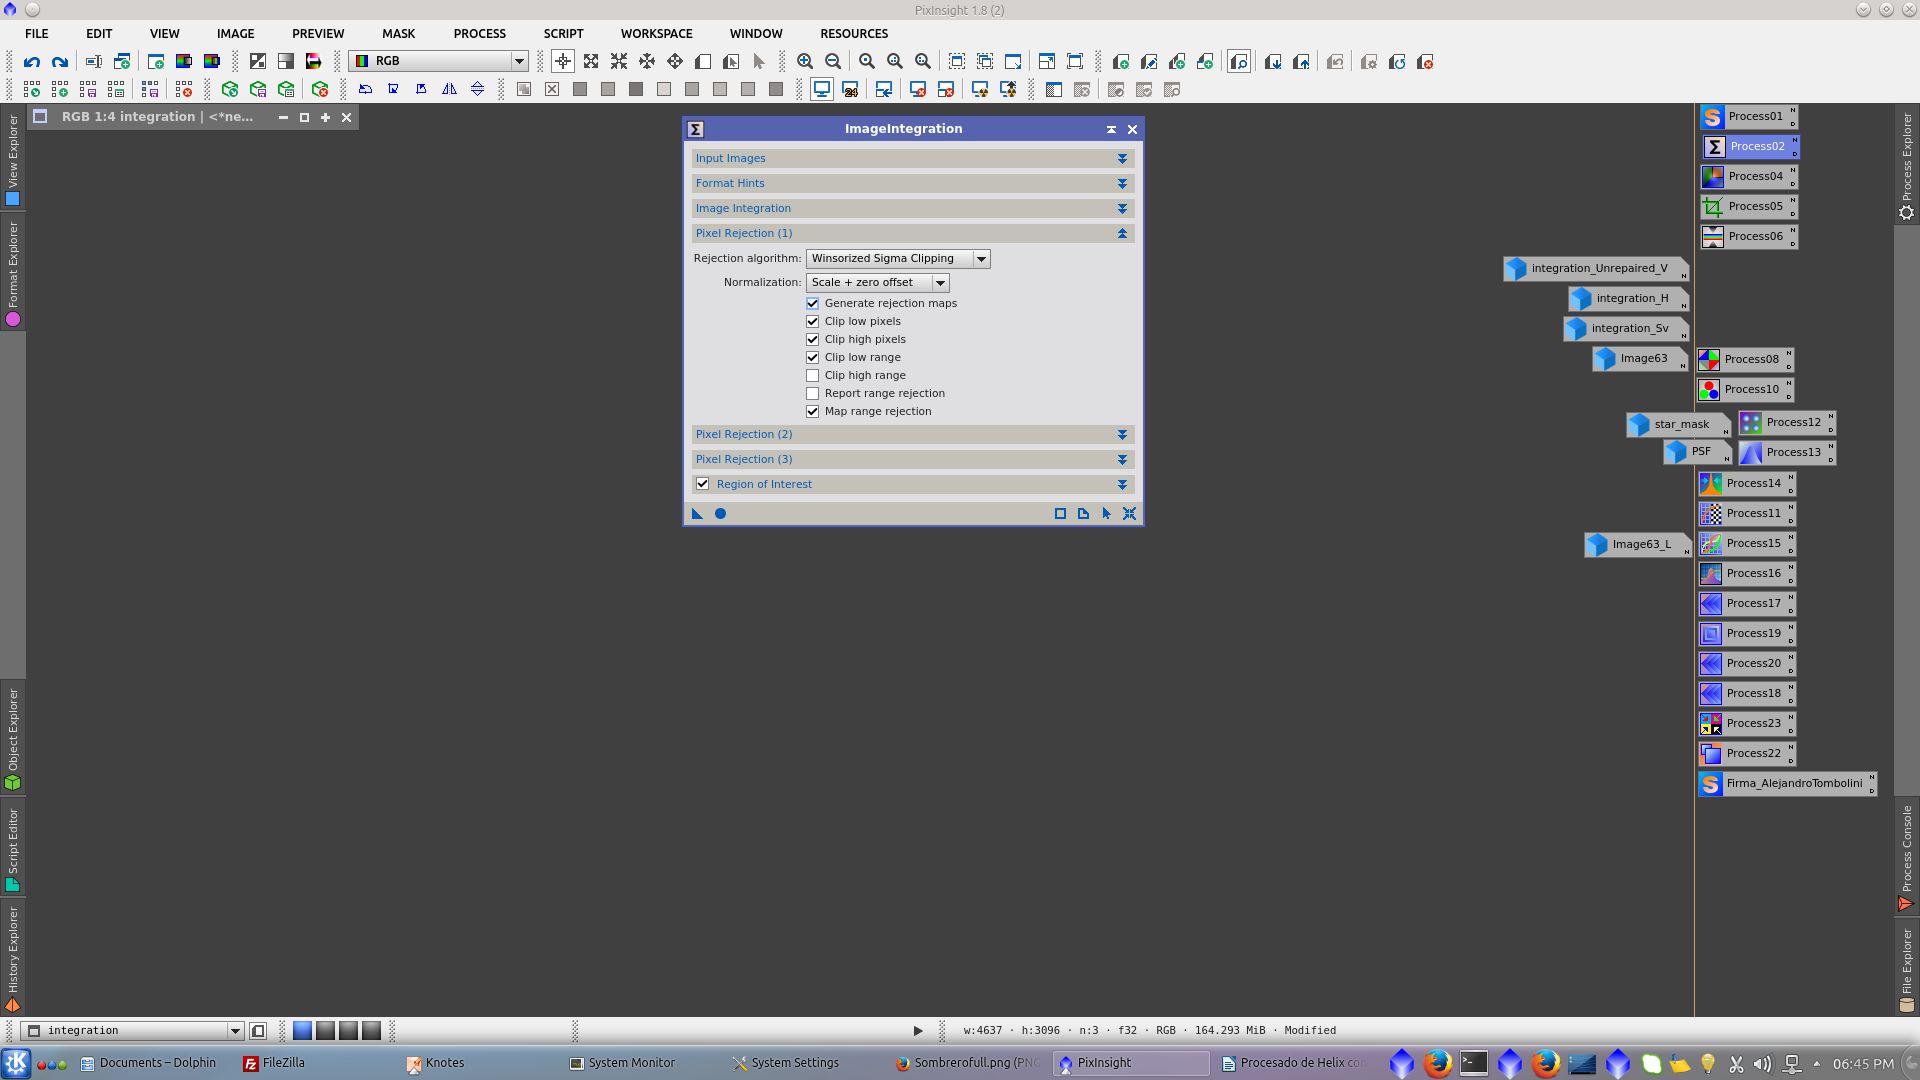
Adjust carefully sigma low and sigma high values using a preview as Region of interest that allow to find the parameters faster.
Integrated image: 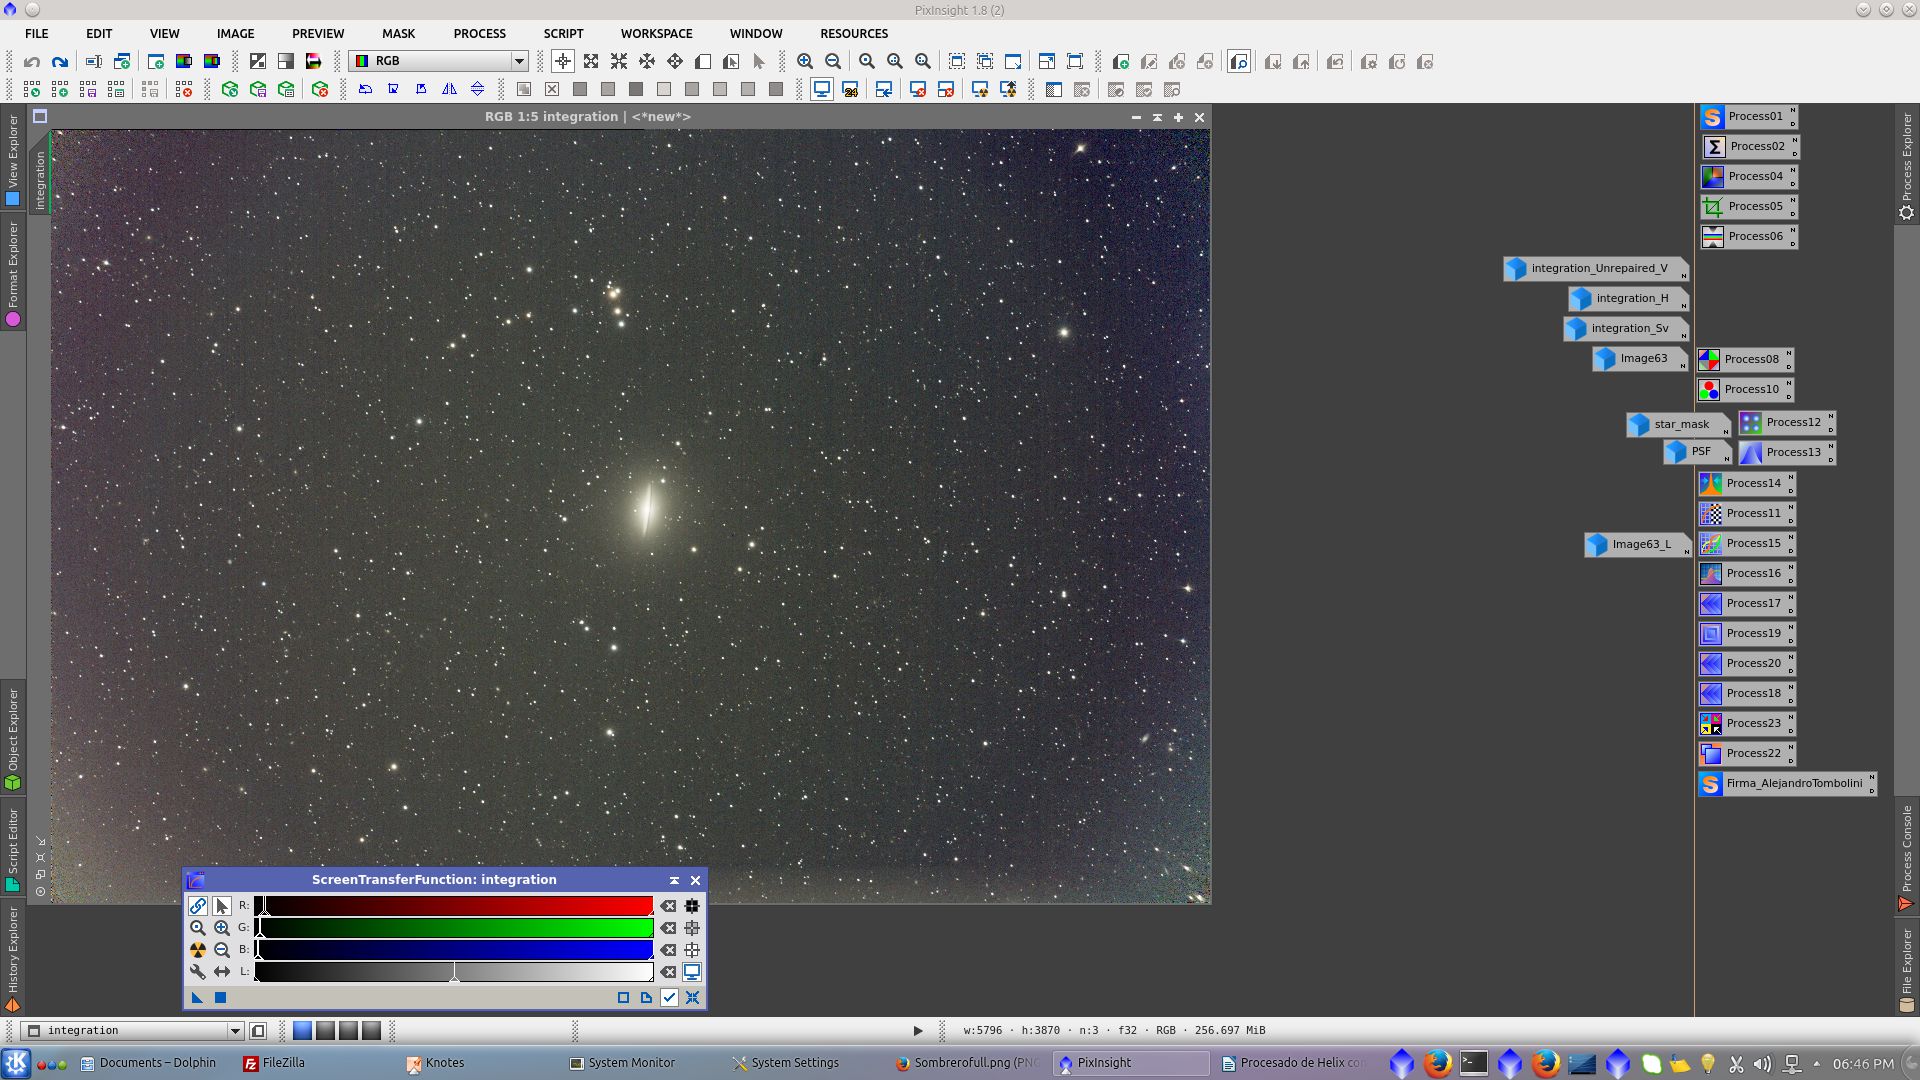
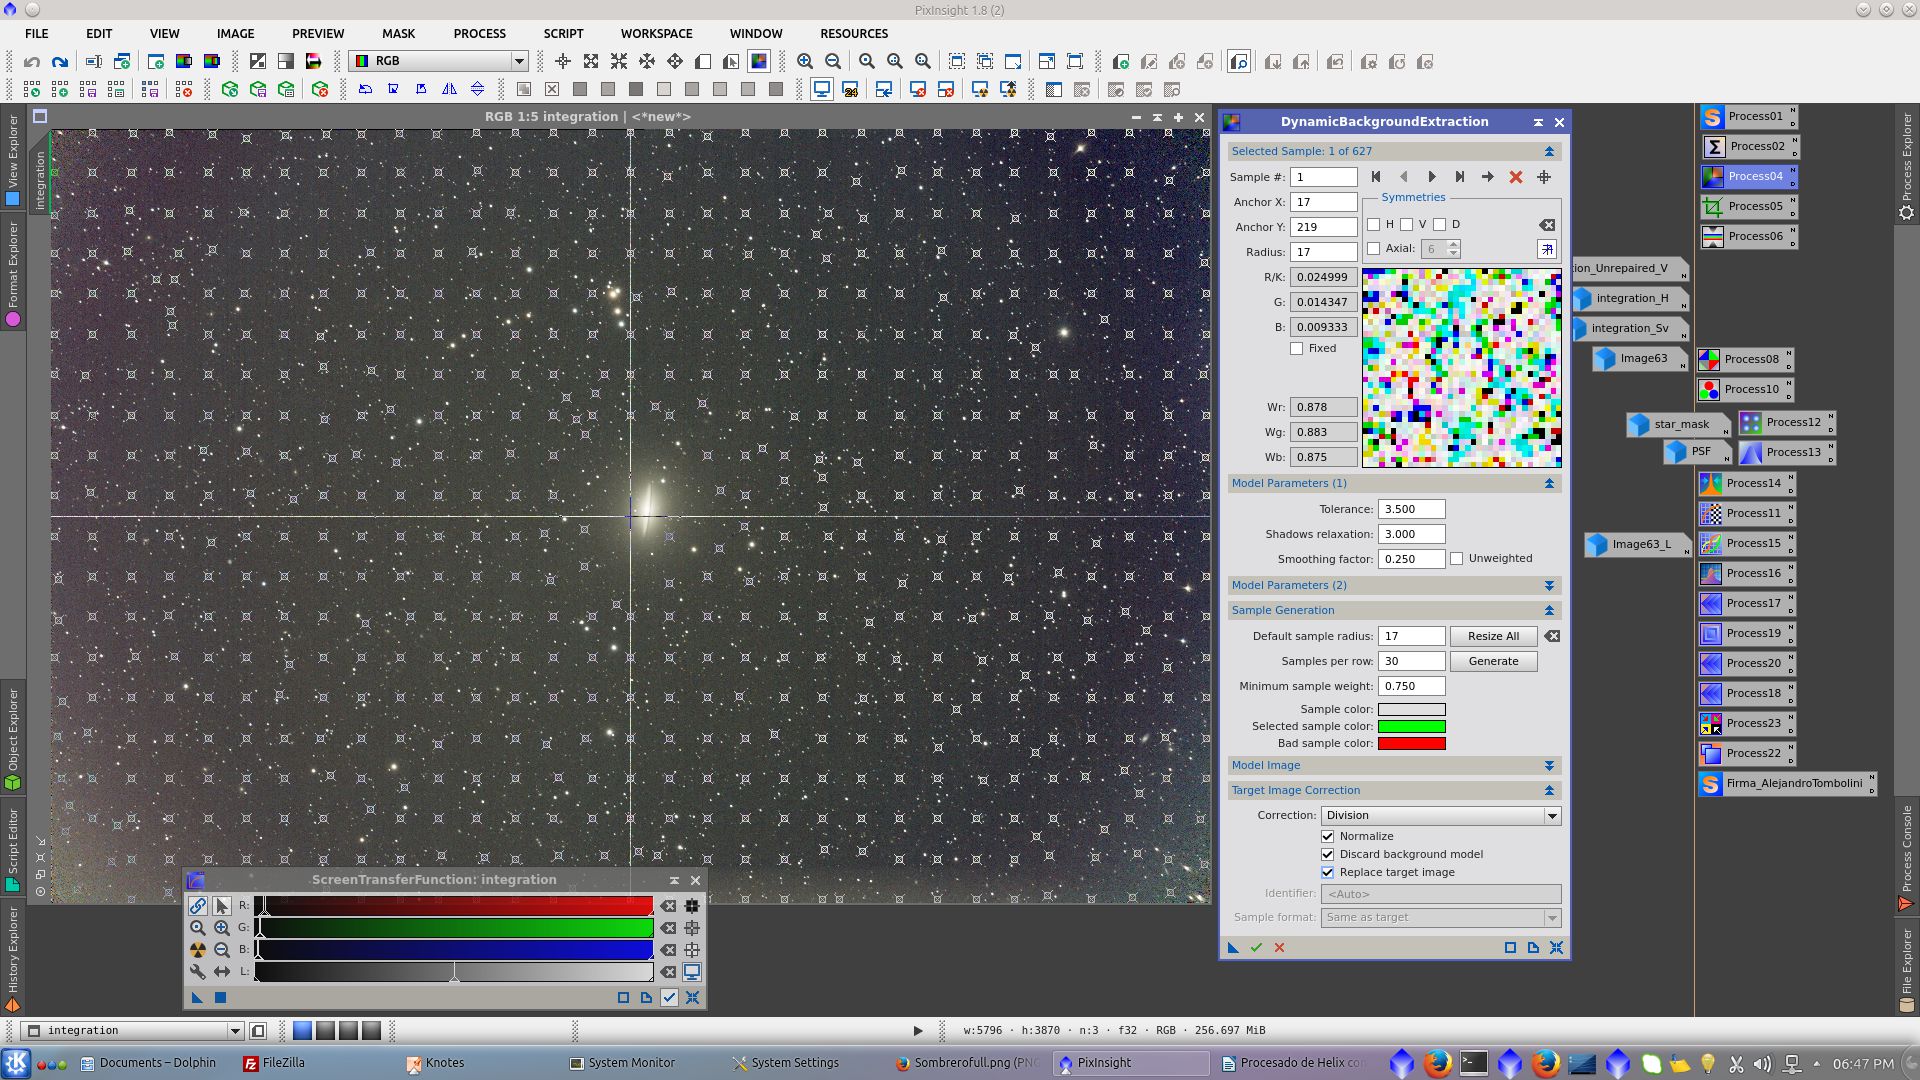
DynamicBackgroundExtraction to correct gradients. Increase Tolerance to generate samples all over the image and move carefully those which are over bright stars.
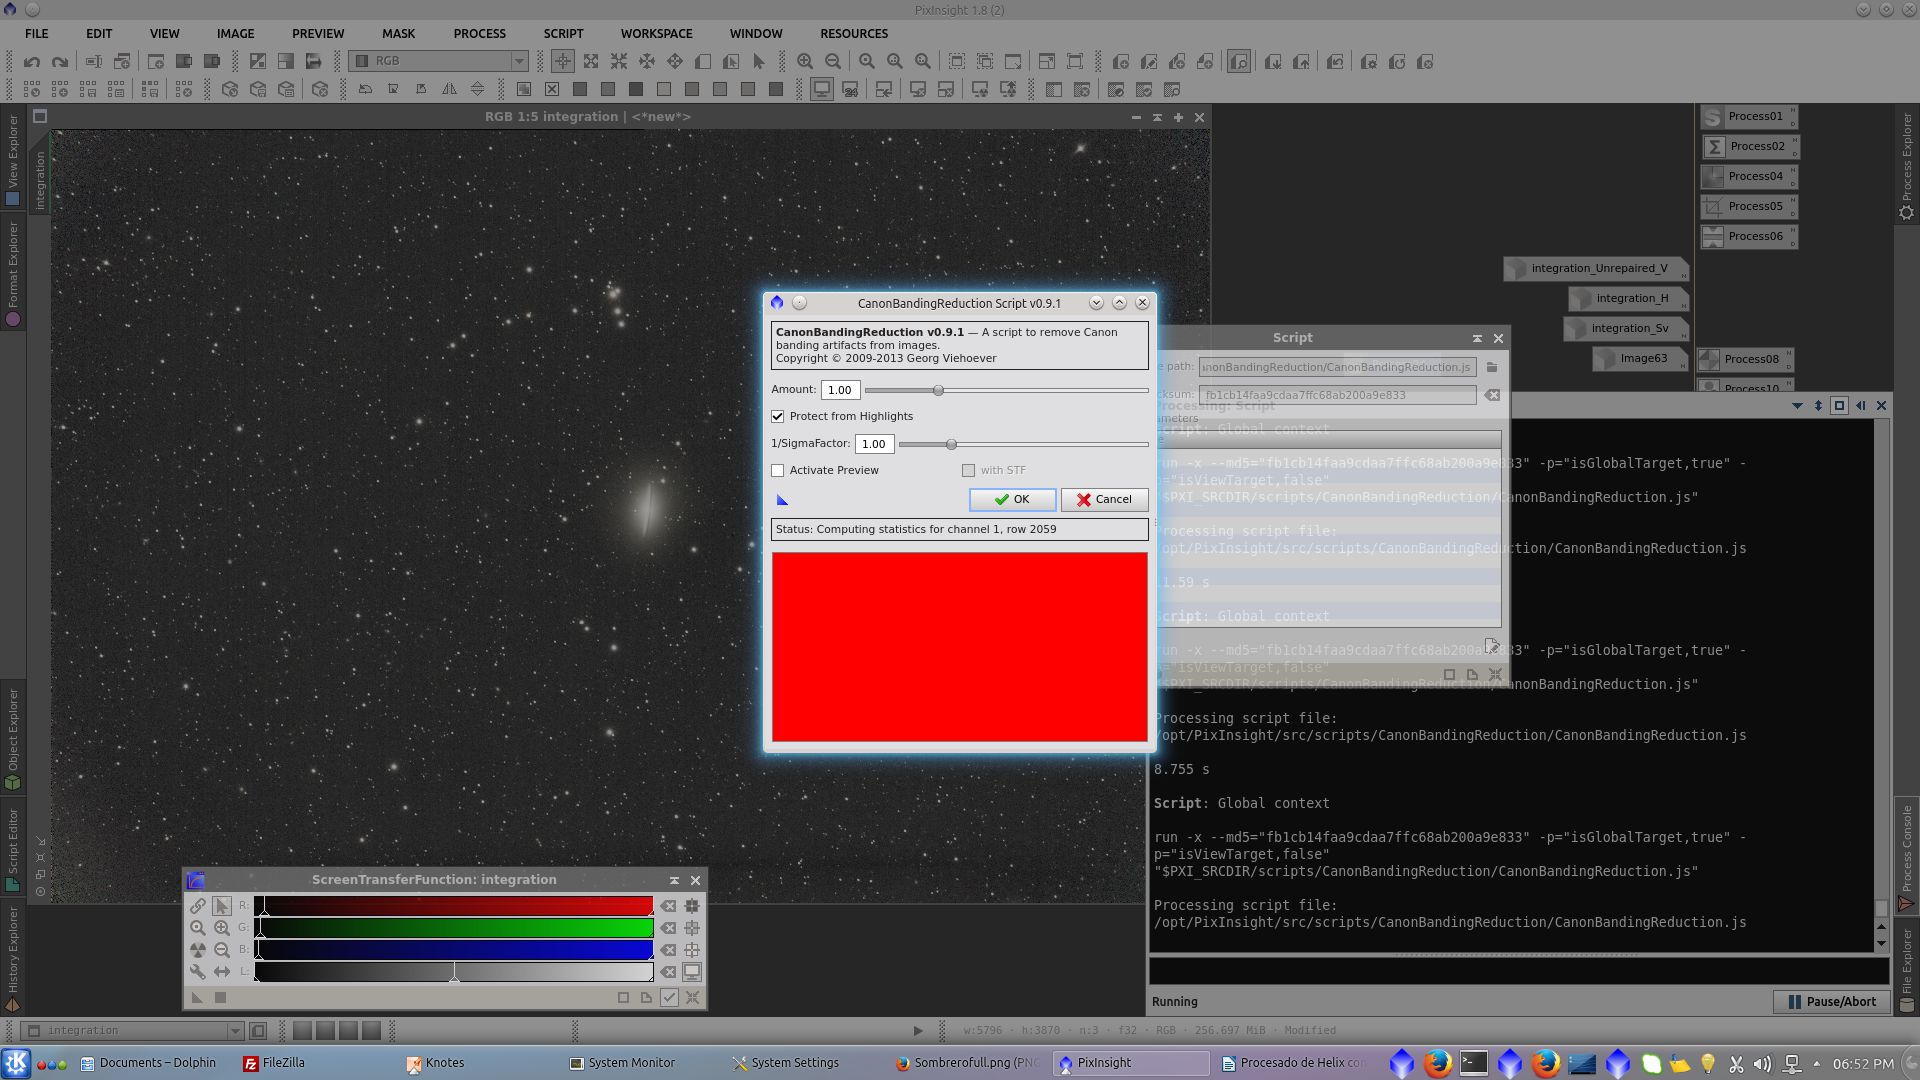
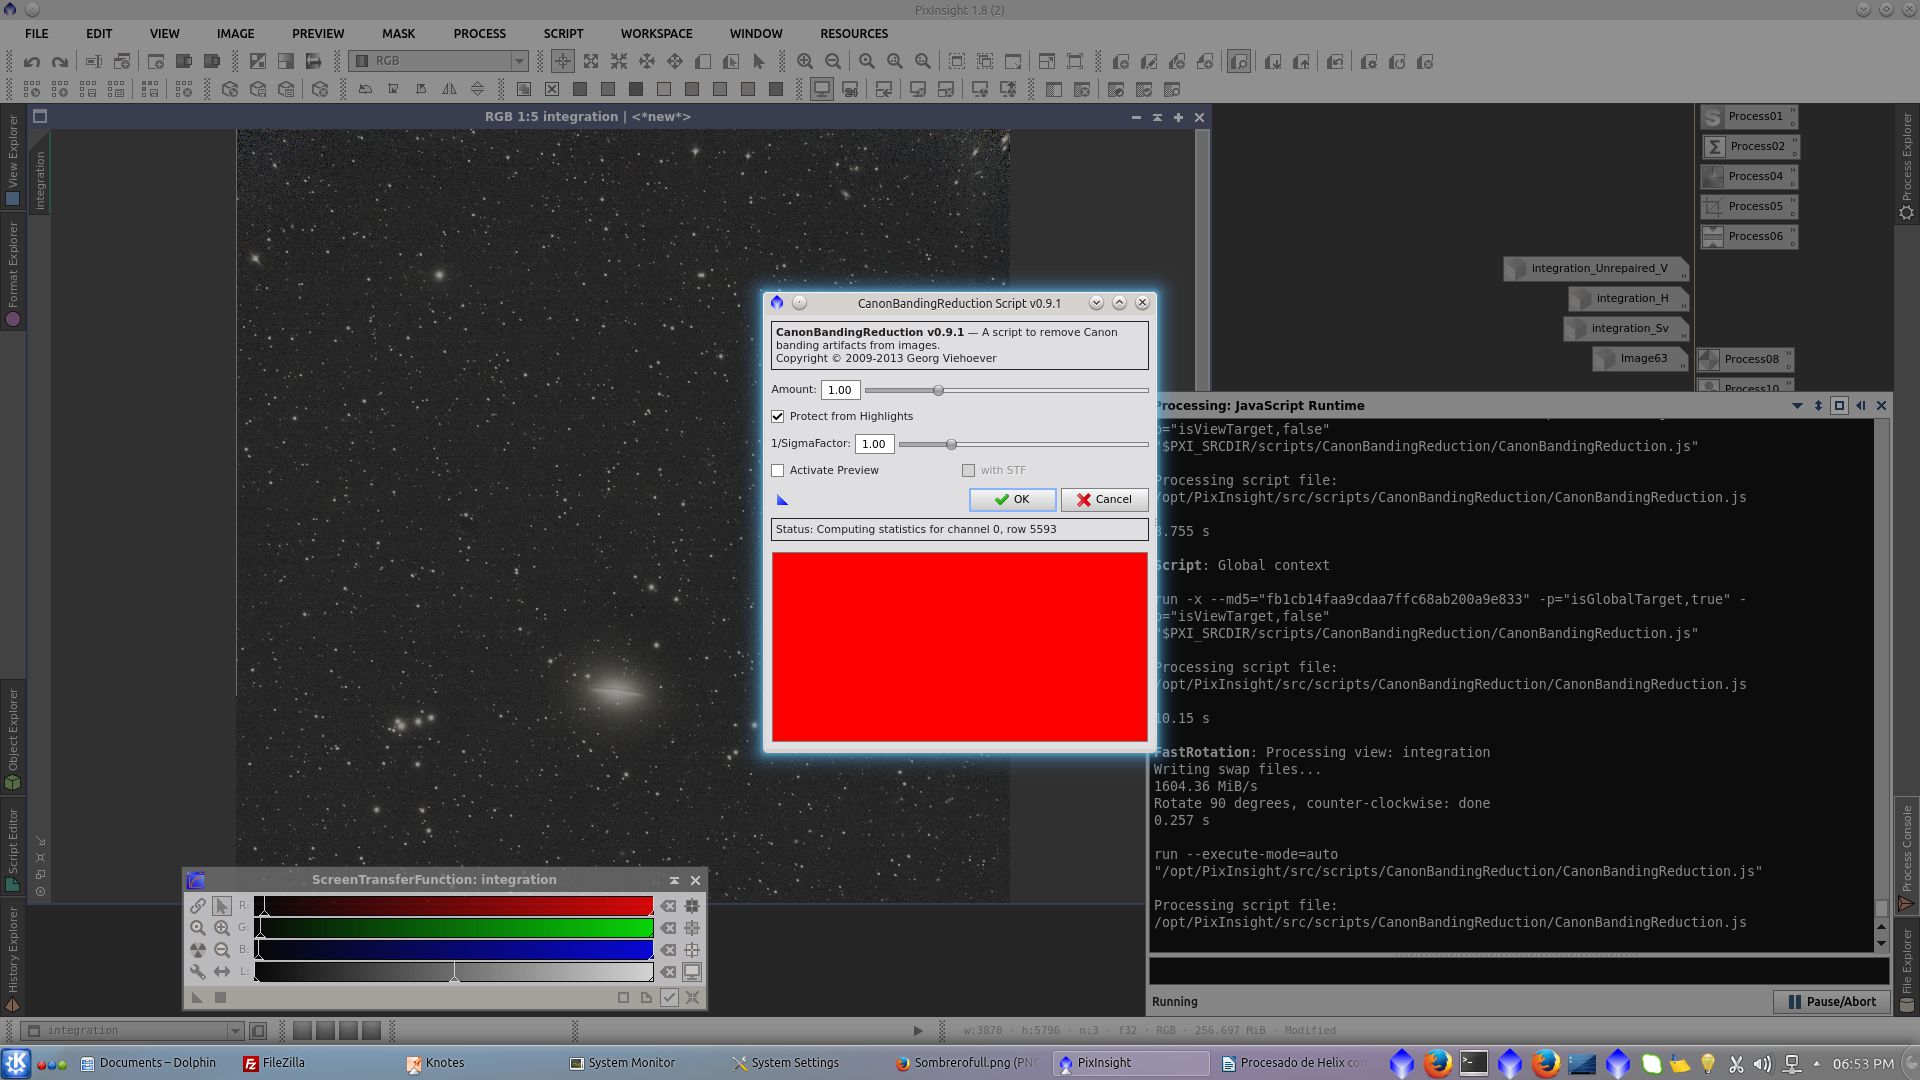
Banding correction with CanonBandingReduction script, first horizontally
Banding correction with CanonBandingReduction script, rotate 90º degree to correct slight vertical banding.
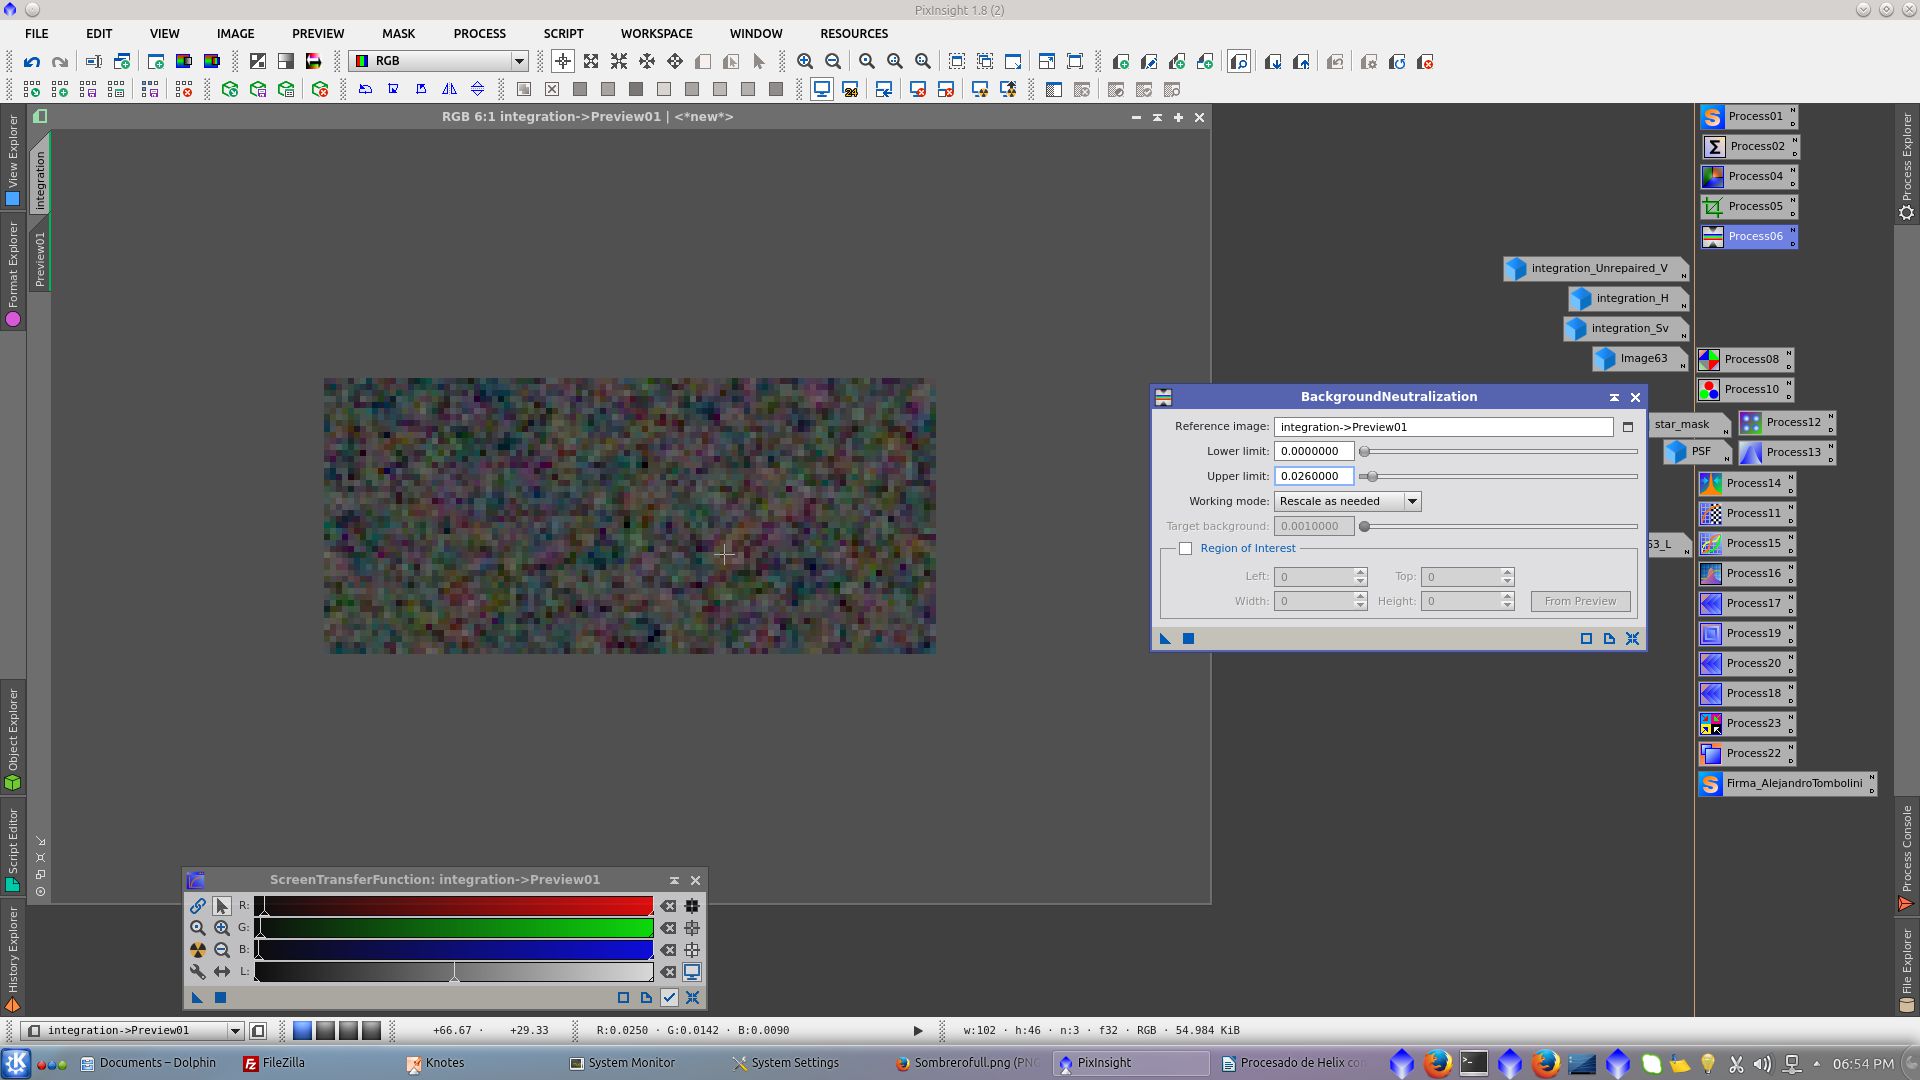
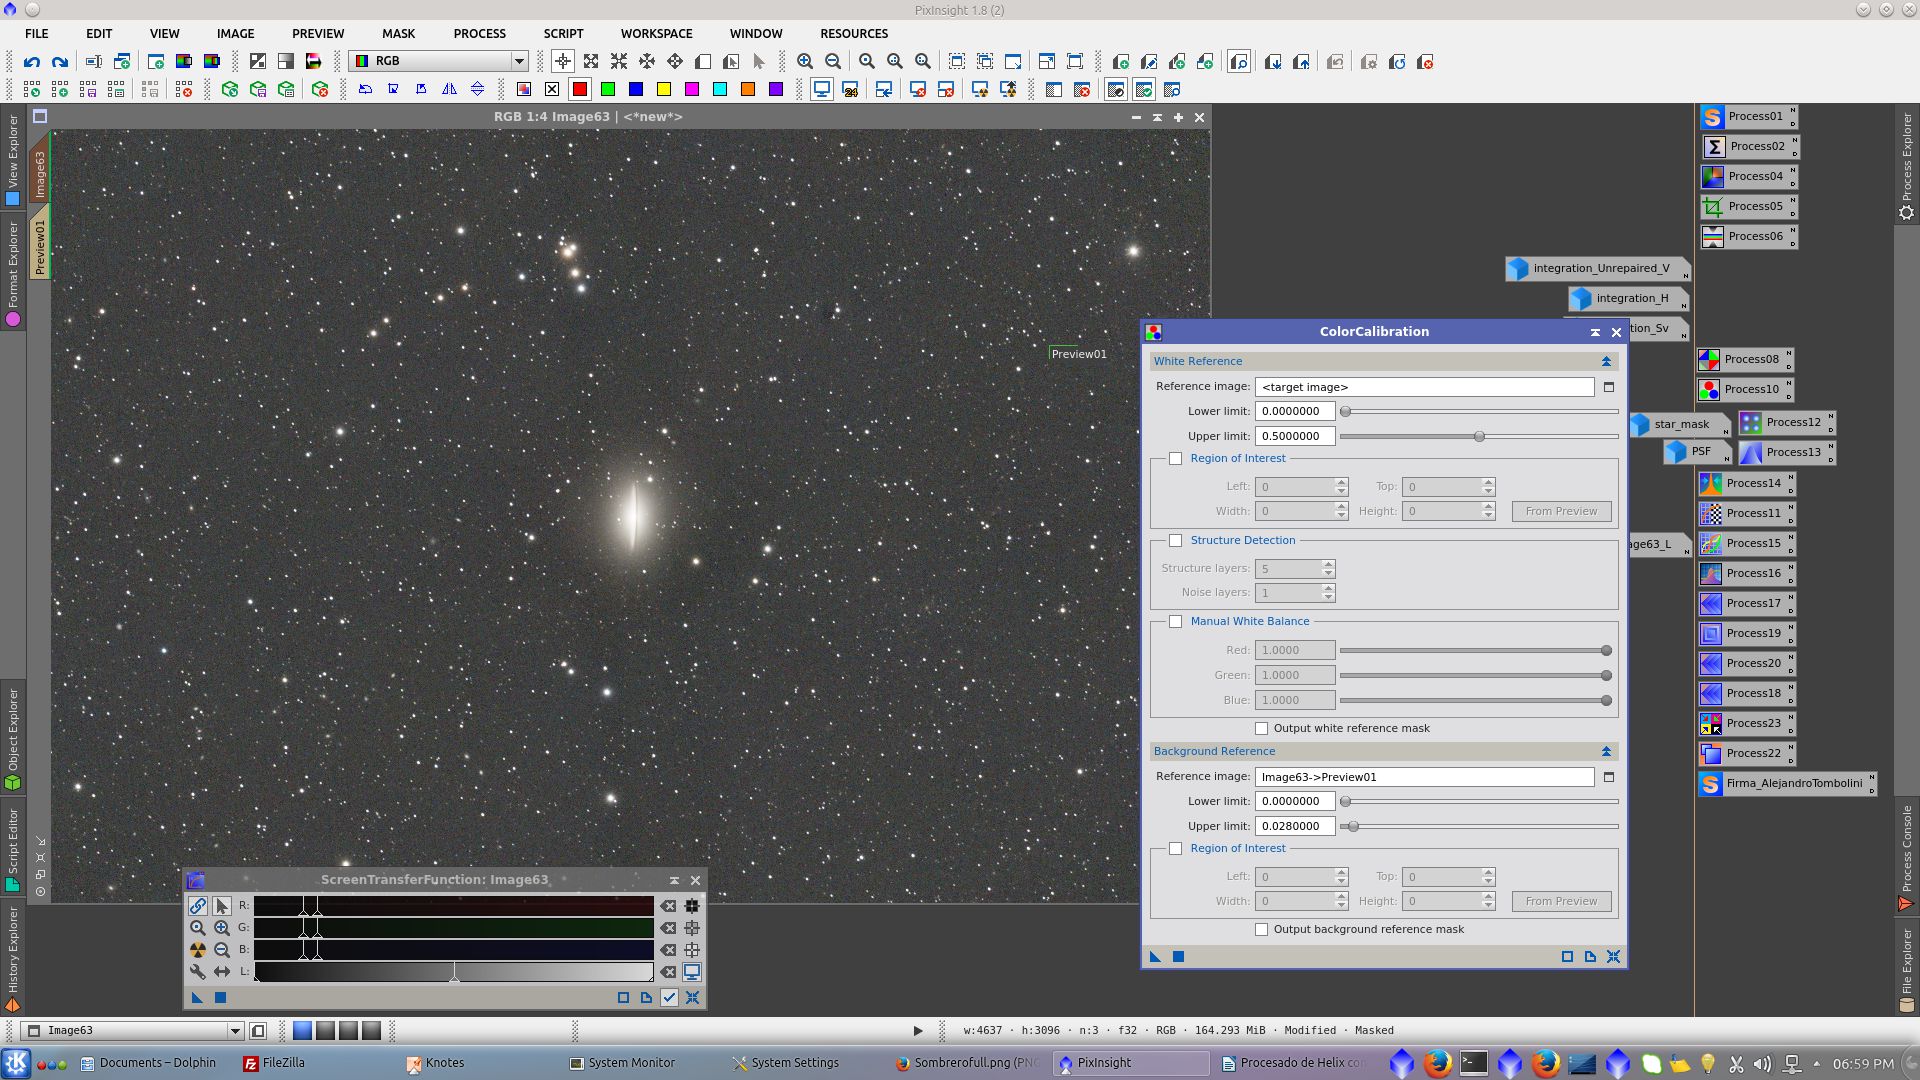
Select a preview to use as reference image in BackgroundNeutralization tool. Read carefully the value to be used as upper limit
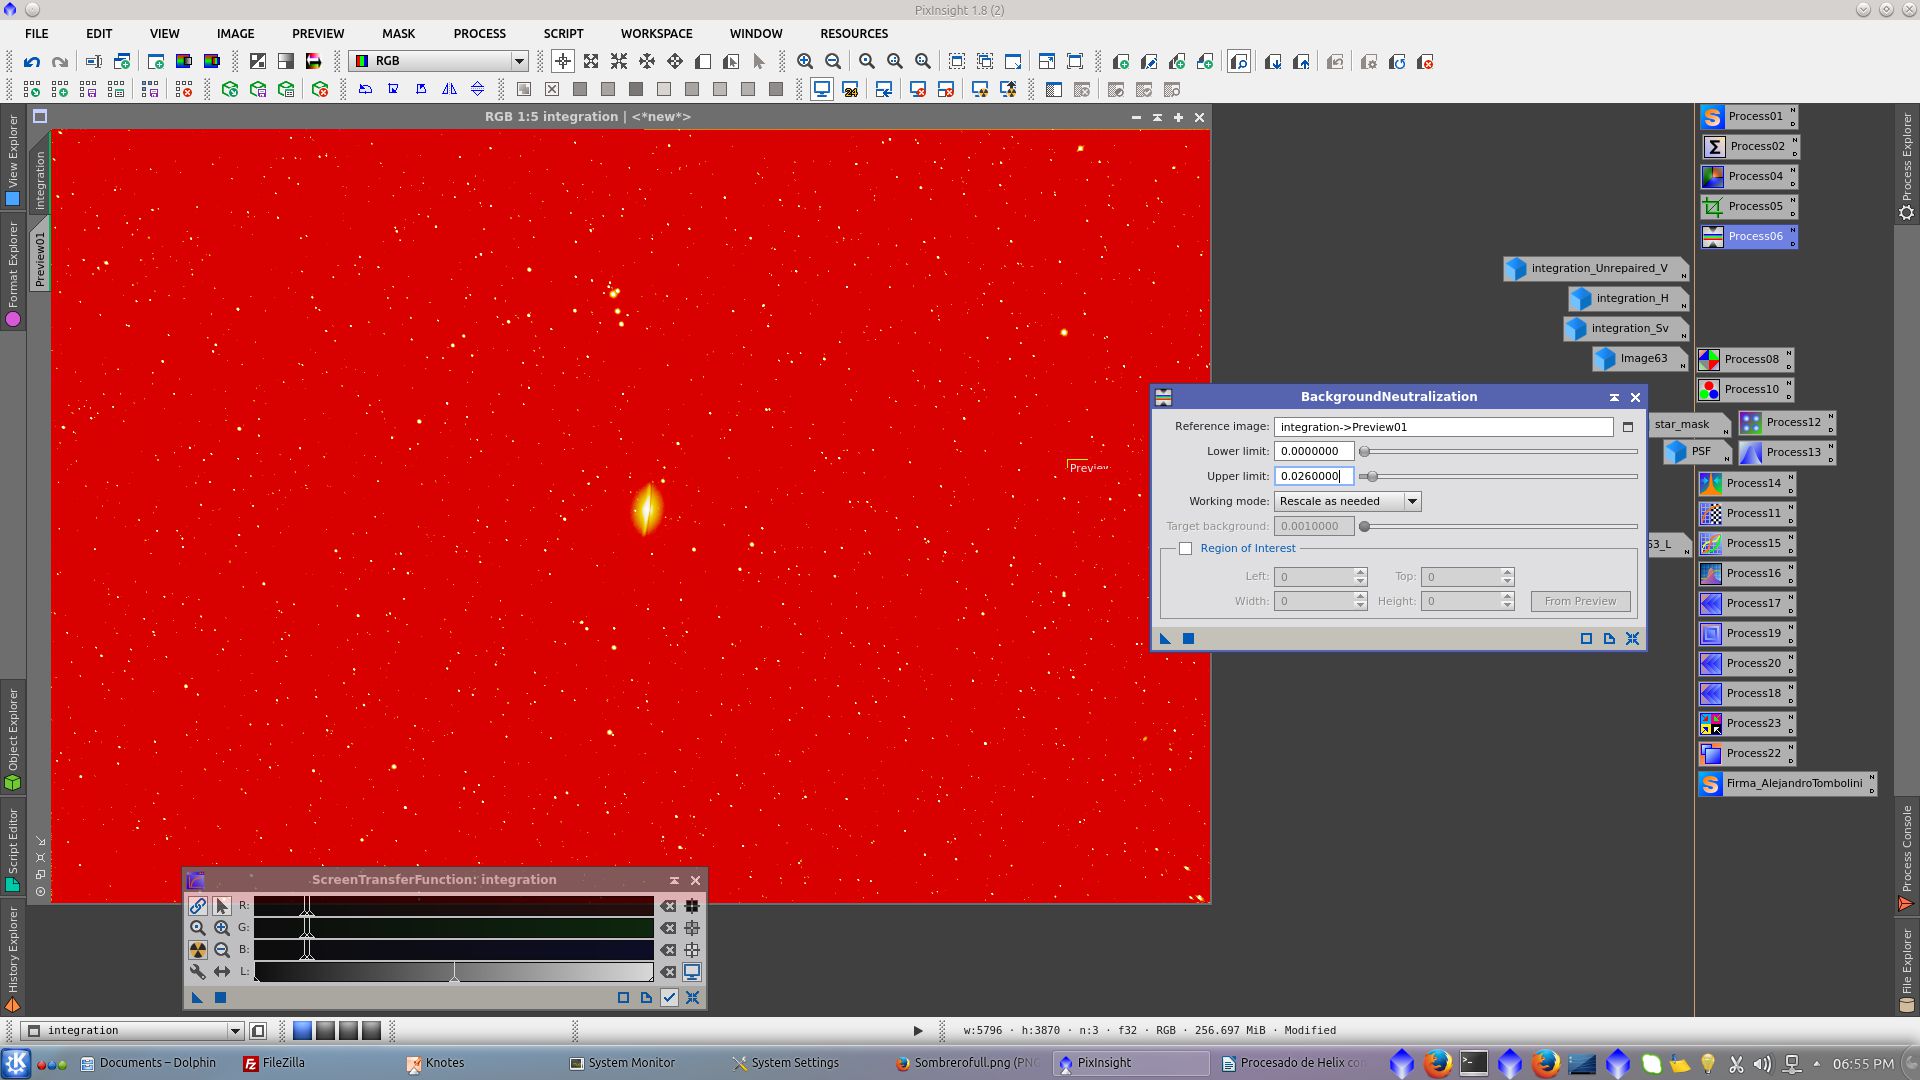
Apply STF with link channels and observe that red is dominant in the background
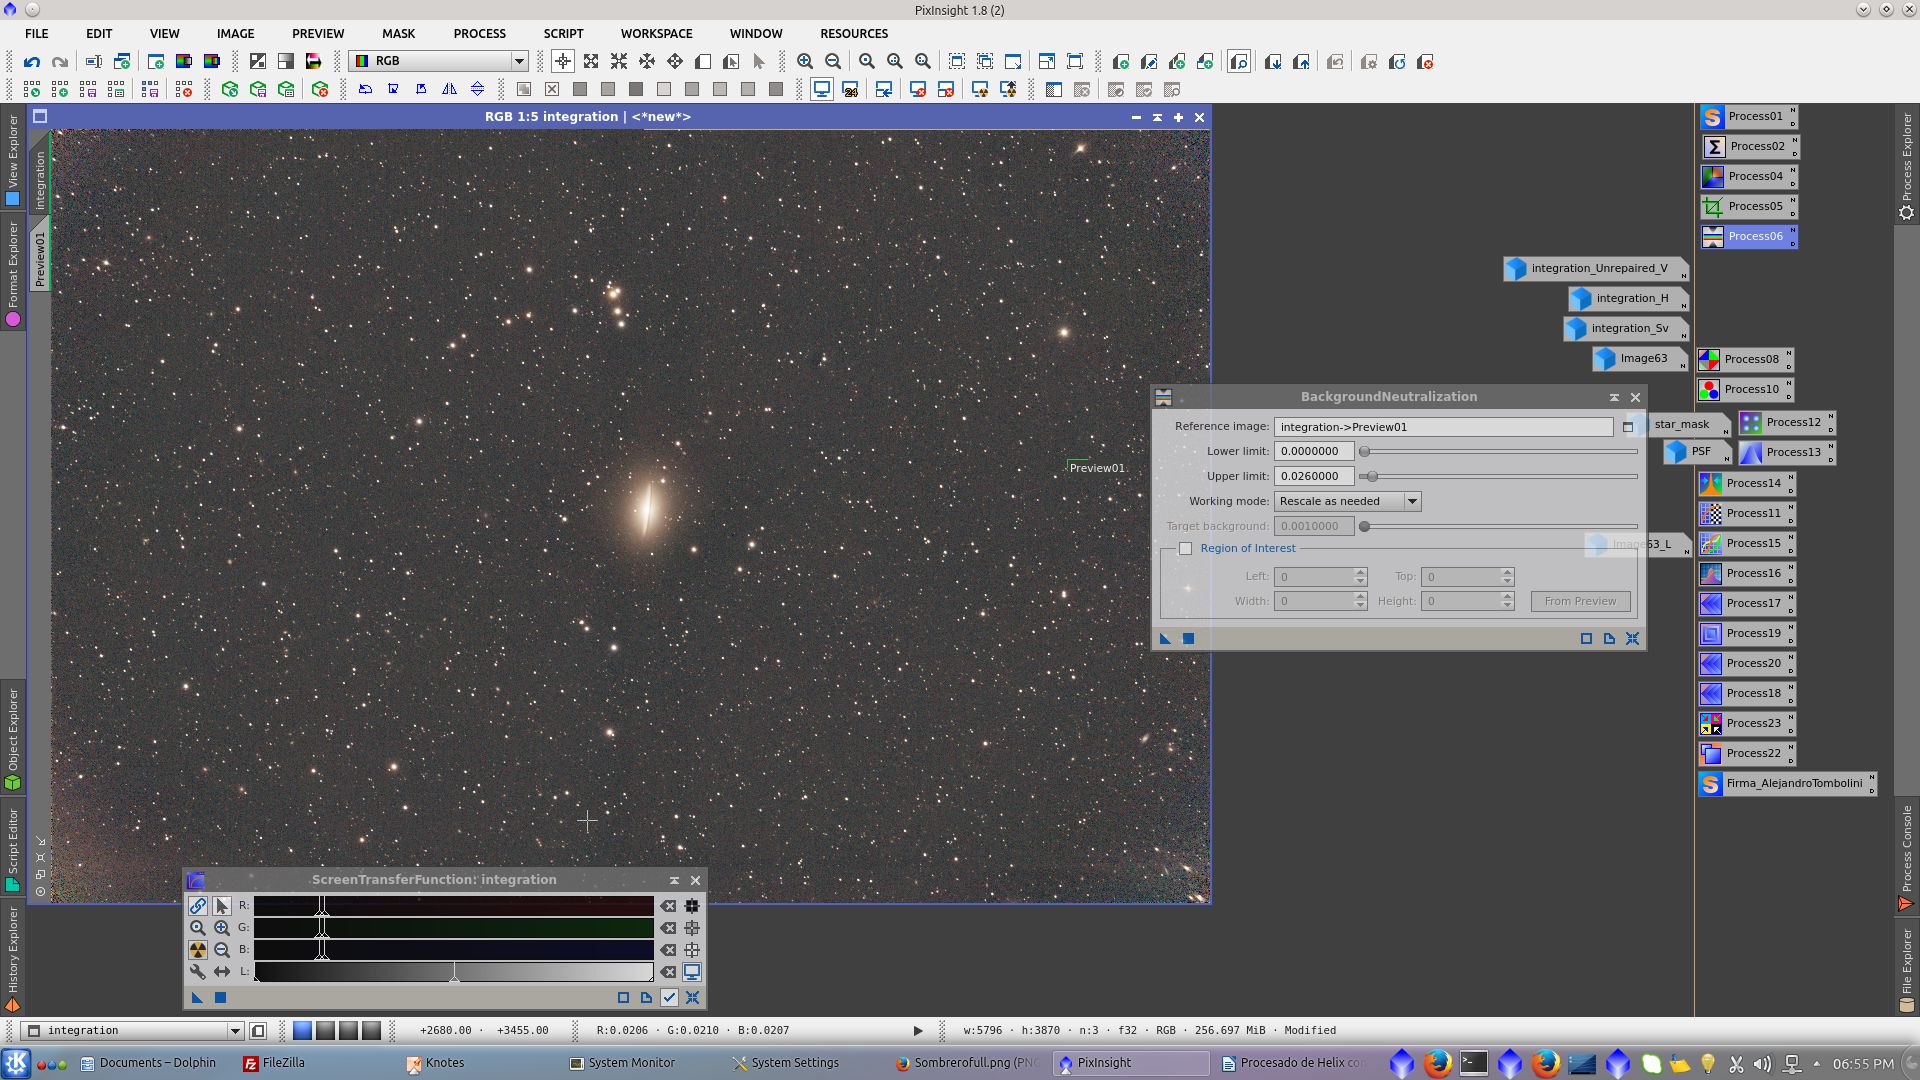
Apply BackgroundNeutralization. The background is now neutral and the image is ready for color calibration.
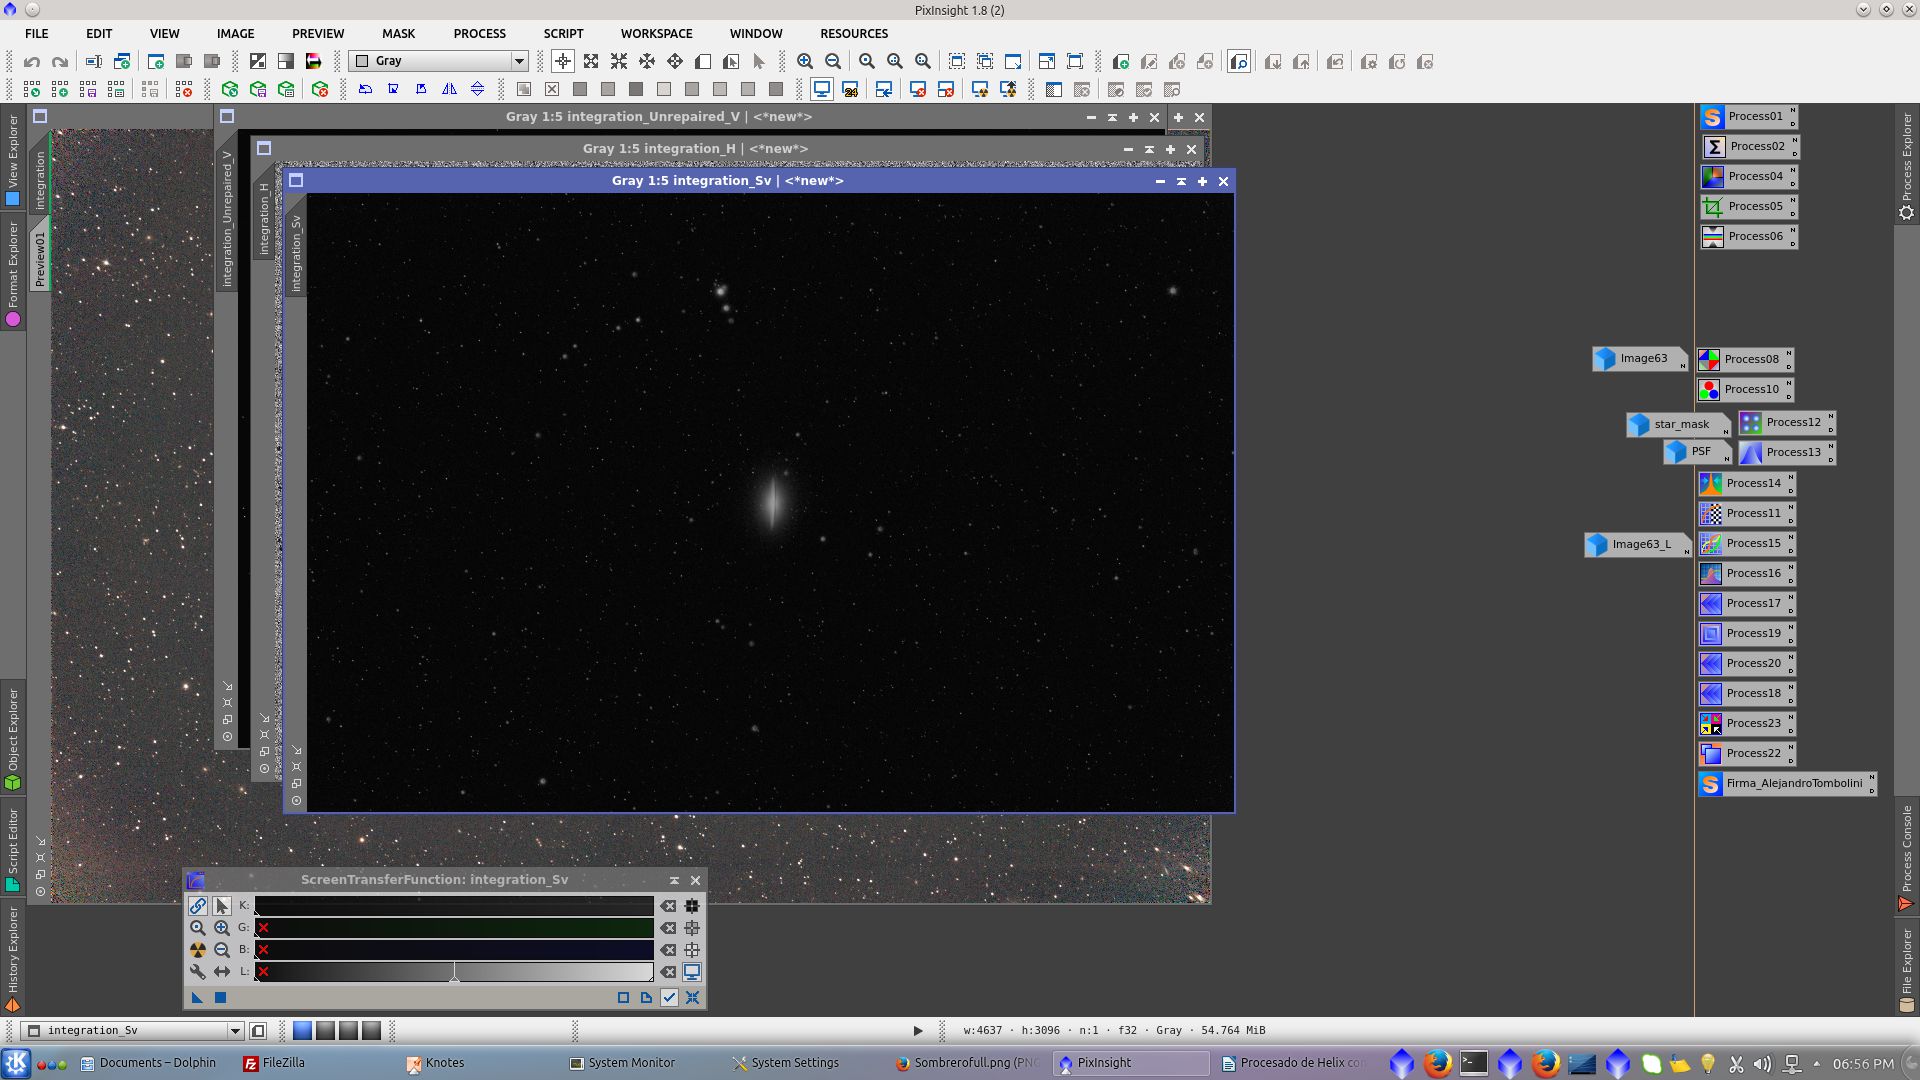
The bright stars and the core of the galaxy are saturated. Did a little crop and then applied Repaired HSV Separation script to correct it.
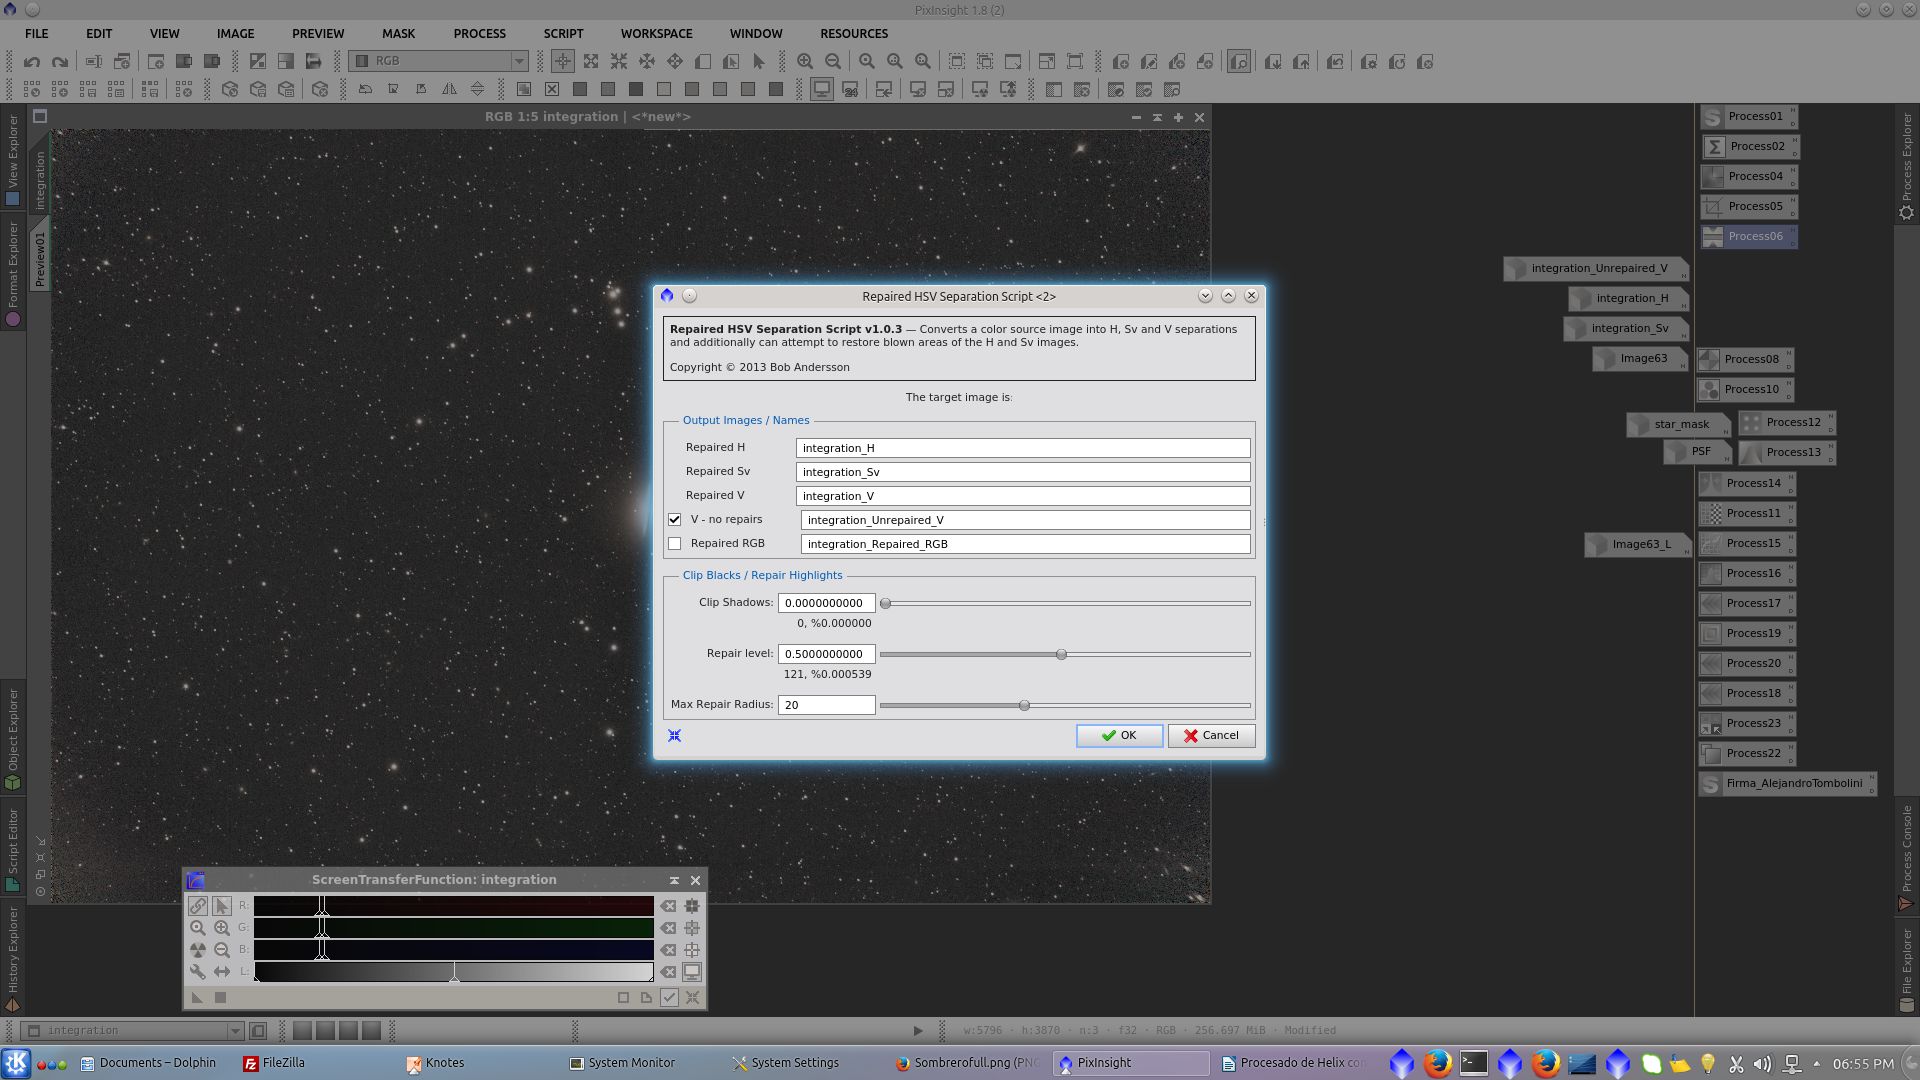
Adjust the radius and the level of reparation and generate also the Unreapaired_V image
Open ChannelCombination tool to combine channels. Check HSV space and select _H channel

Select _Sv Channel

Select Unrepaired_V image in channel _V
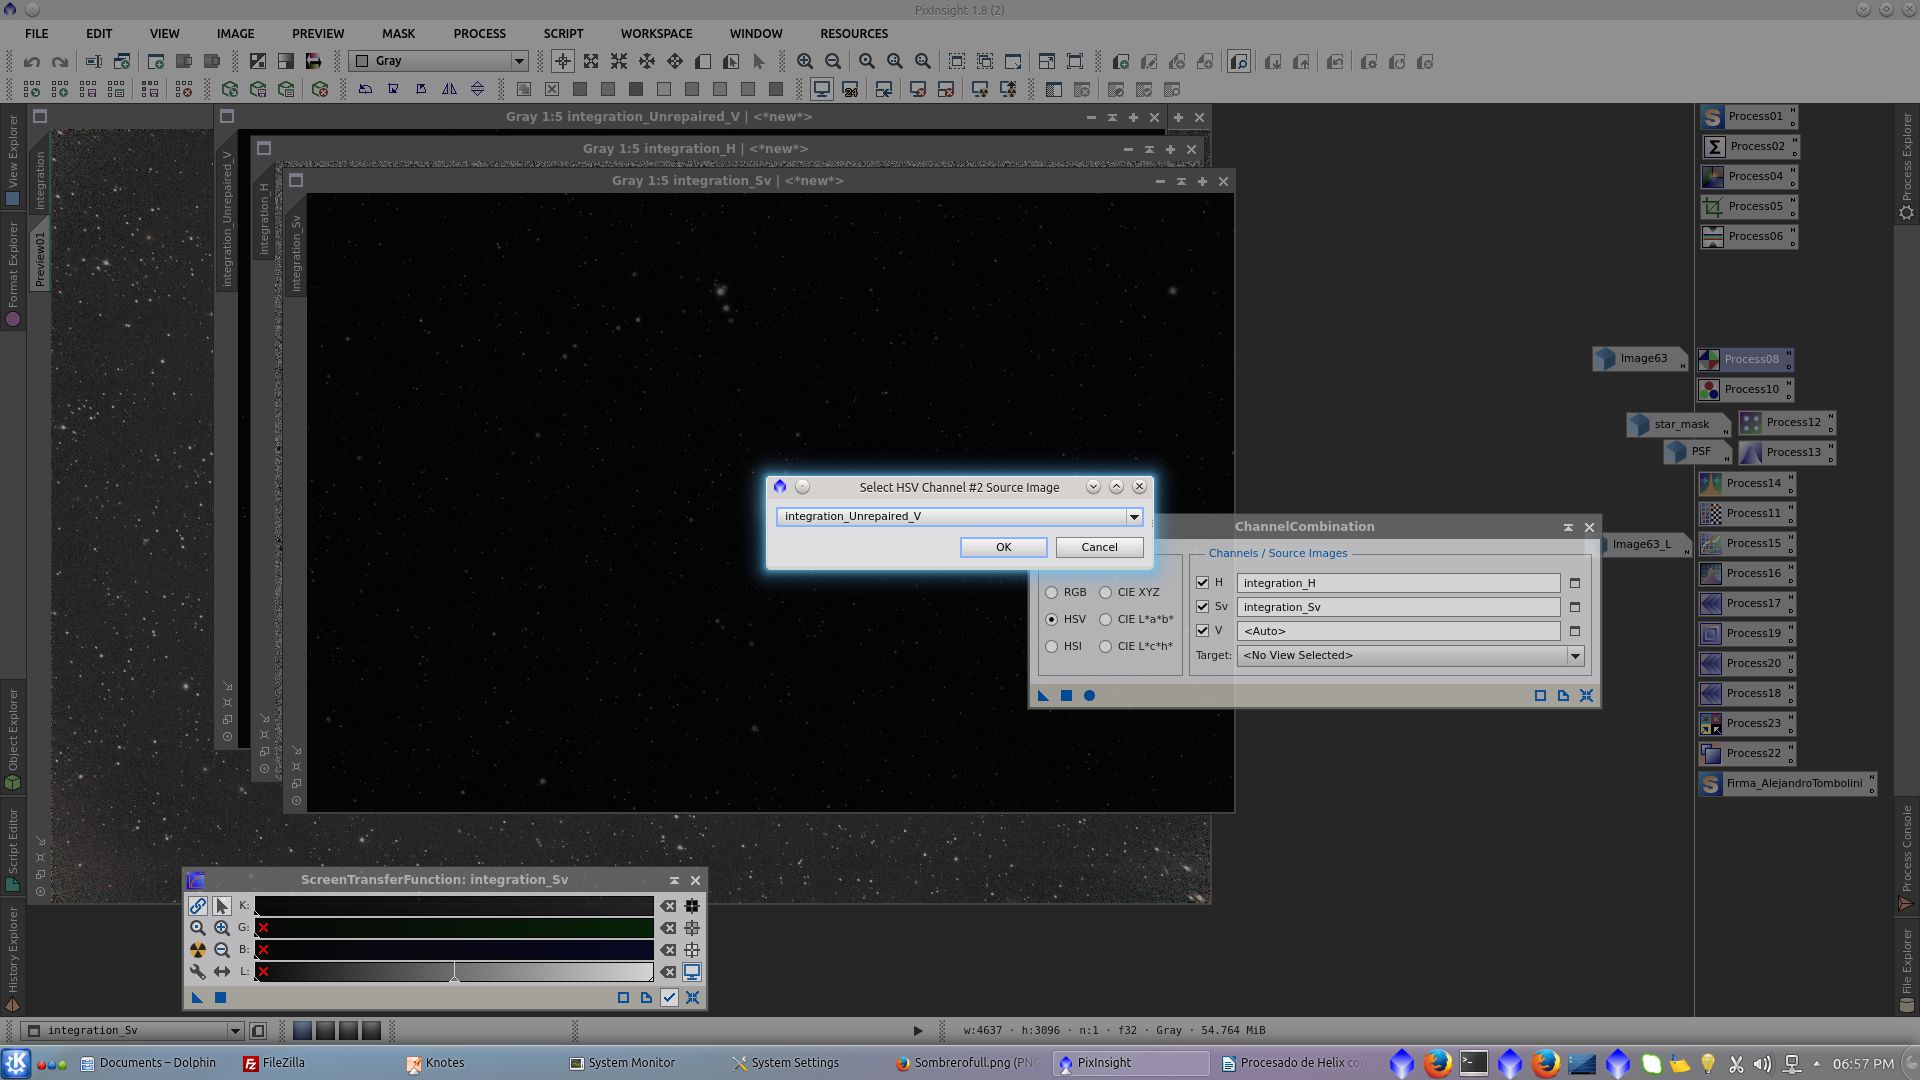
Apply global to combine the channels.
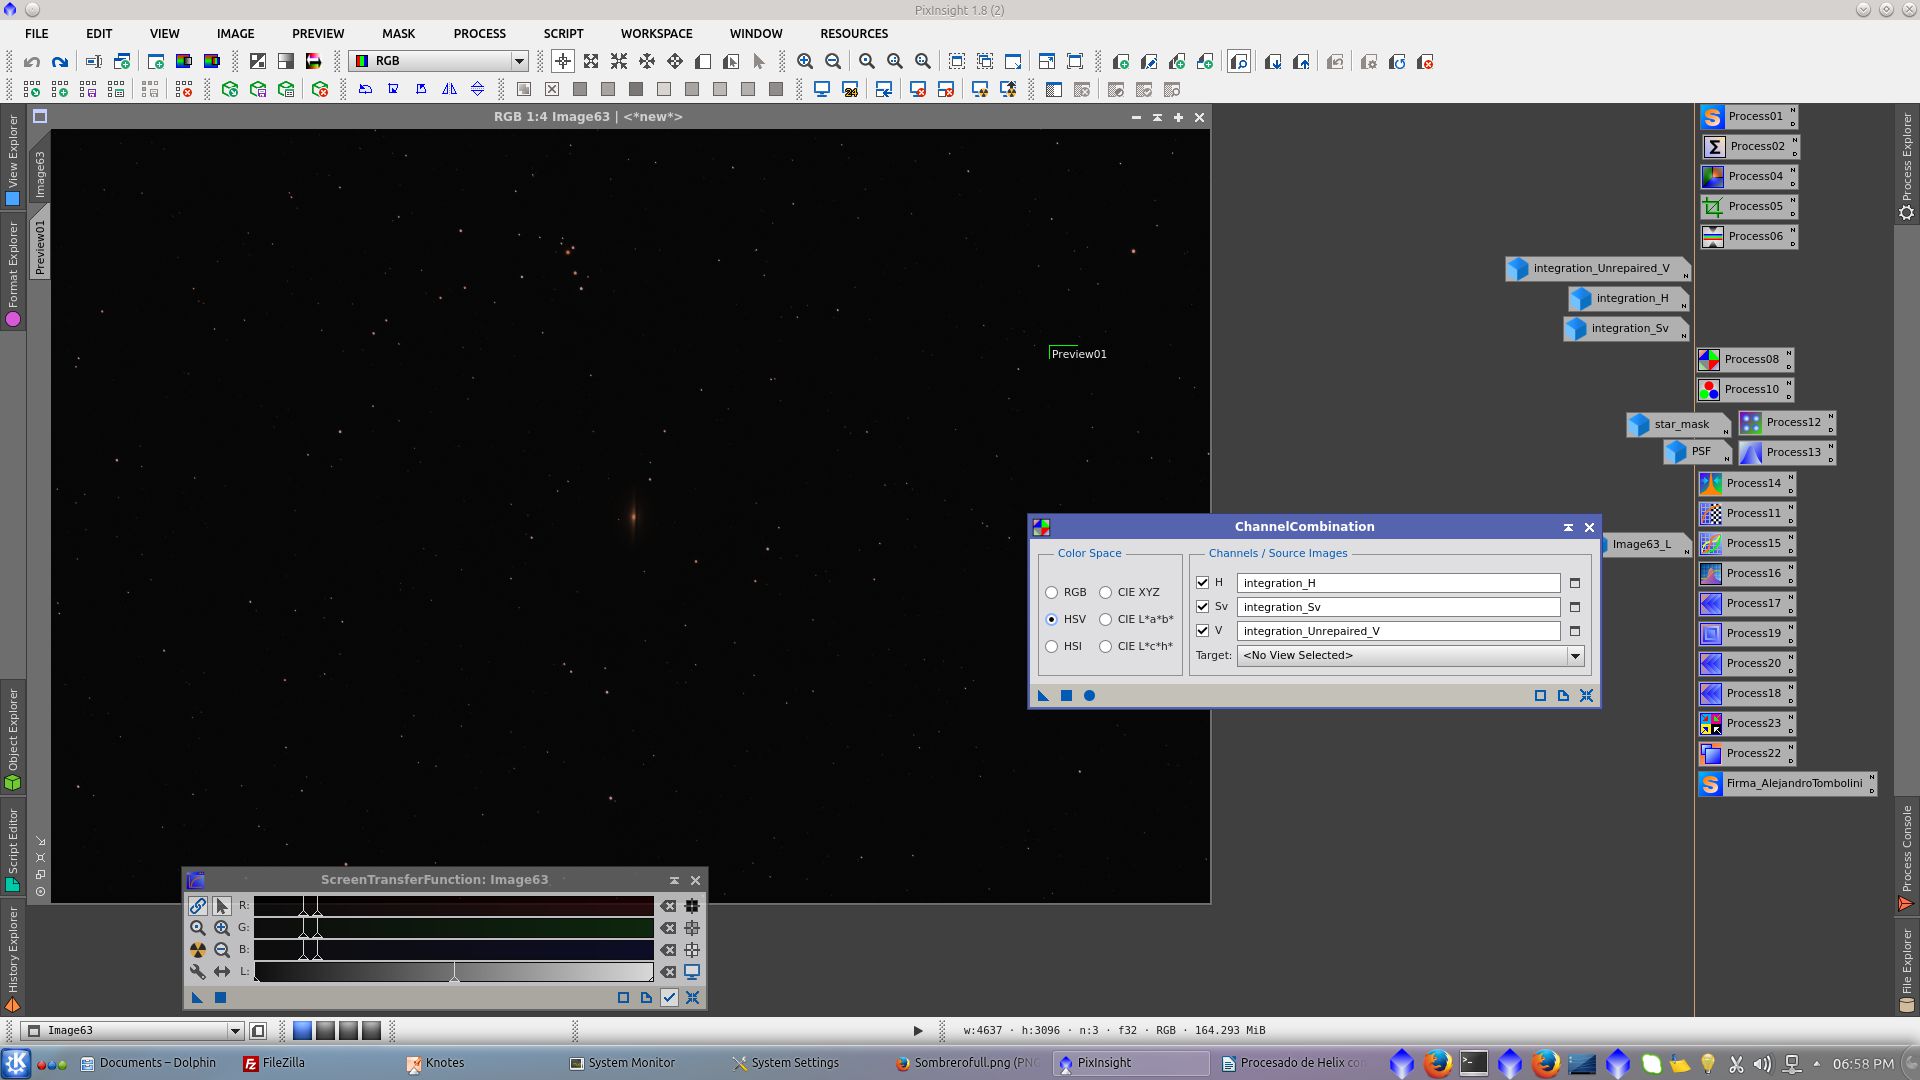
The new combinated image shows the colors in the saturated stars and the core of the galaxy.
Inspect the image and the preview to determine the right values for upper limit of the Reference image in background reference and white reference in ColorCalibration tool.
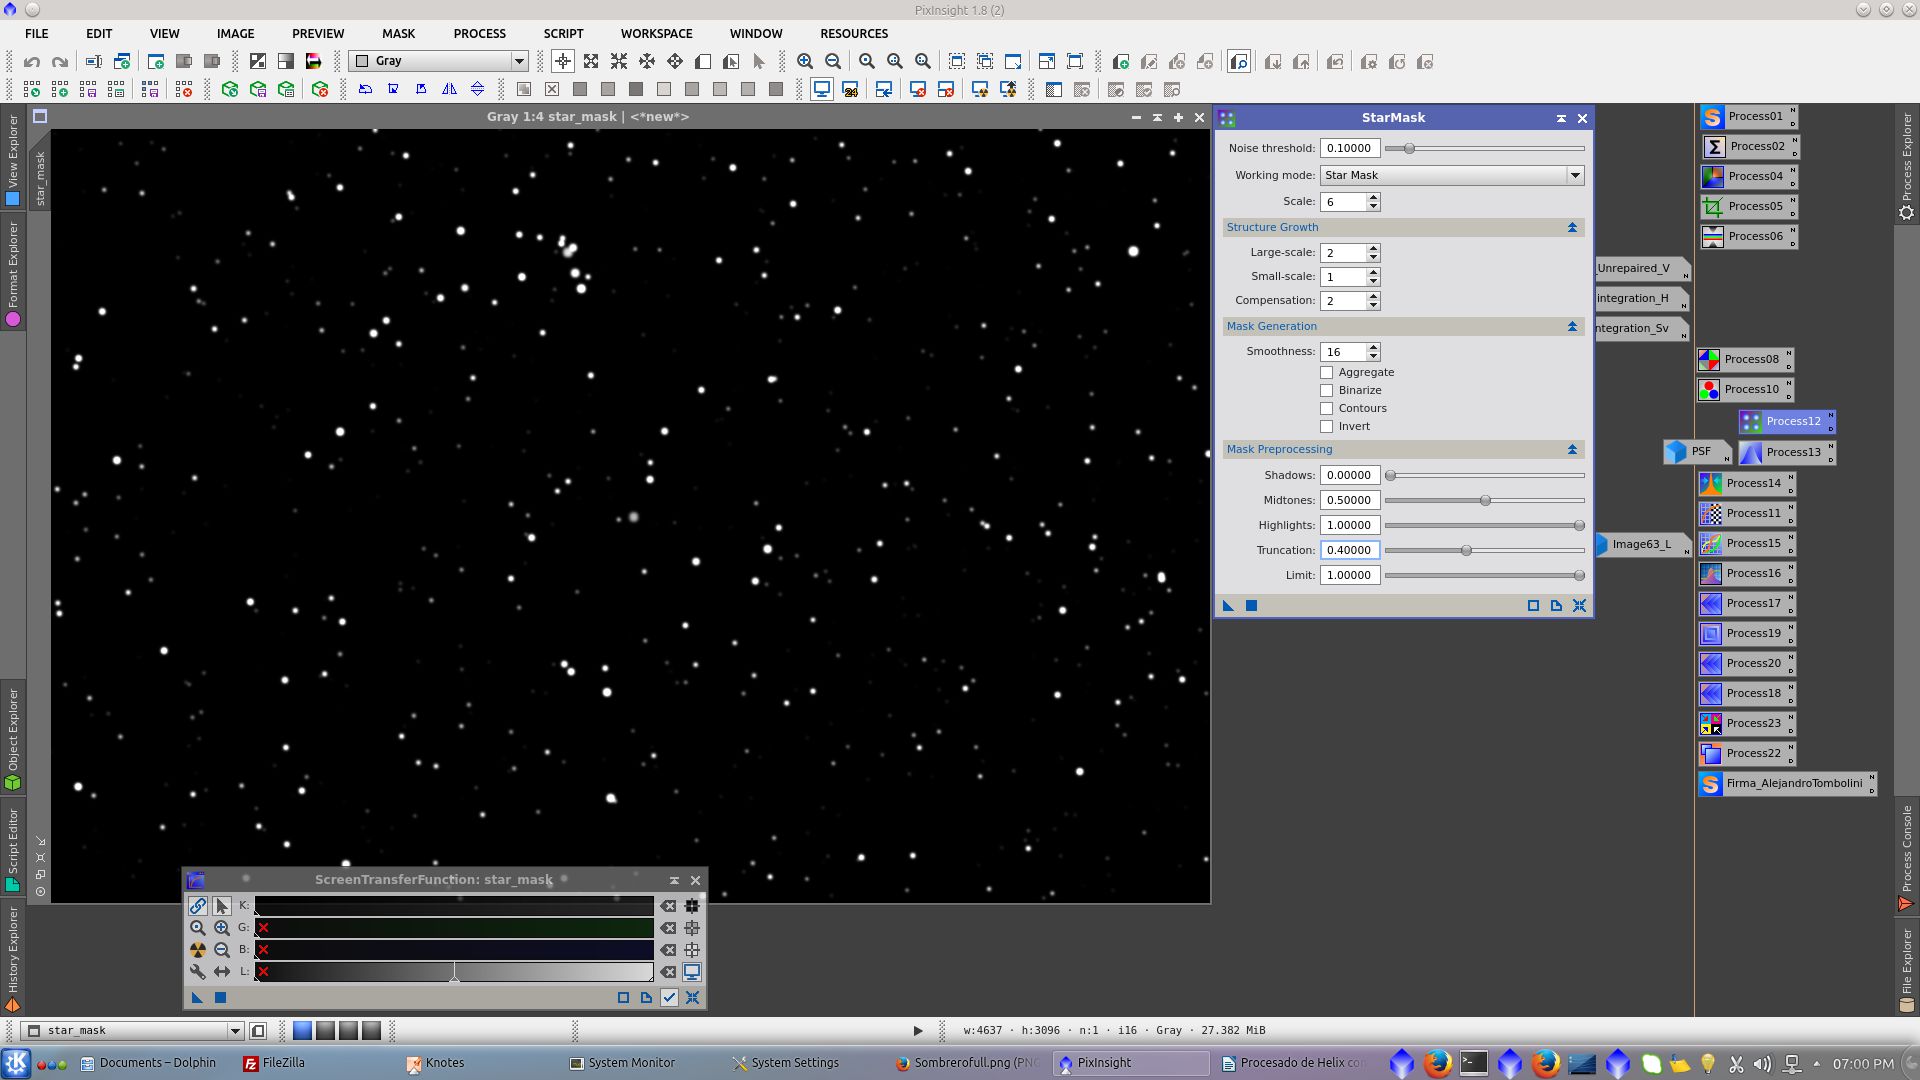
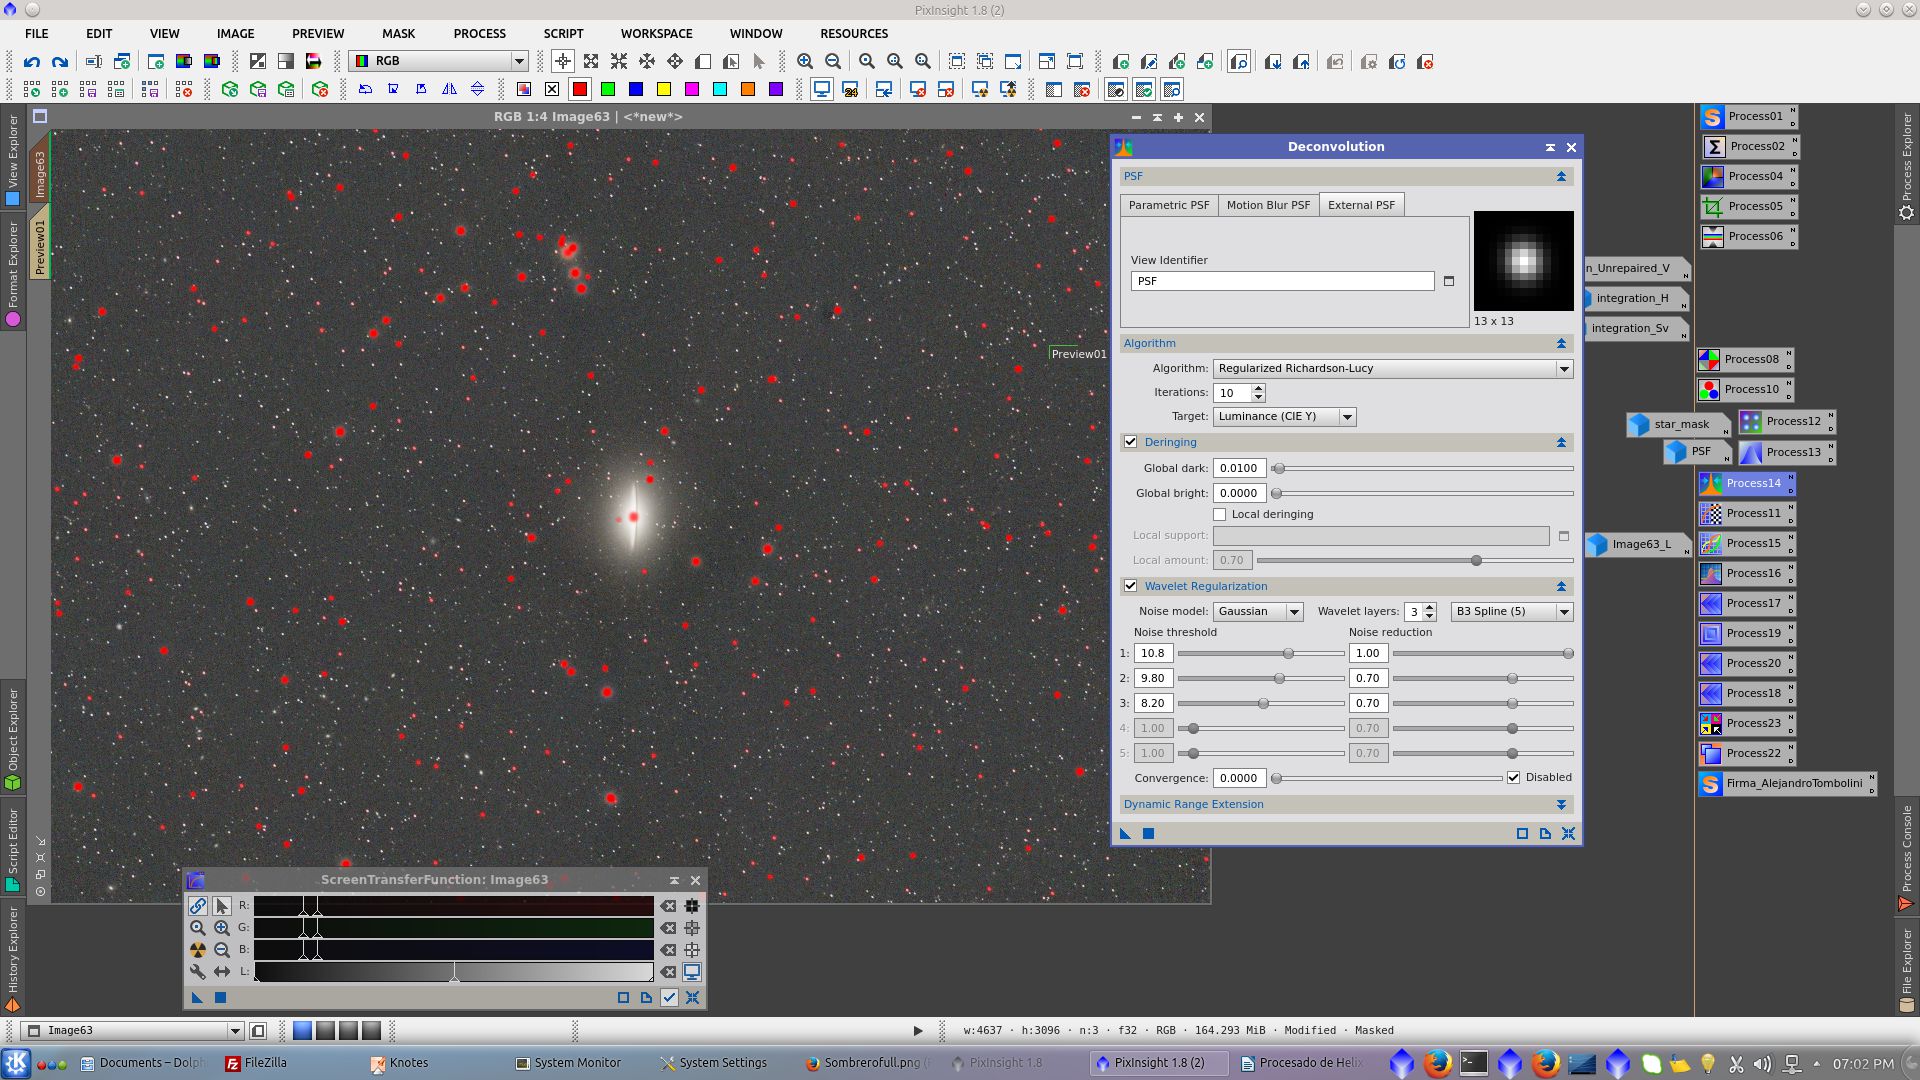
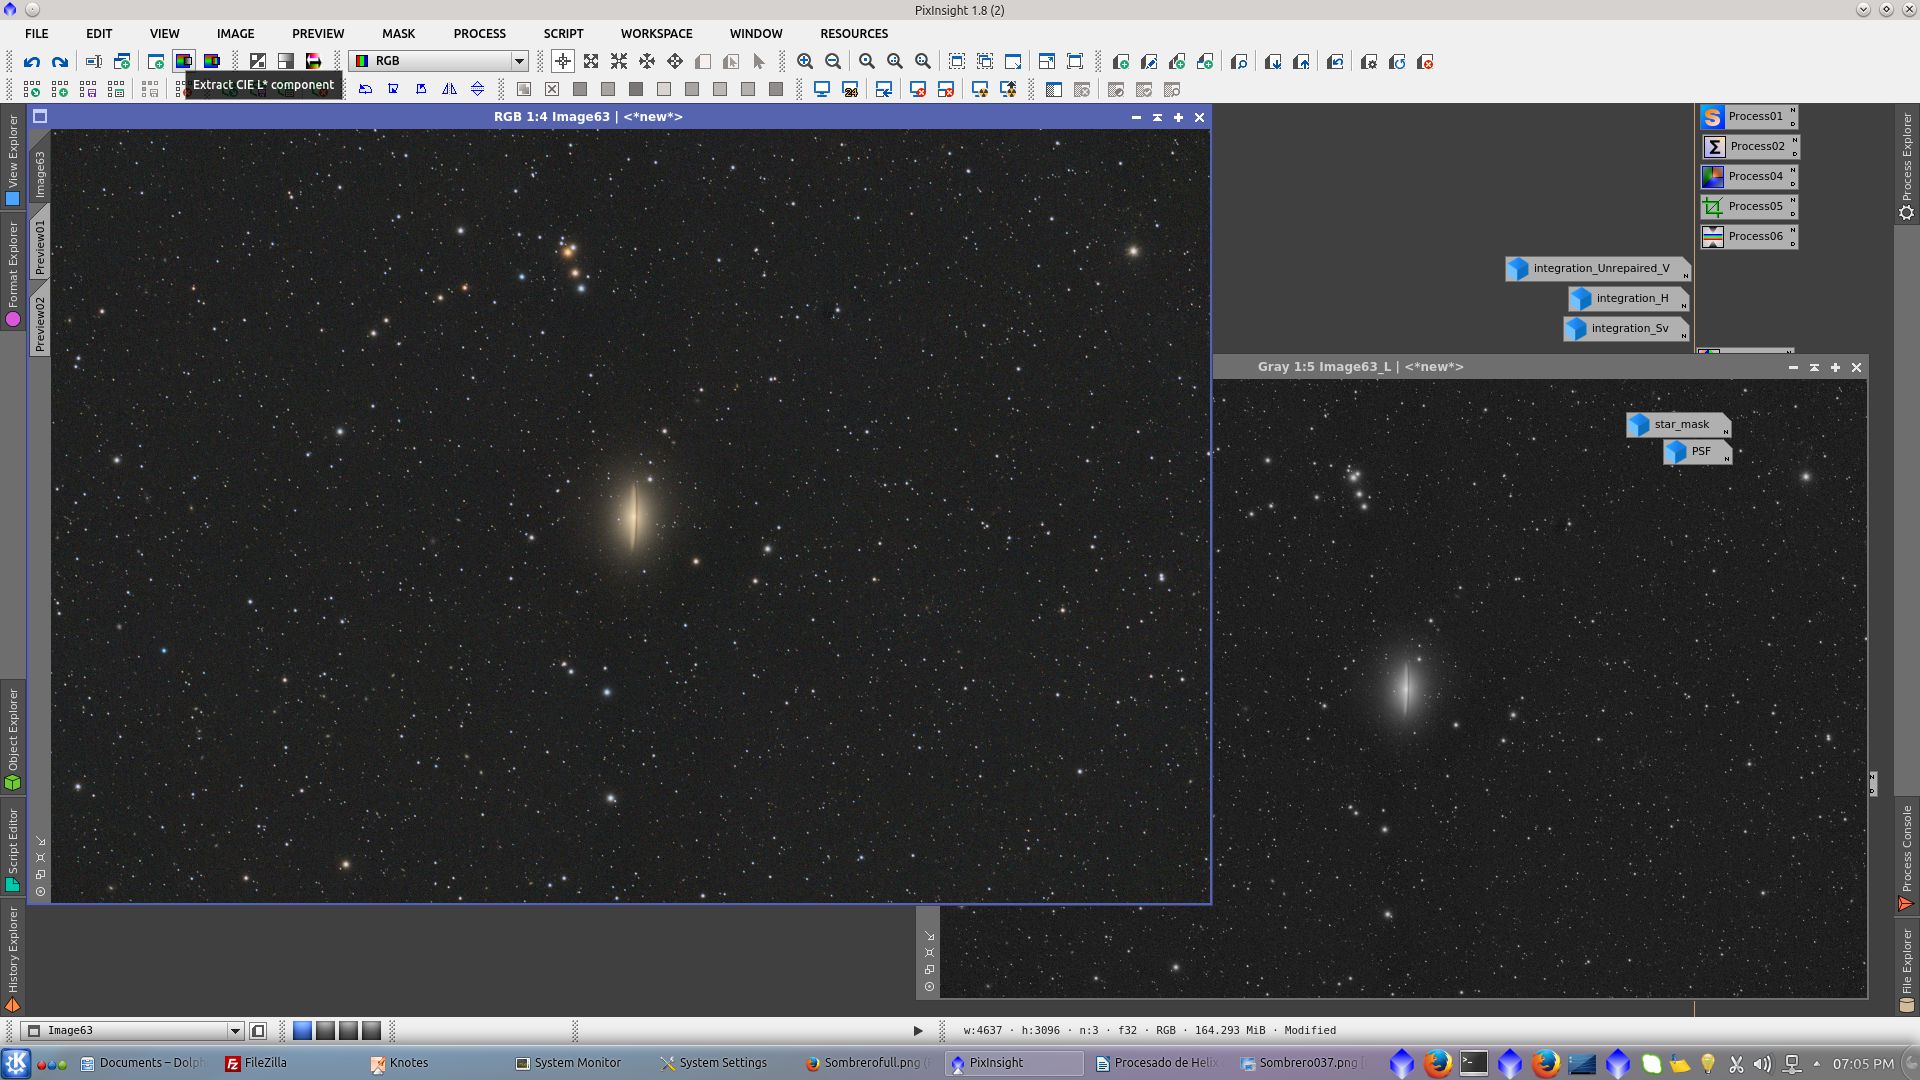
Generate a starmask with Starmask tool to be used to protect stars during deconvolution. In linear images default parameters works quite well, in this example only increased a little Scale to include to core of the galaxy and decreased Truncation to make the mask stronger in the center of the stars
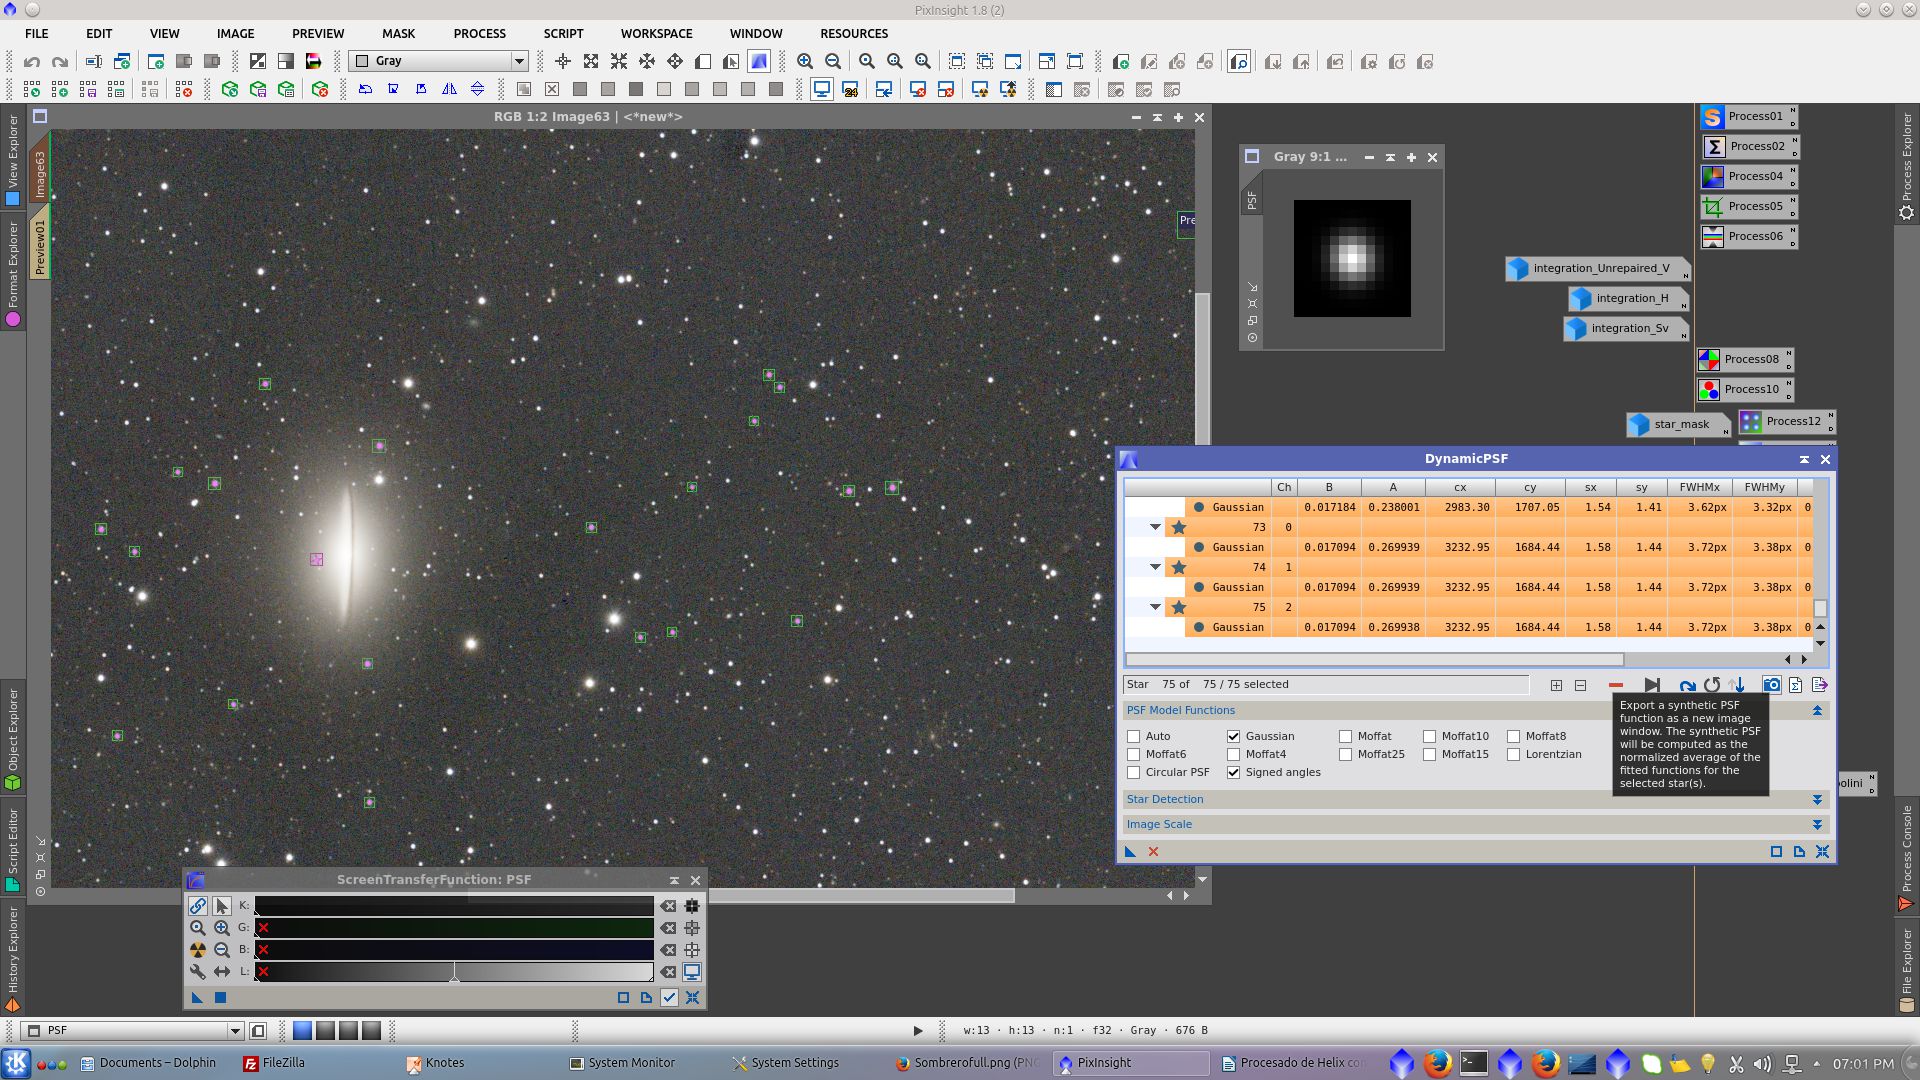
Open DynamicPSF to generate a PSF to be used as reference image in Deconvolution tool
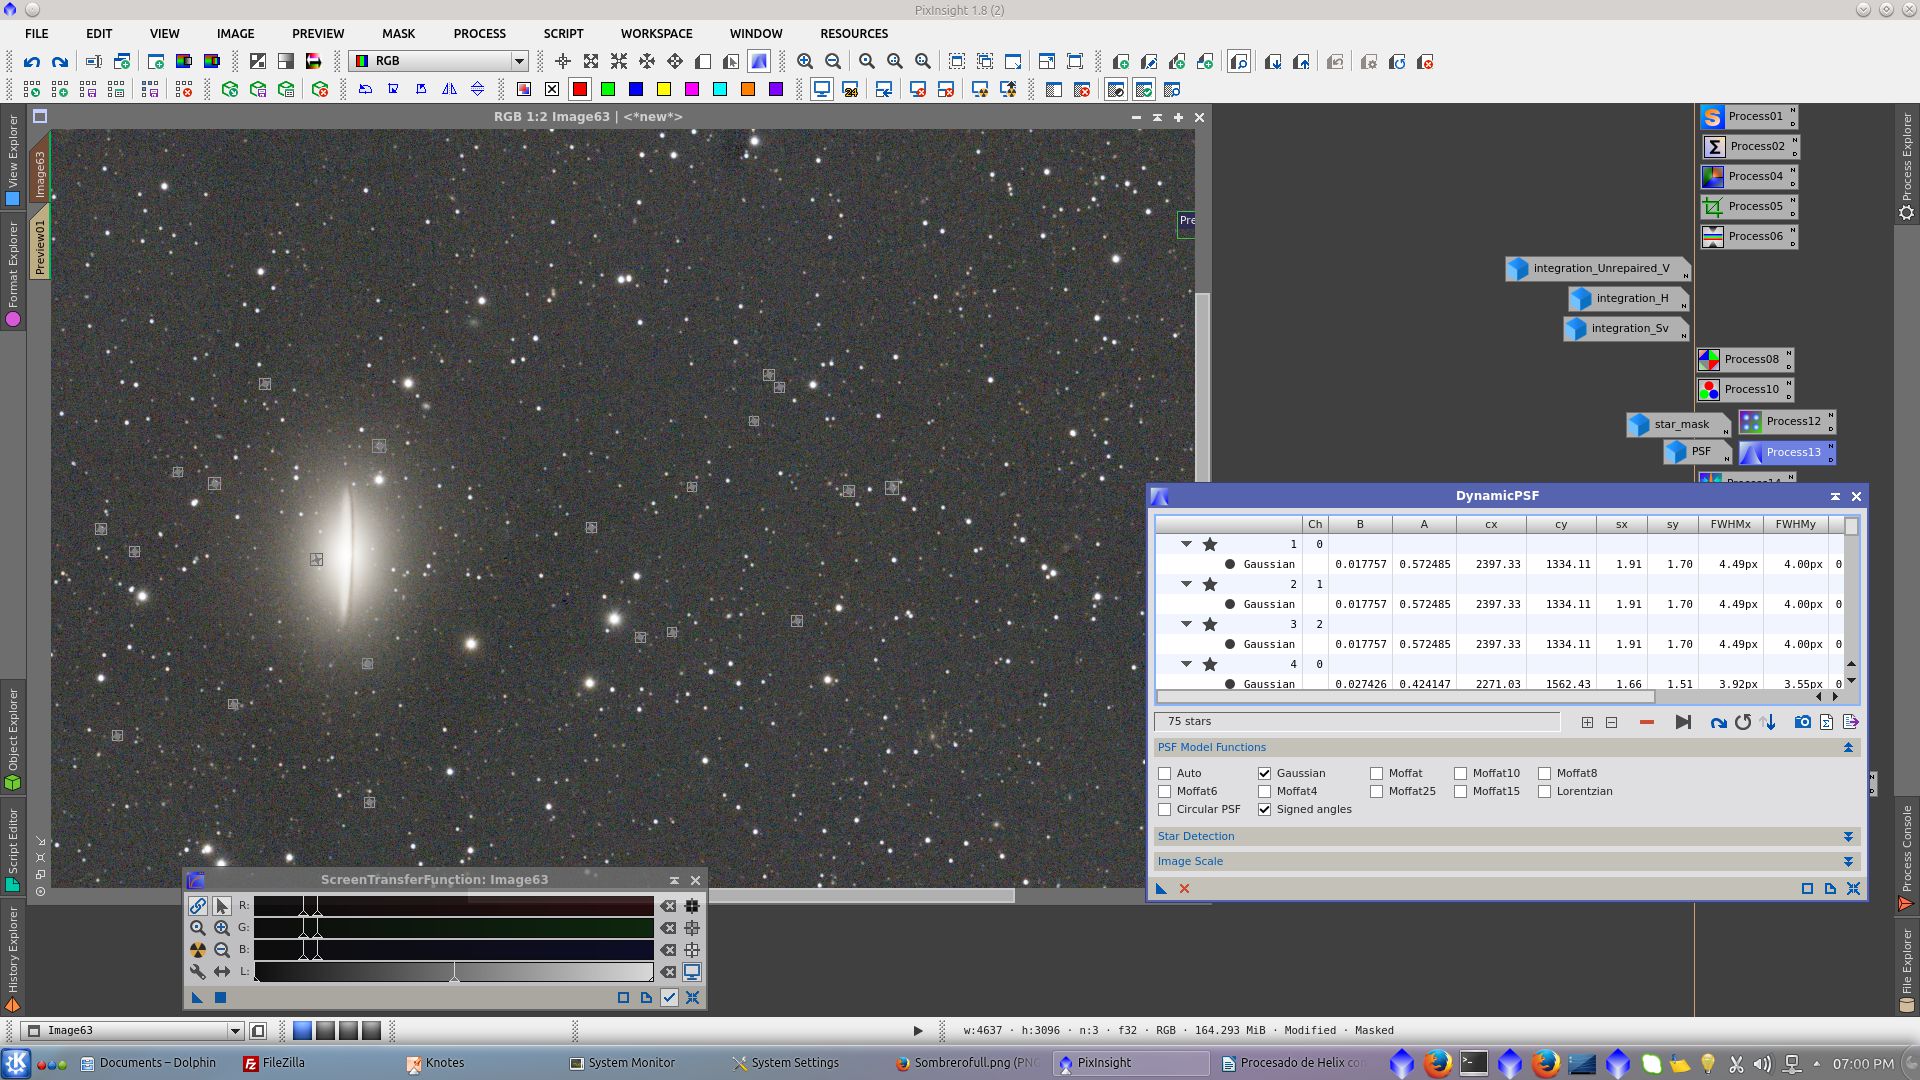
Once select a number of stars near the center of the image, select them in DynamicPSF tool and click on Export PSF to generate the image
Now apply Deconvolution protecting the stars cores with starmask. First select the generated PSF from External PSF tab
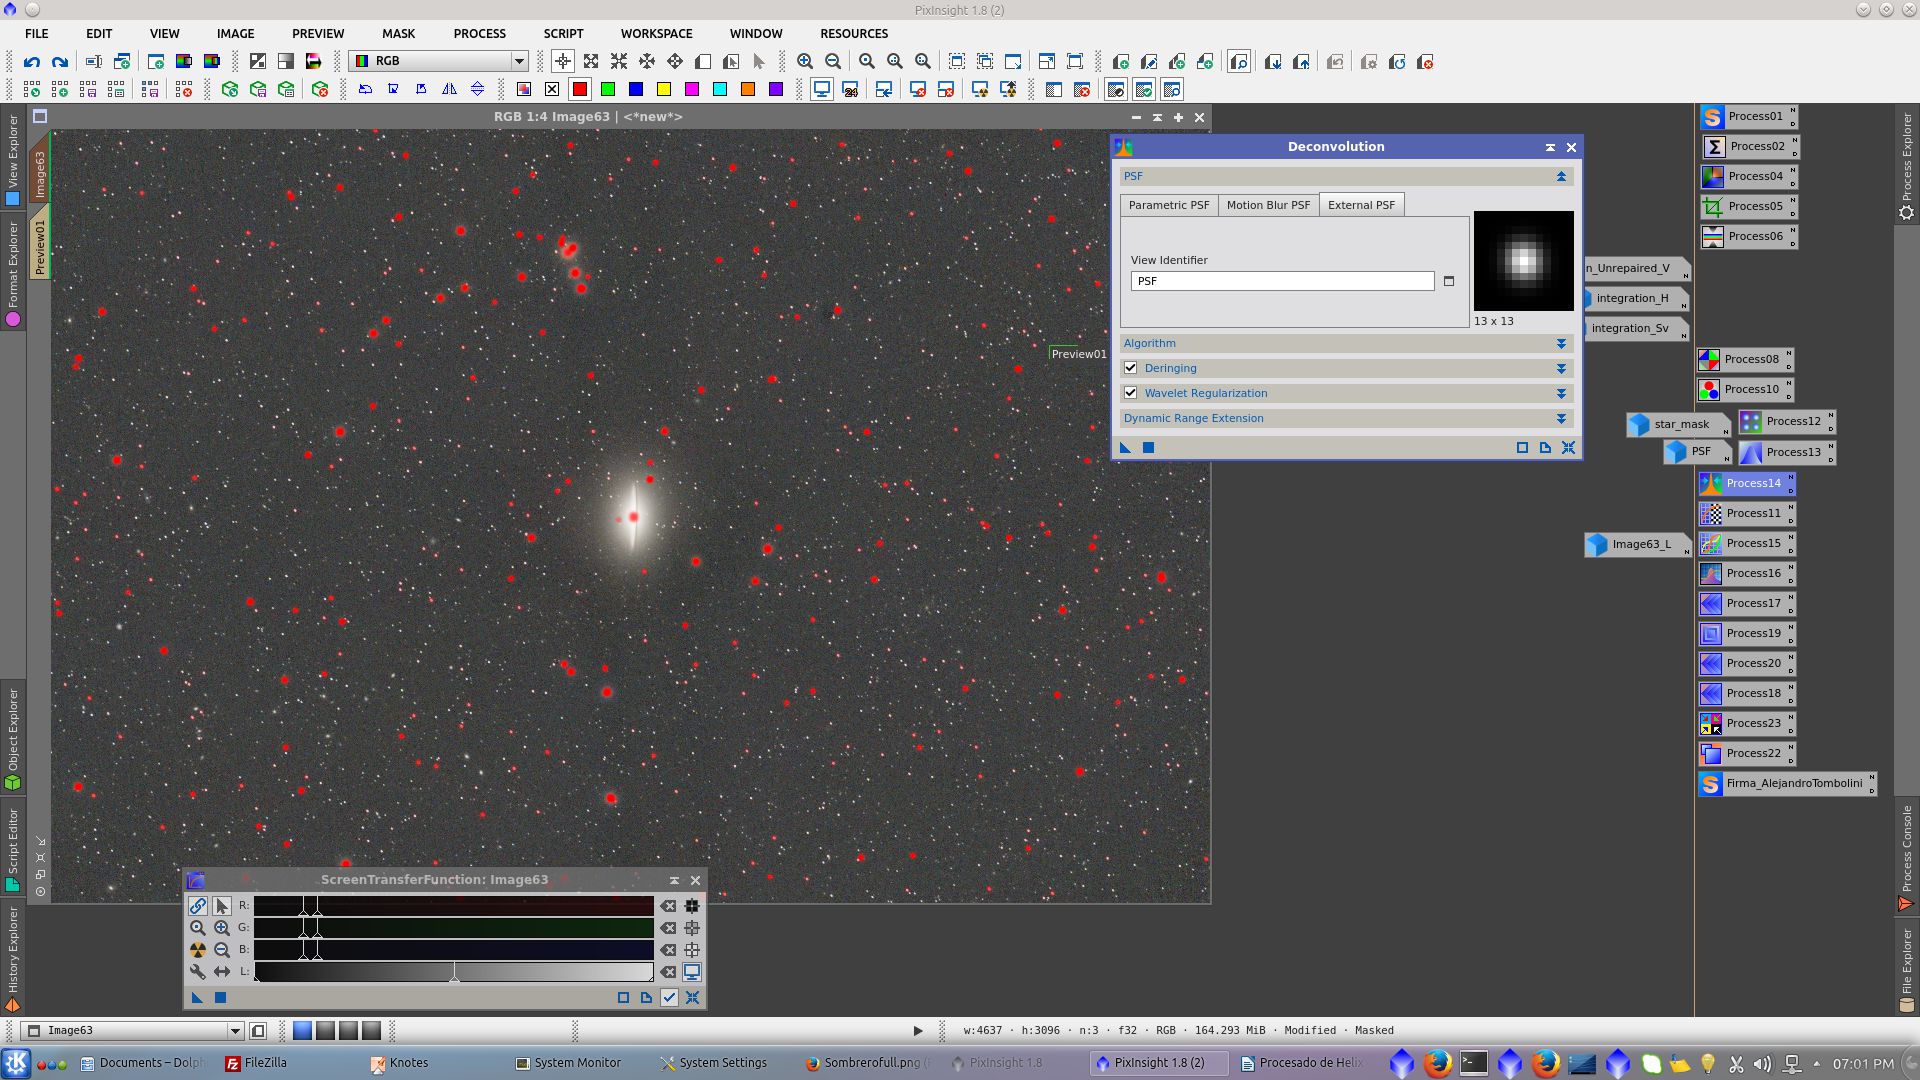
Choose the algorithm. I leave it as default
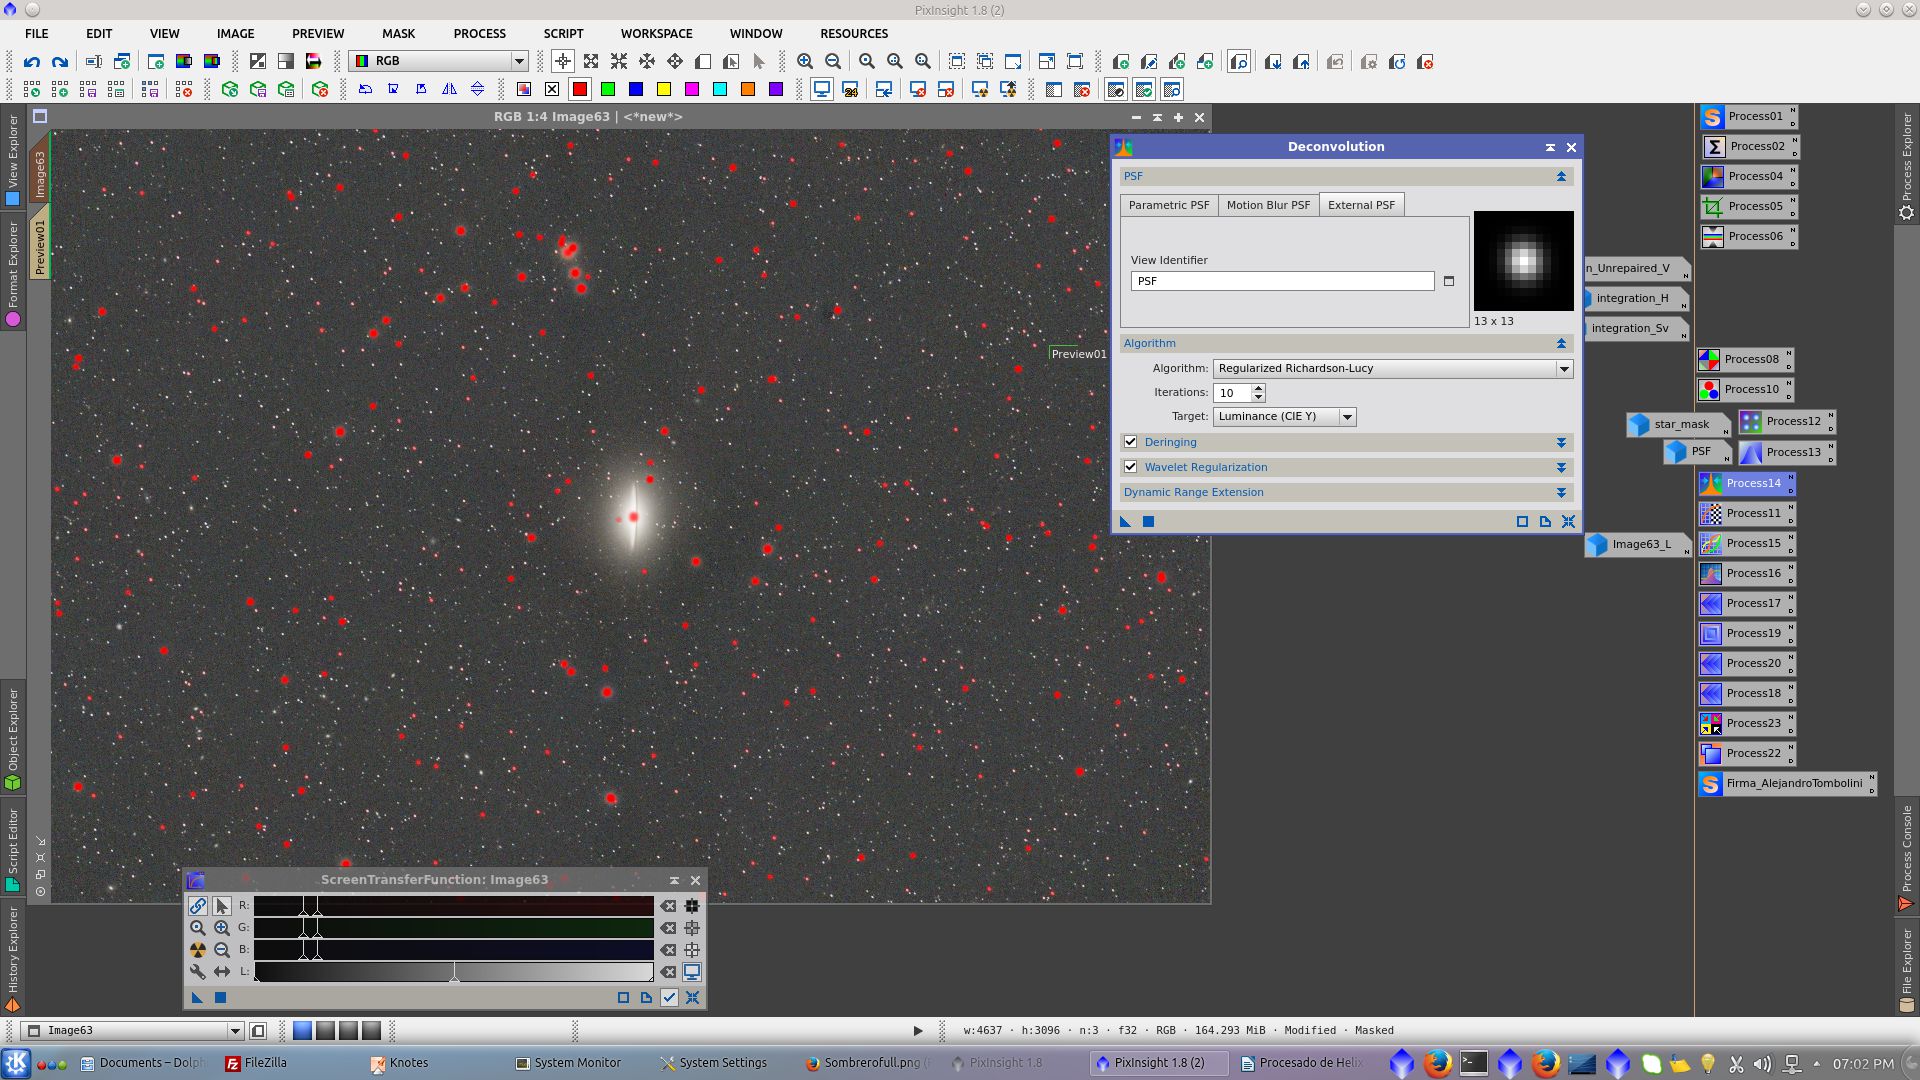
Adjust Global dark derriging to avoid dark ring on stars
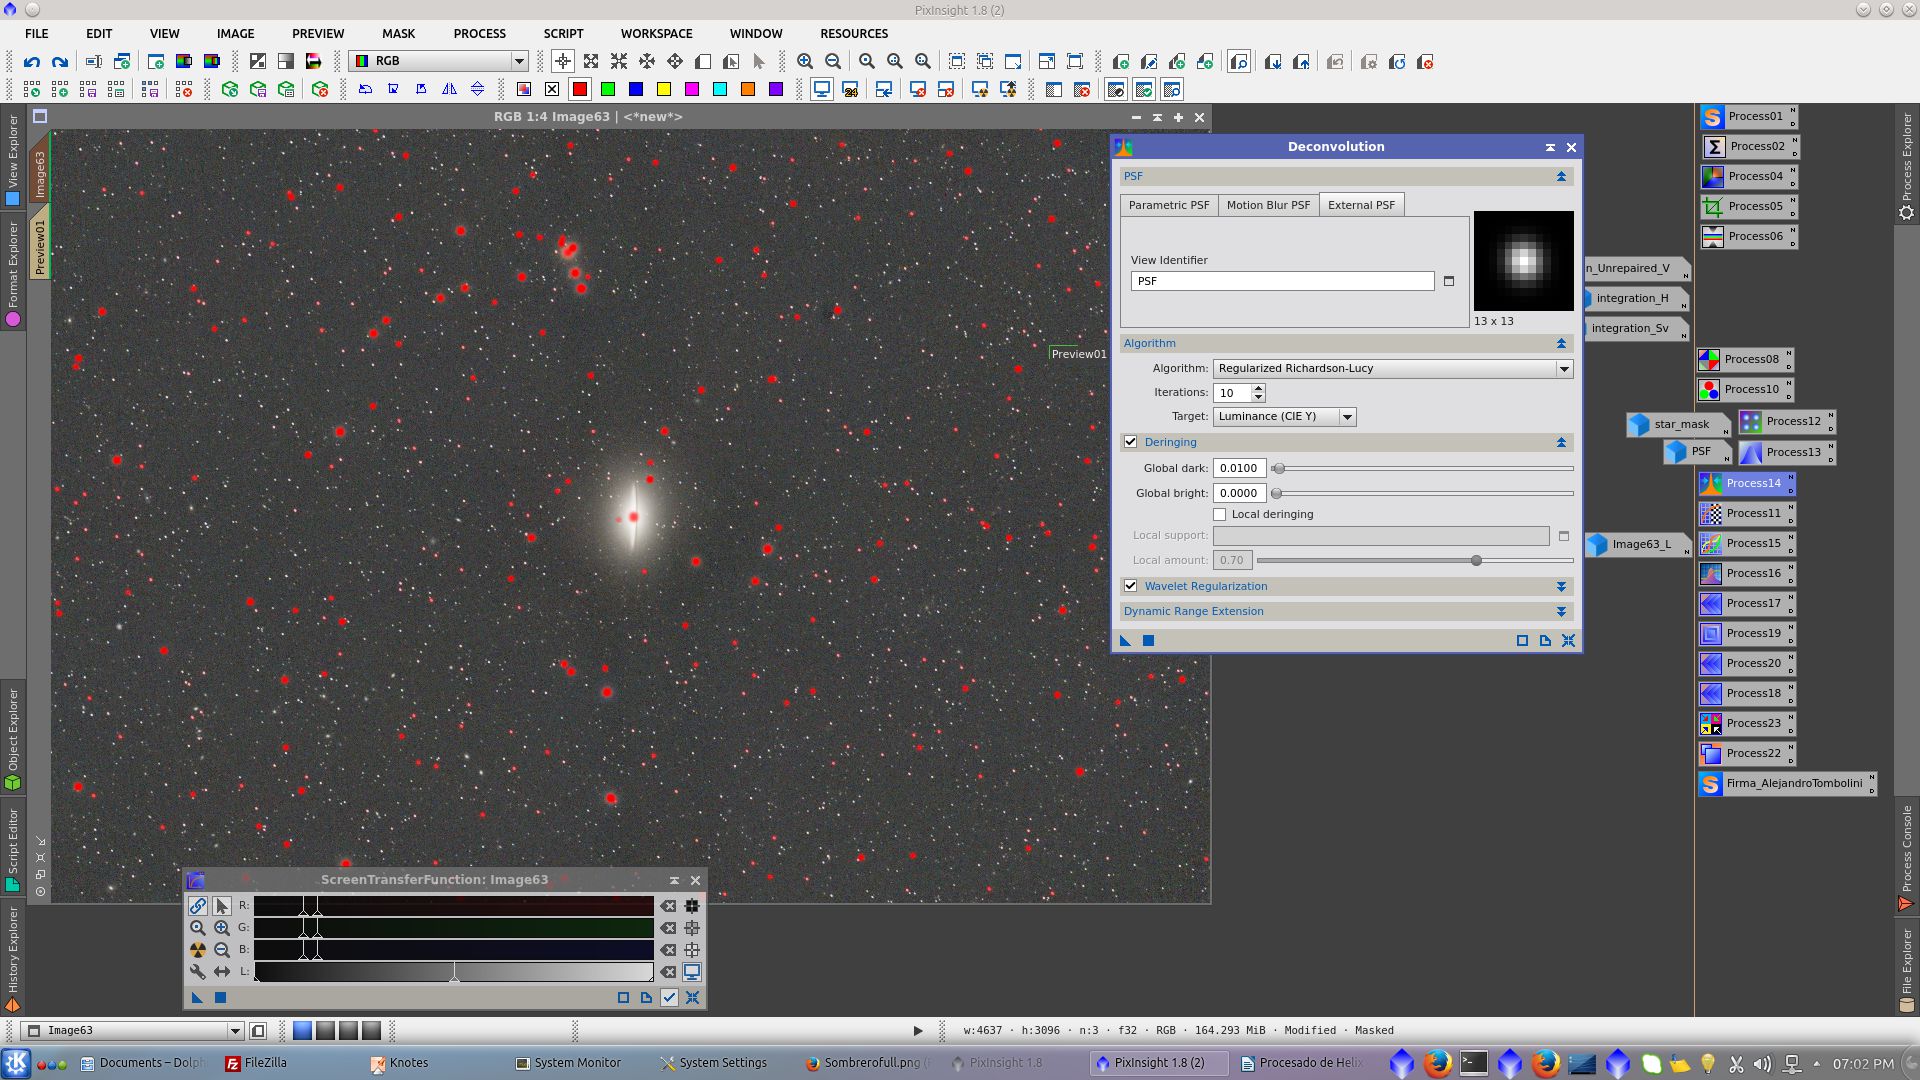
Finally check Wavelet Regularization and set a model of noise to protect the background from deconvolution
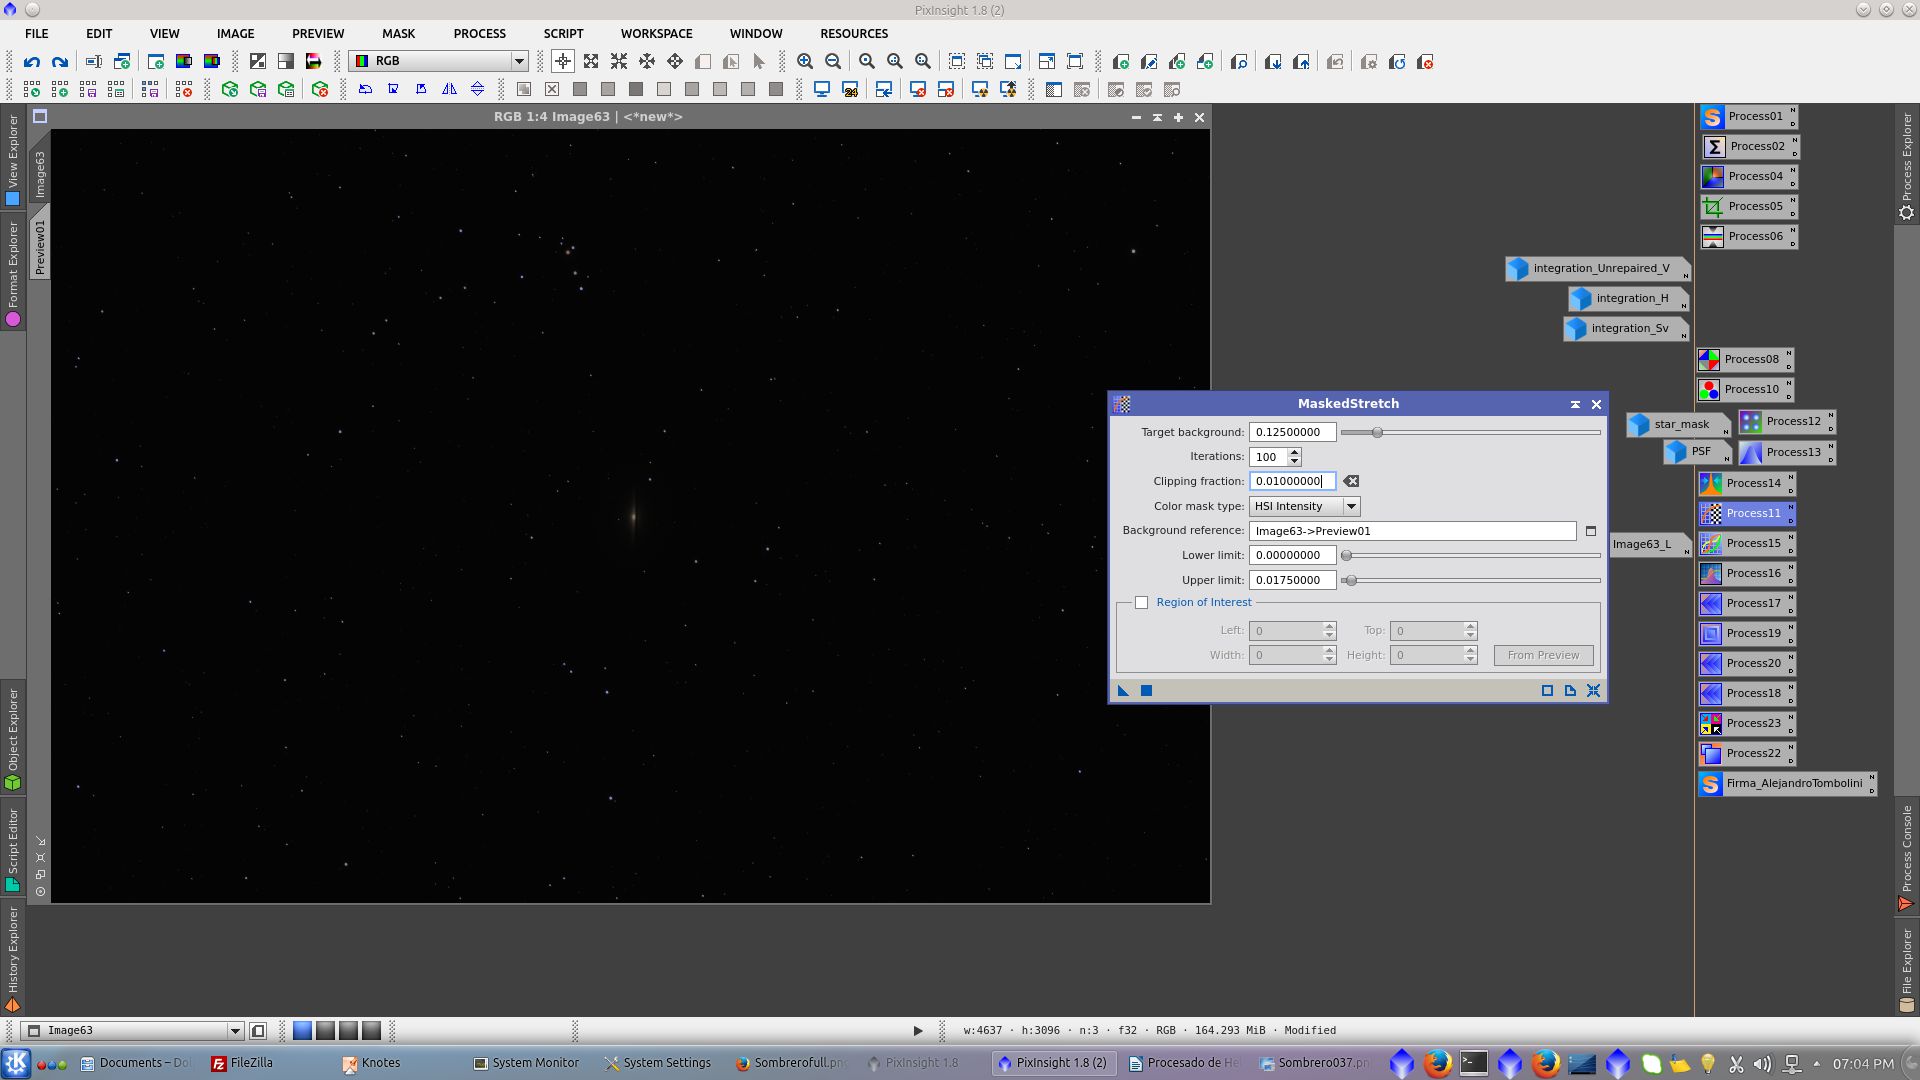
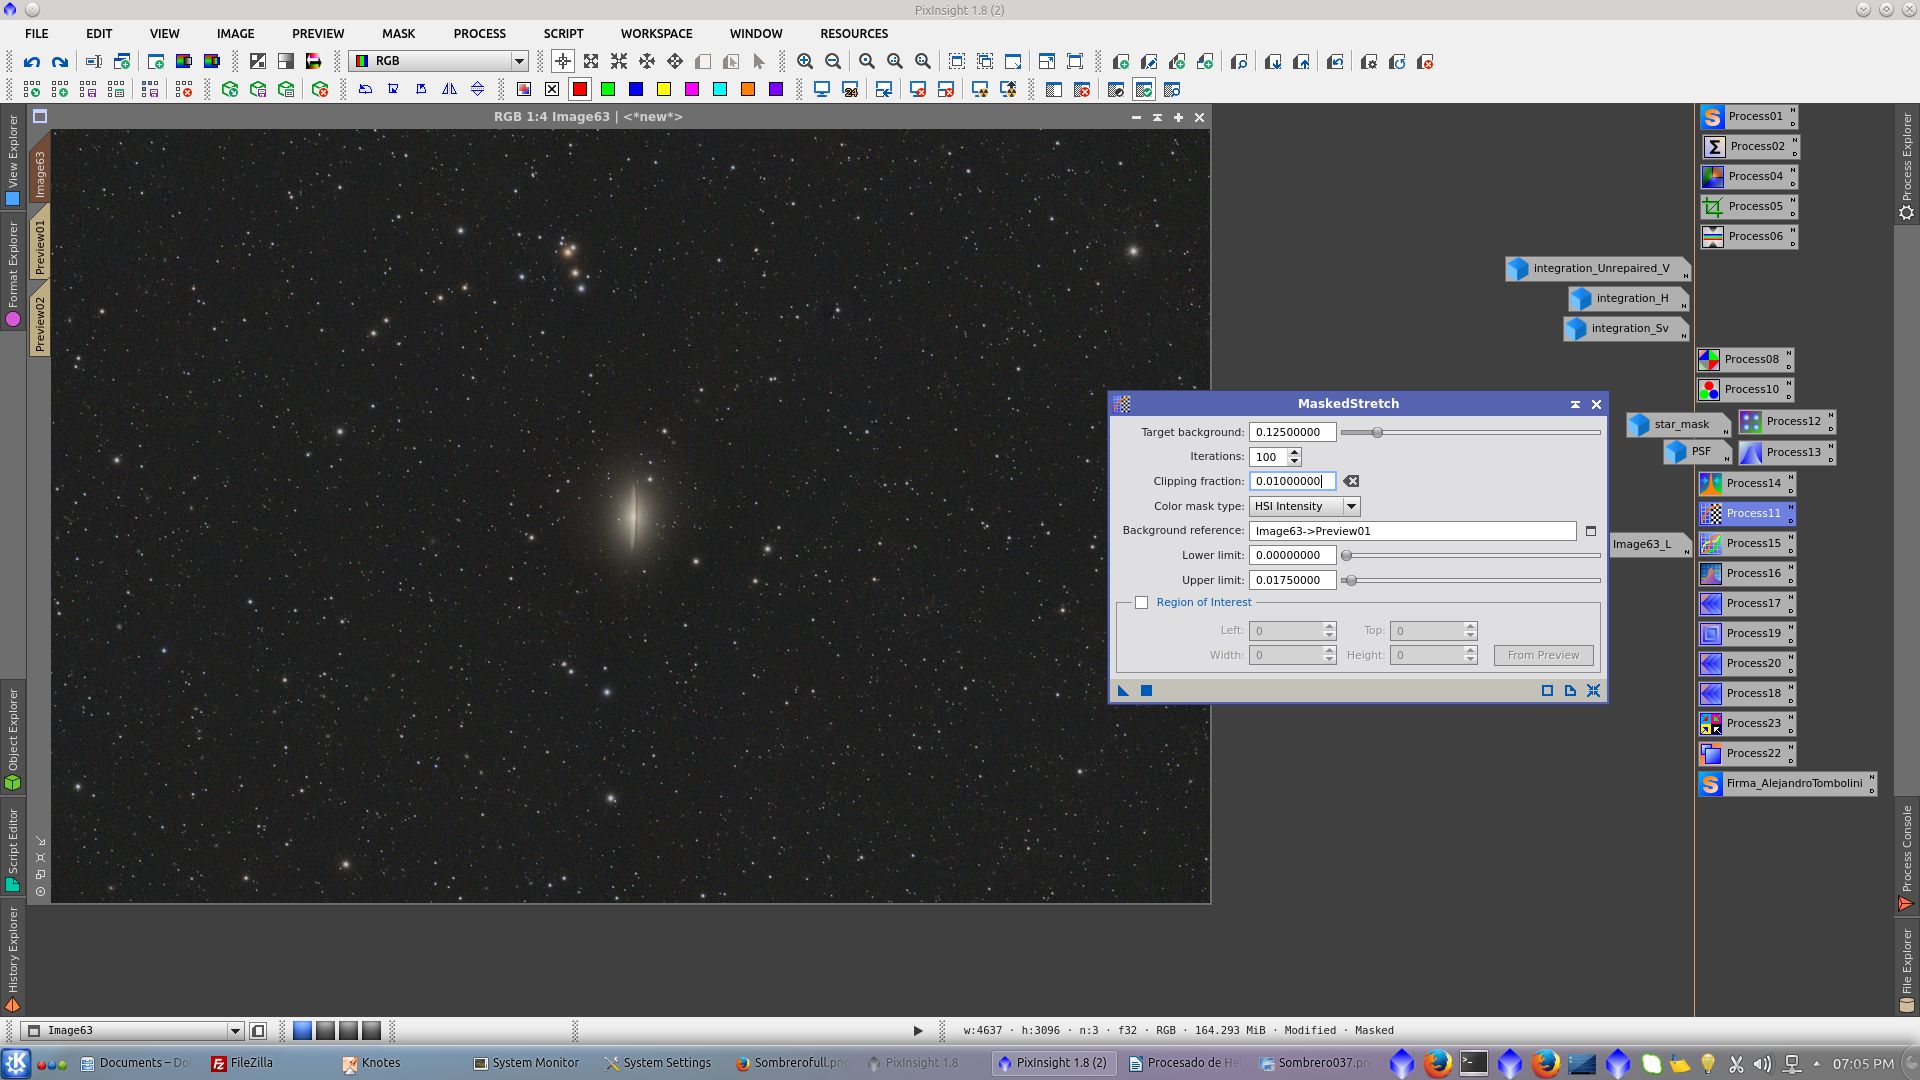
Apply non-linear stretch using MaskedStretch tool. Select a preview of the background and read the value to be used as upper limit in background reference image. Try on a small preview to set the correct clipping value faster.
Non linear image:
Generate a Lightness mask to protect the image during saturation avoiding that background chrominance noise increase
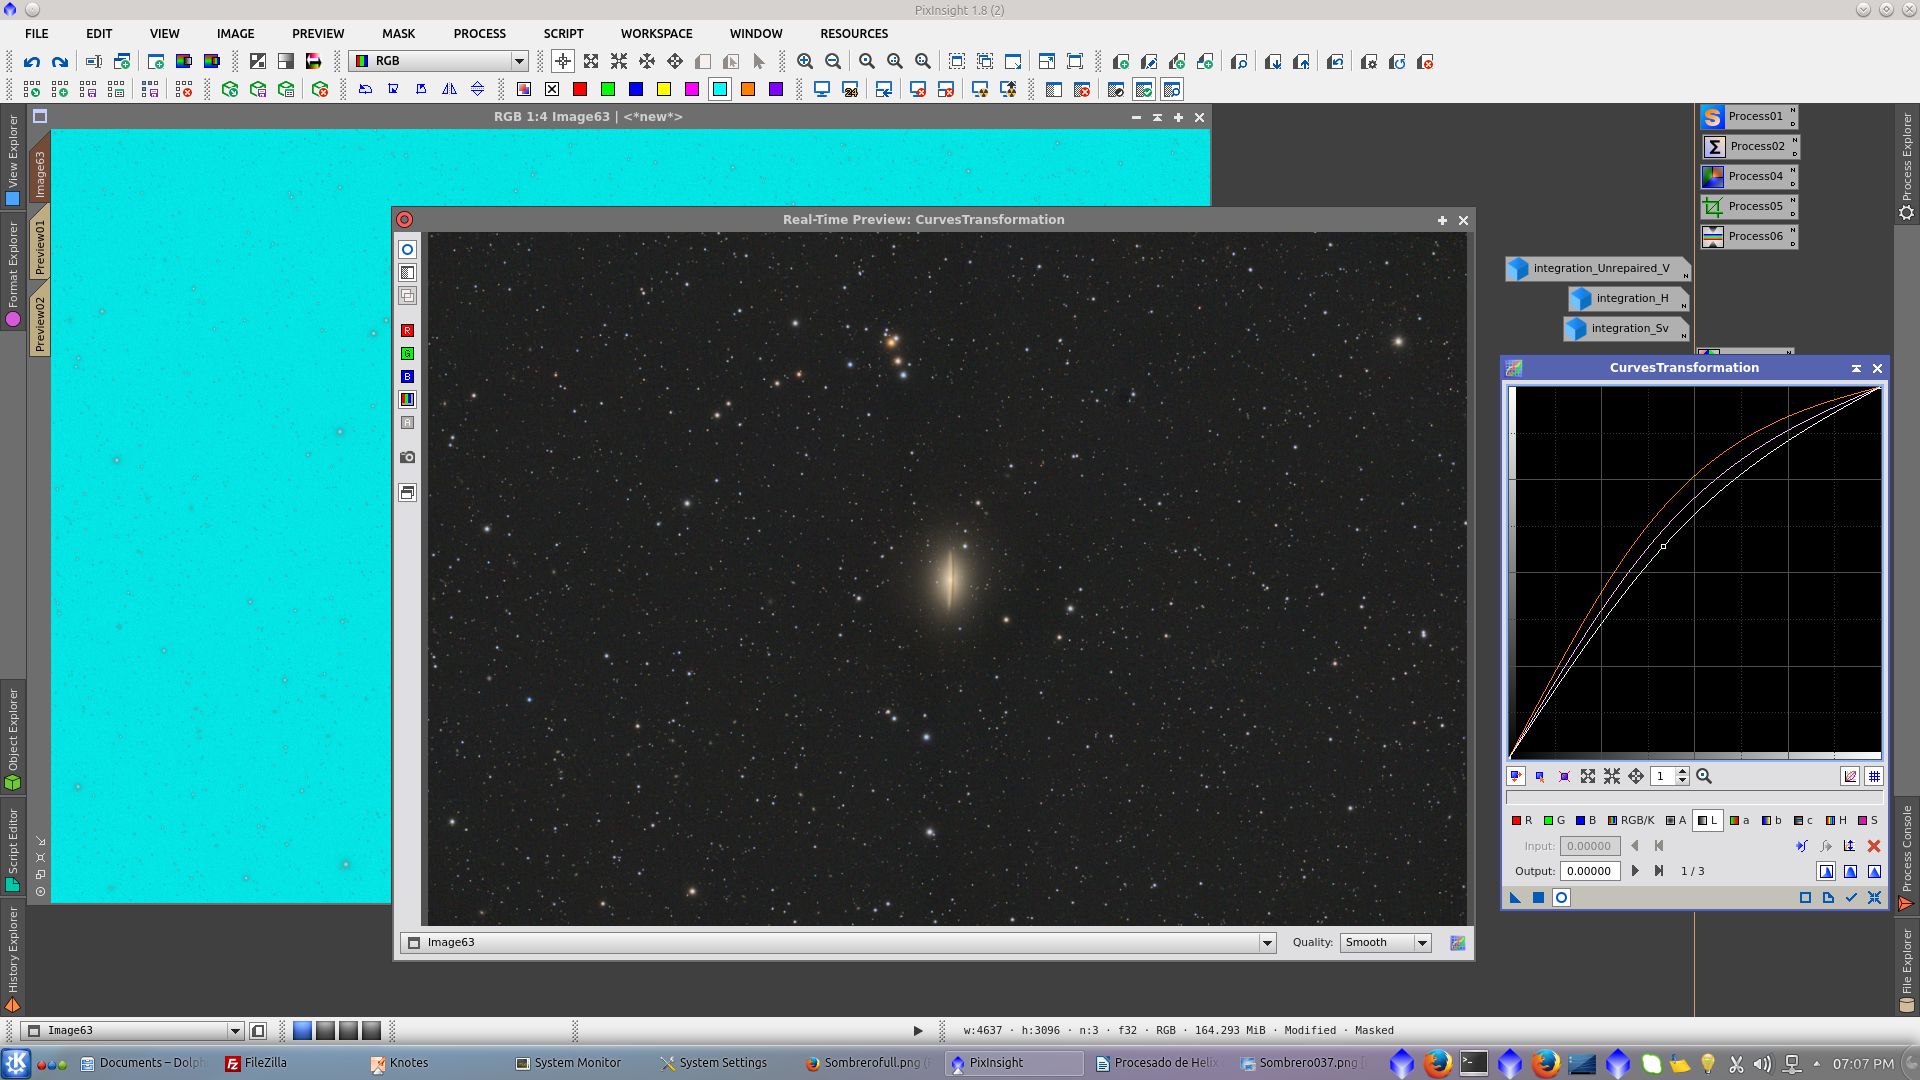
Apply CurvesTransformation tool to increase saturation
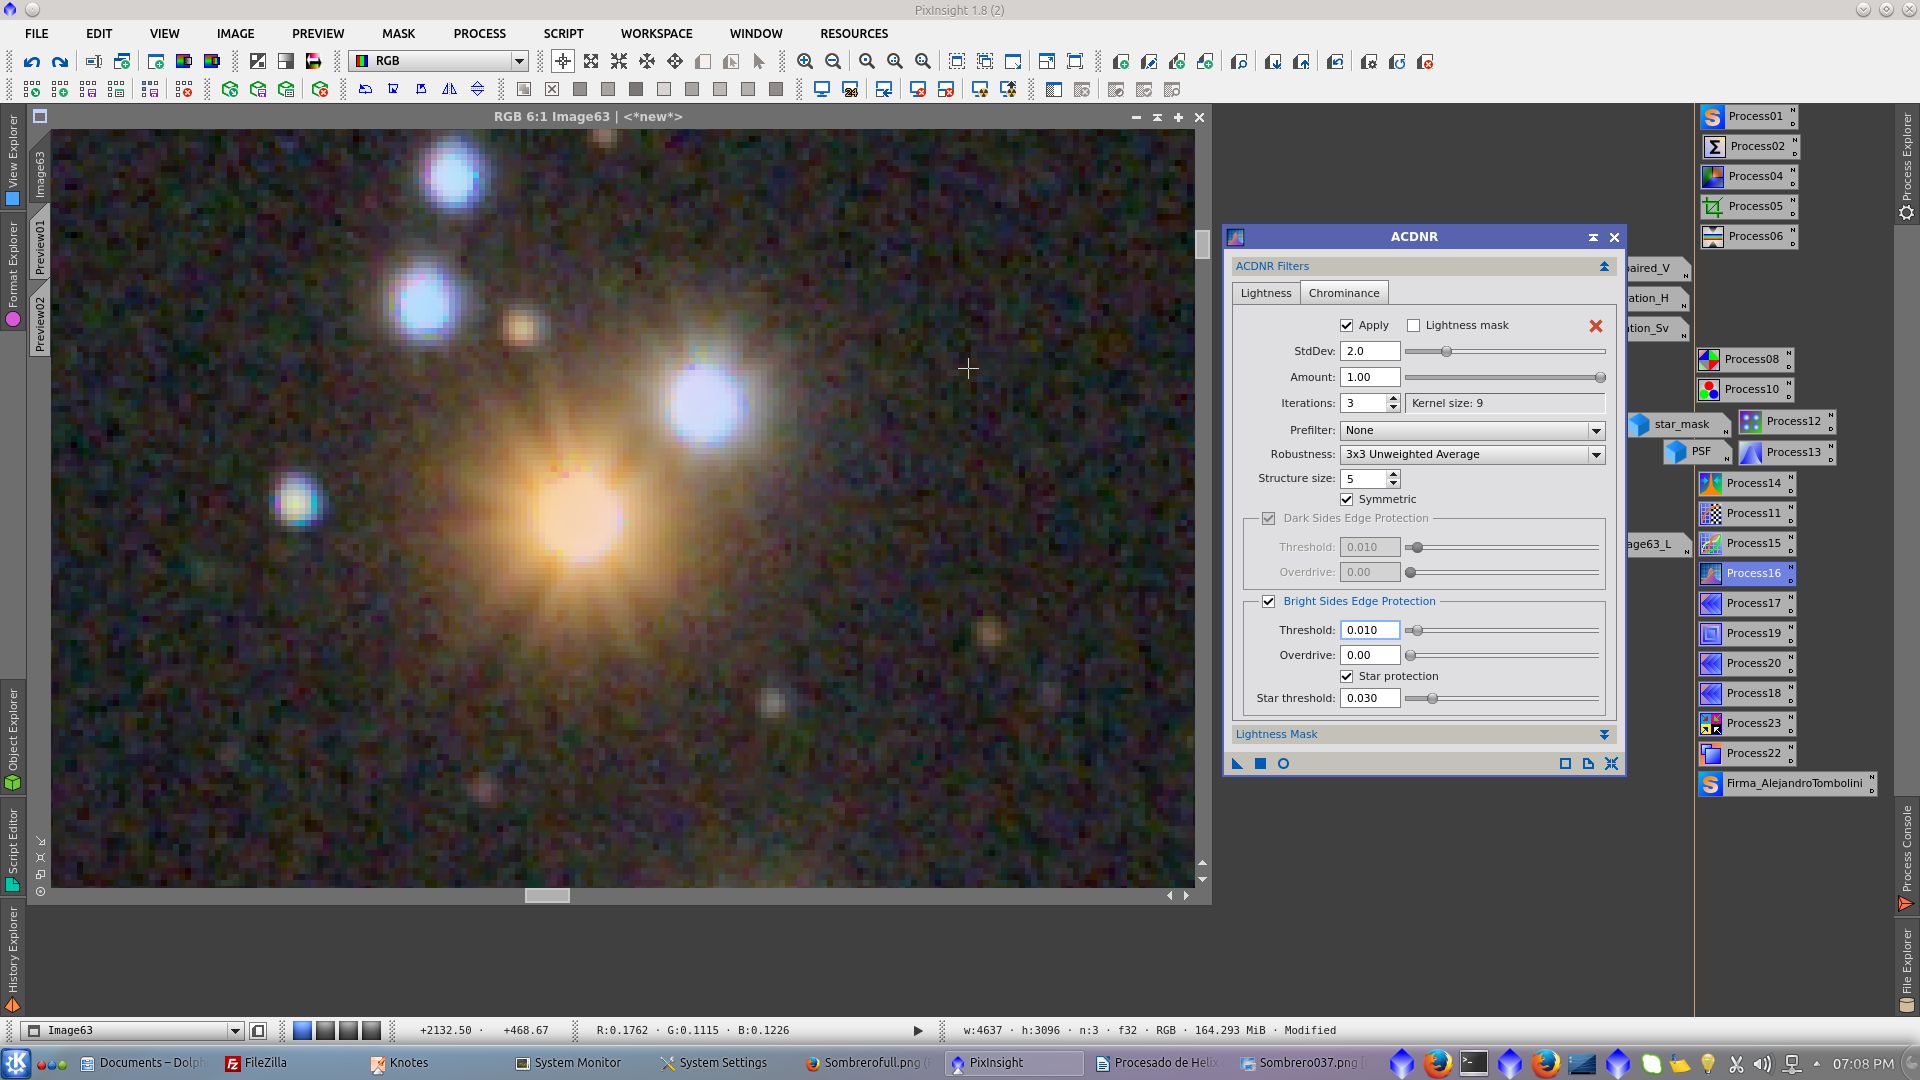
Noise reduction to Chrominance (before)
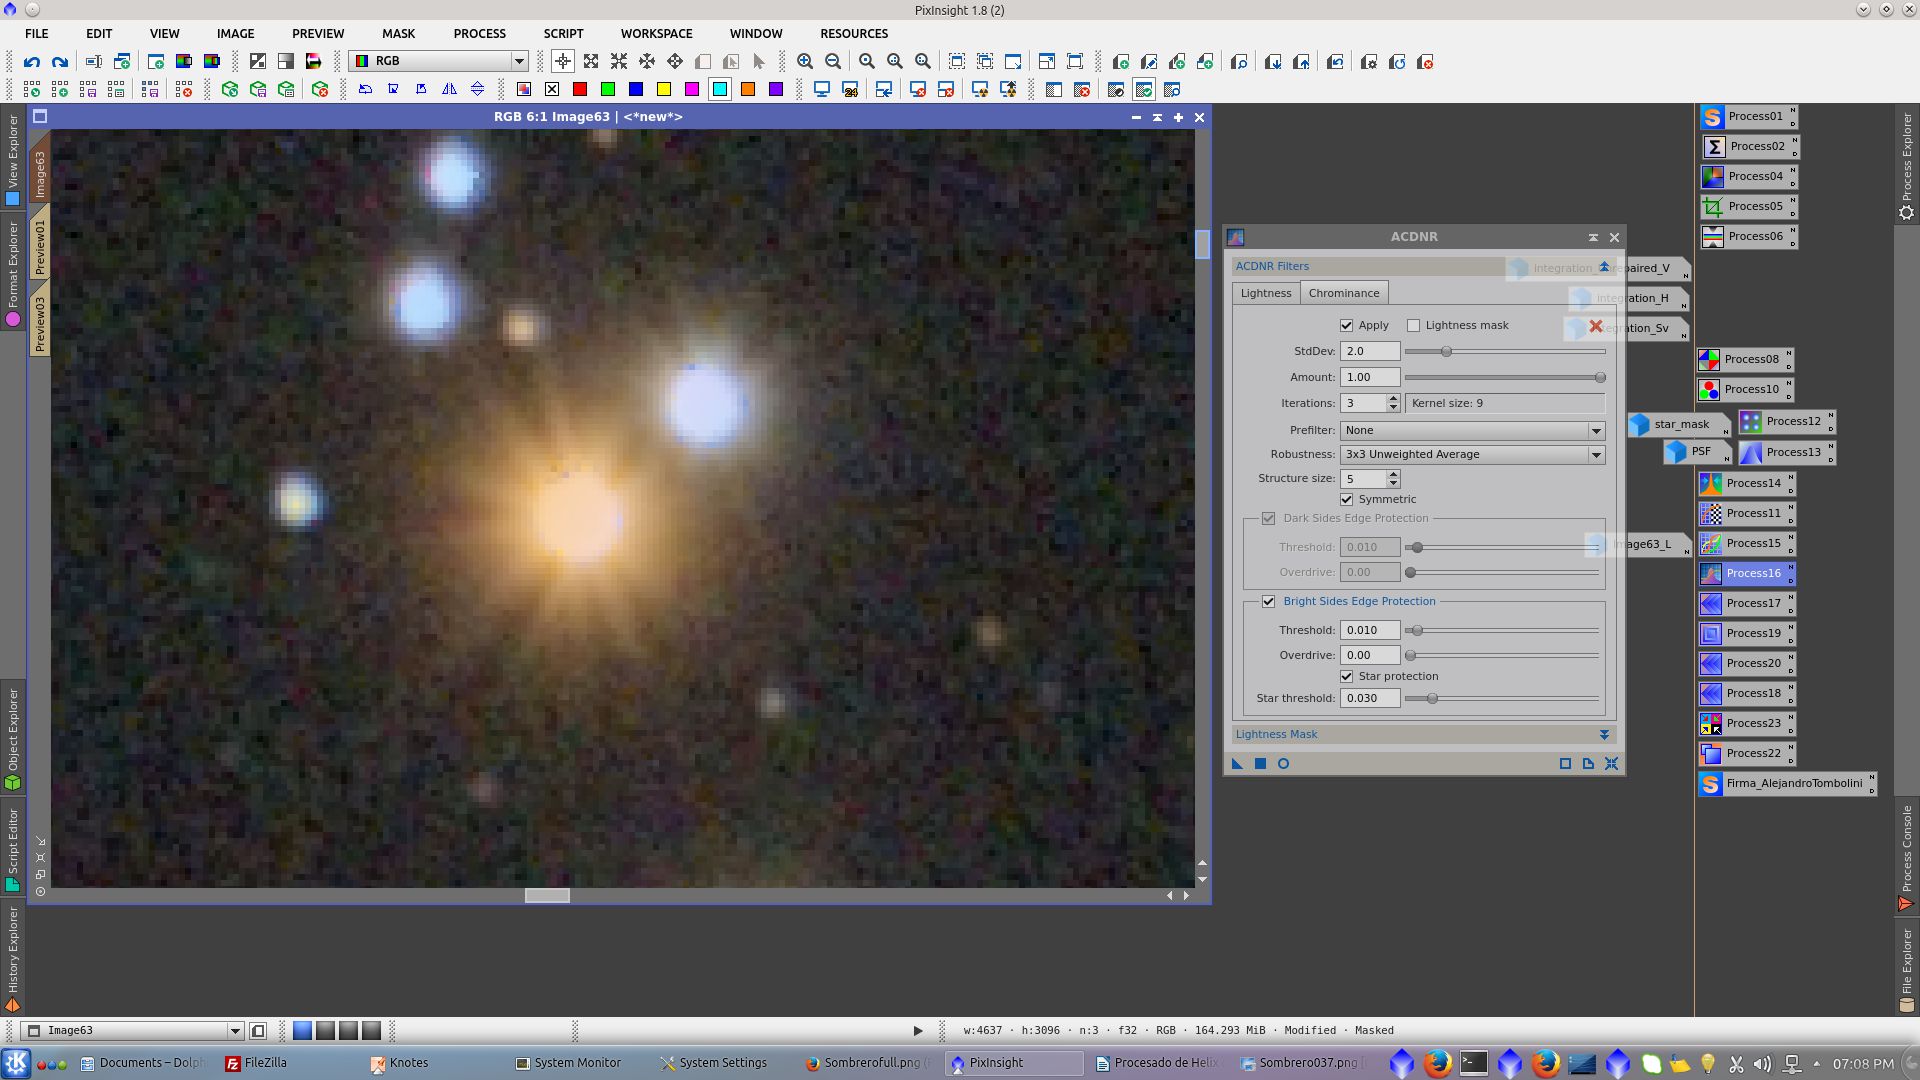
Noise reduction to Chrominance (after)
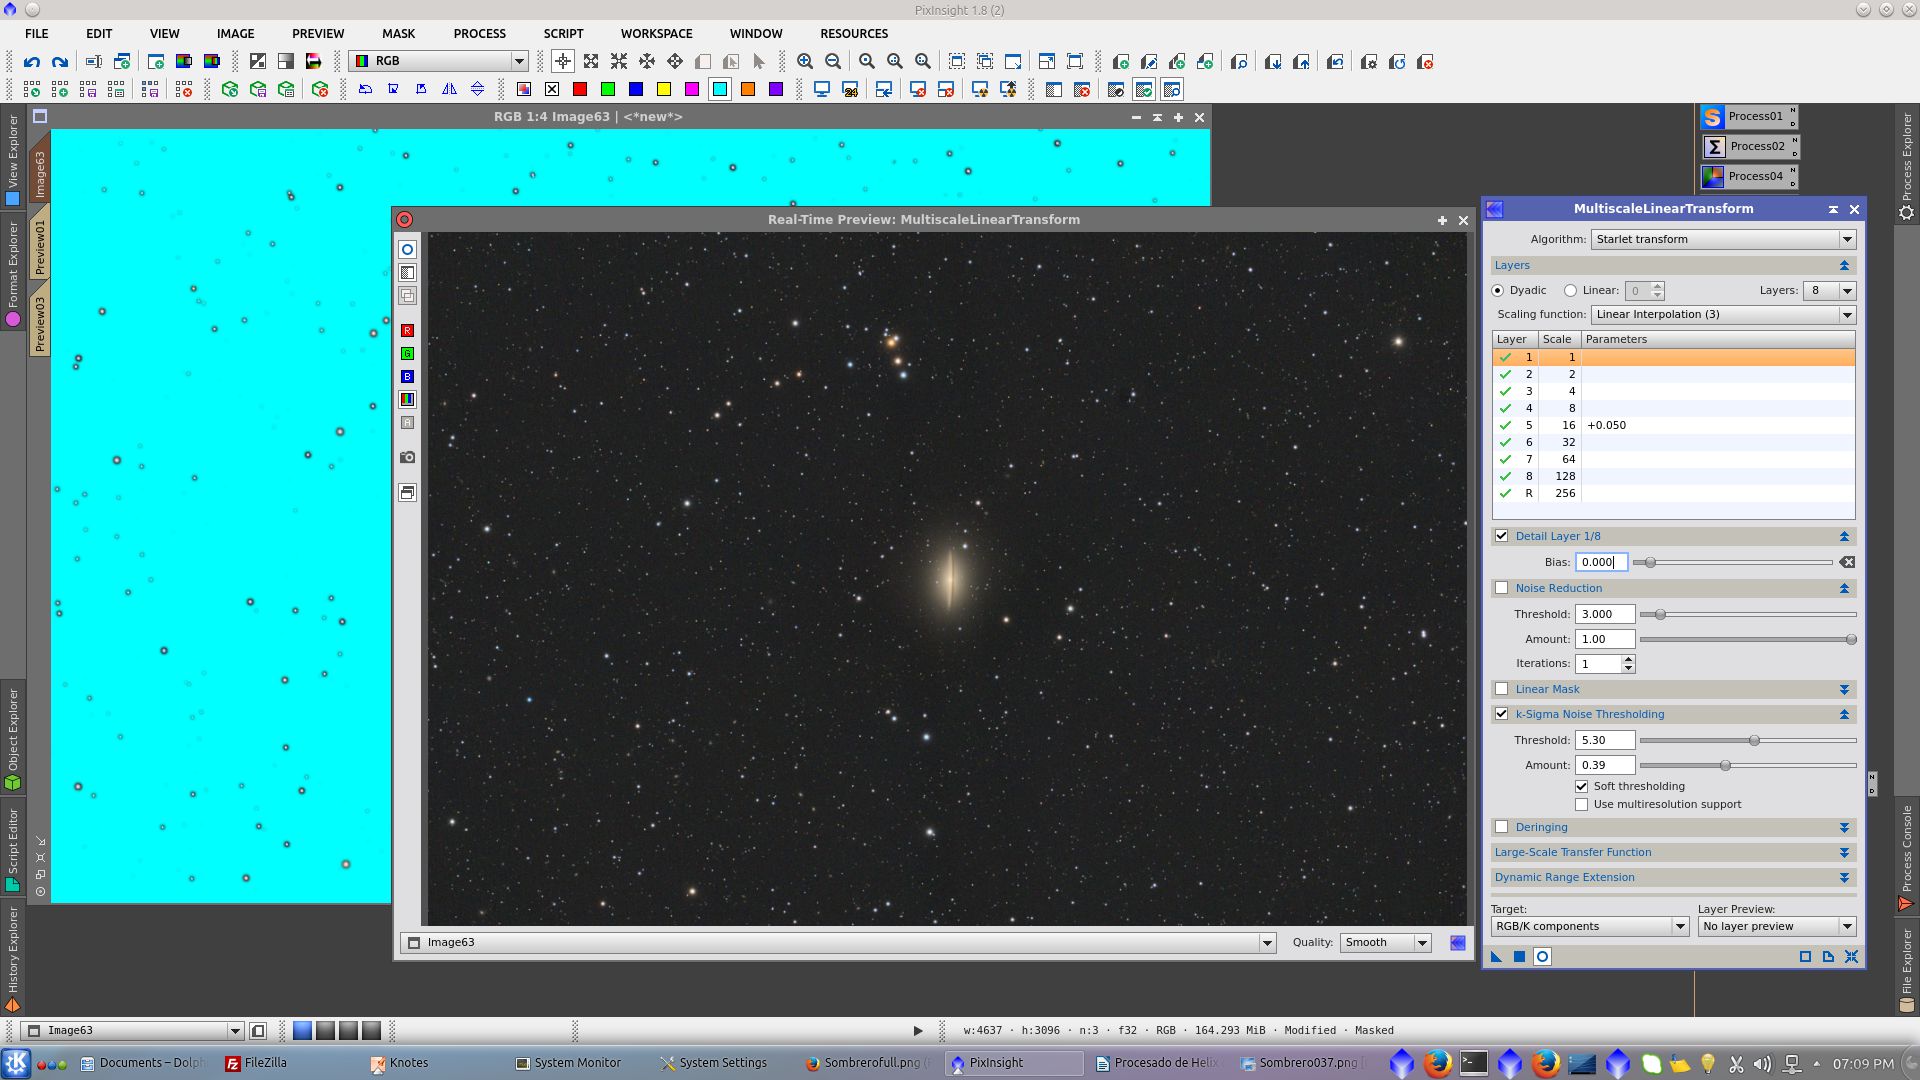
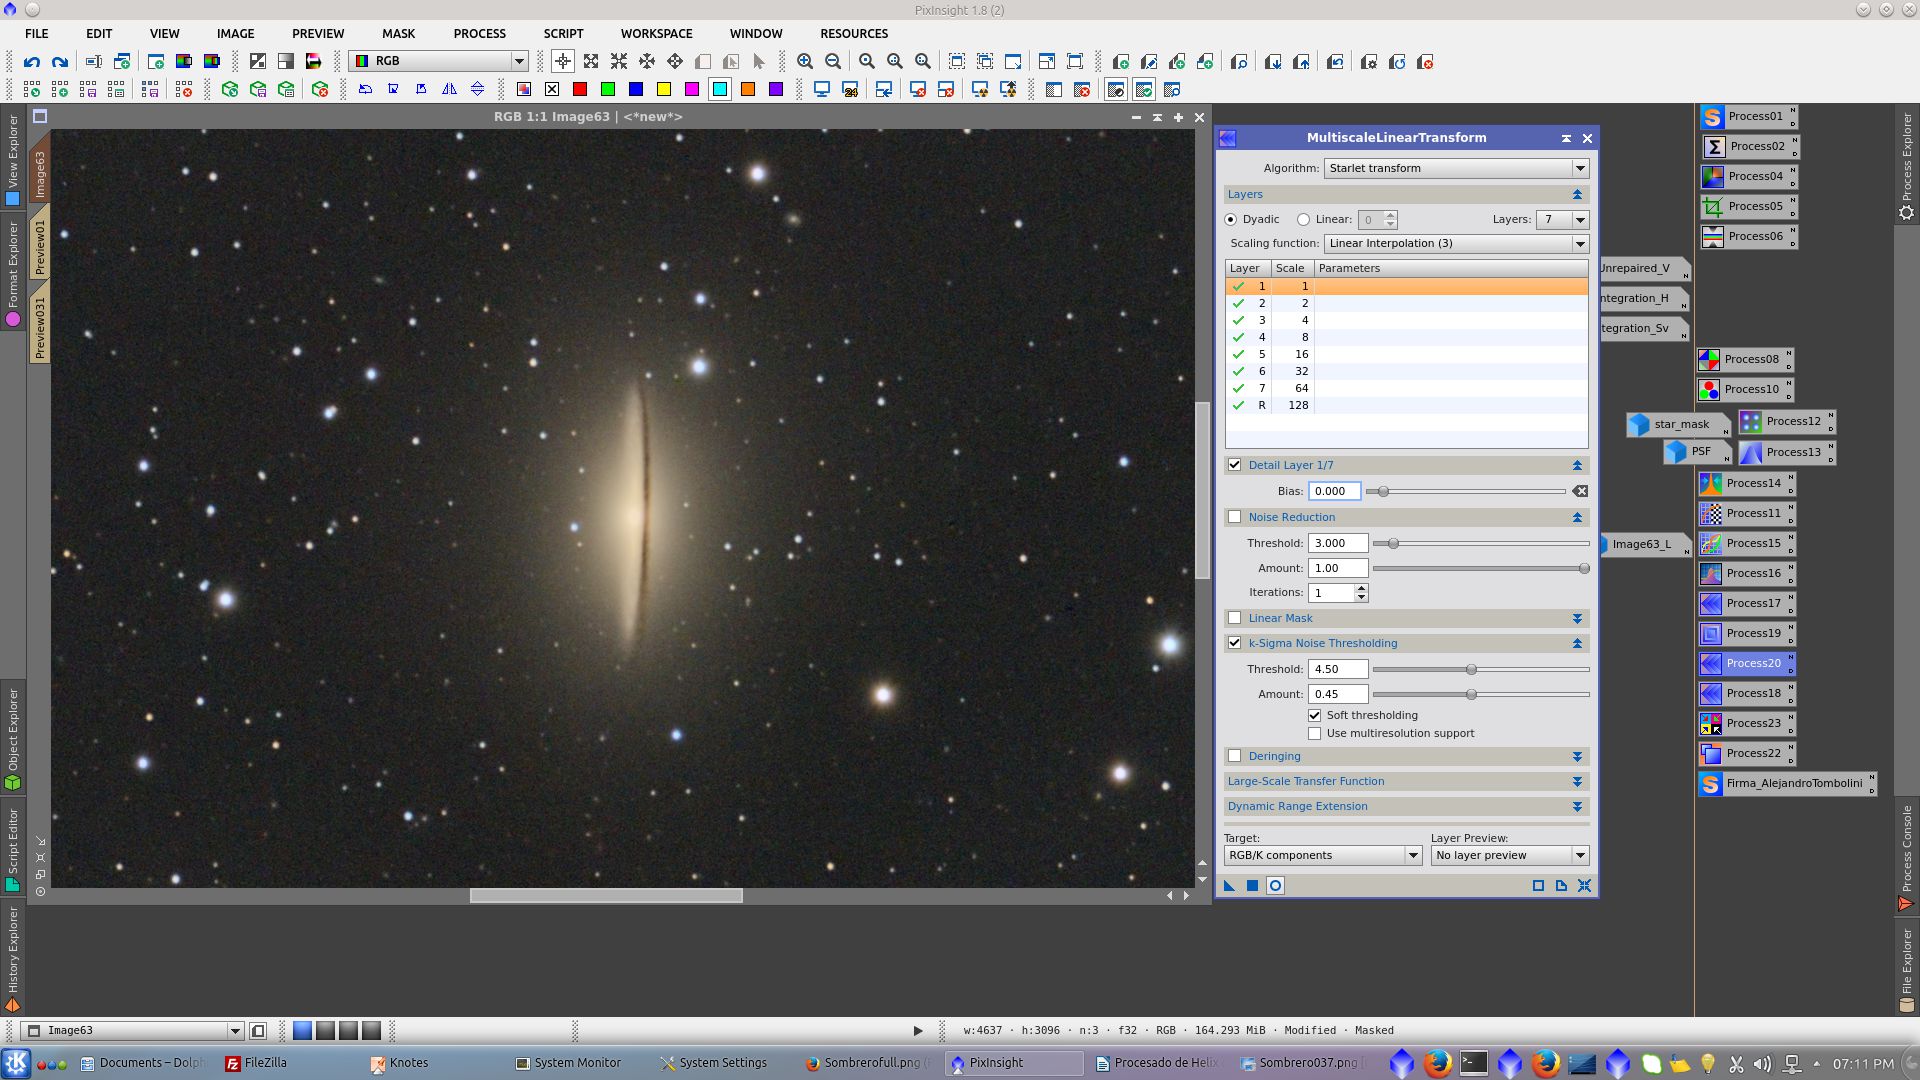
Protecting the background with the previous starmask, apply MultiscaleLinearTransform to correct stars profiles
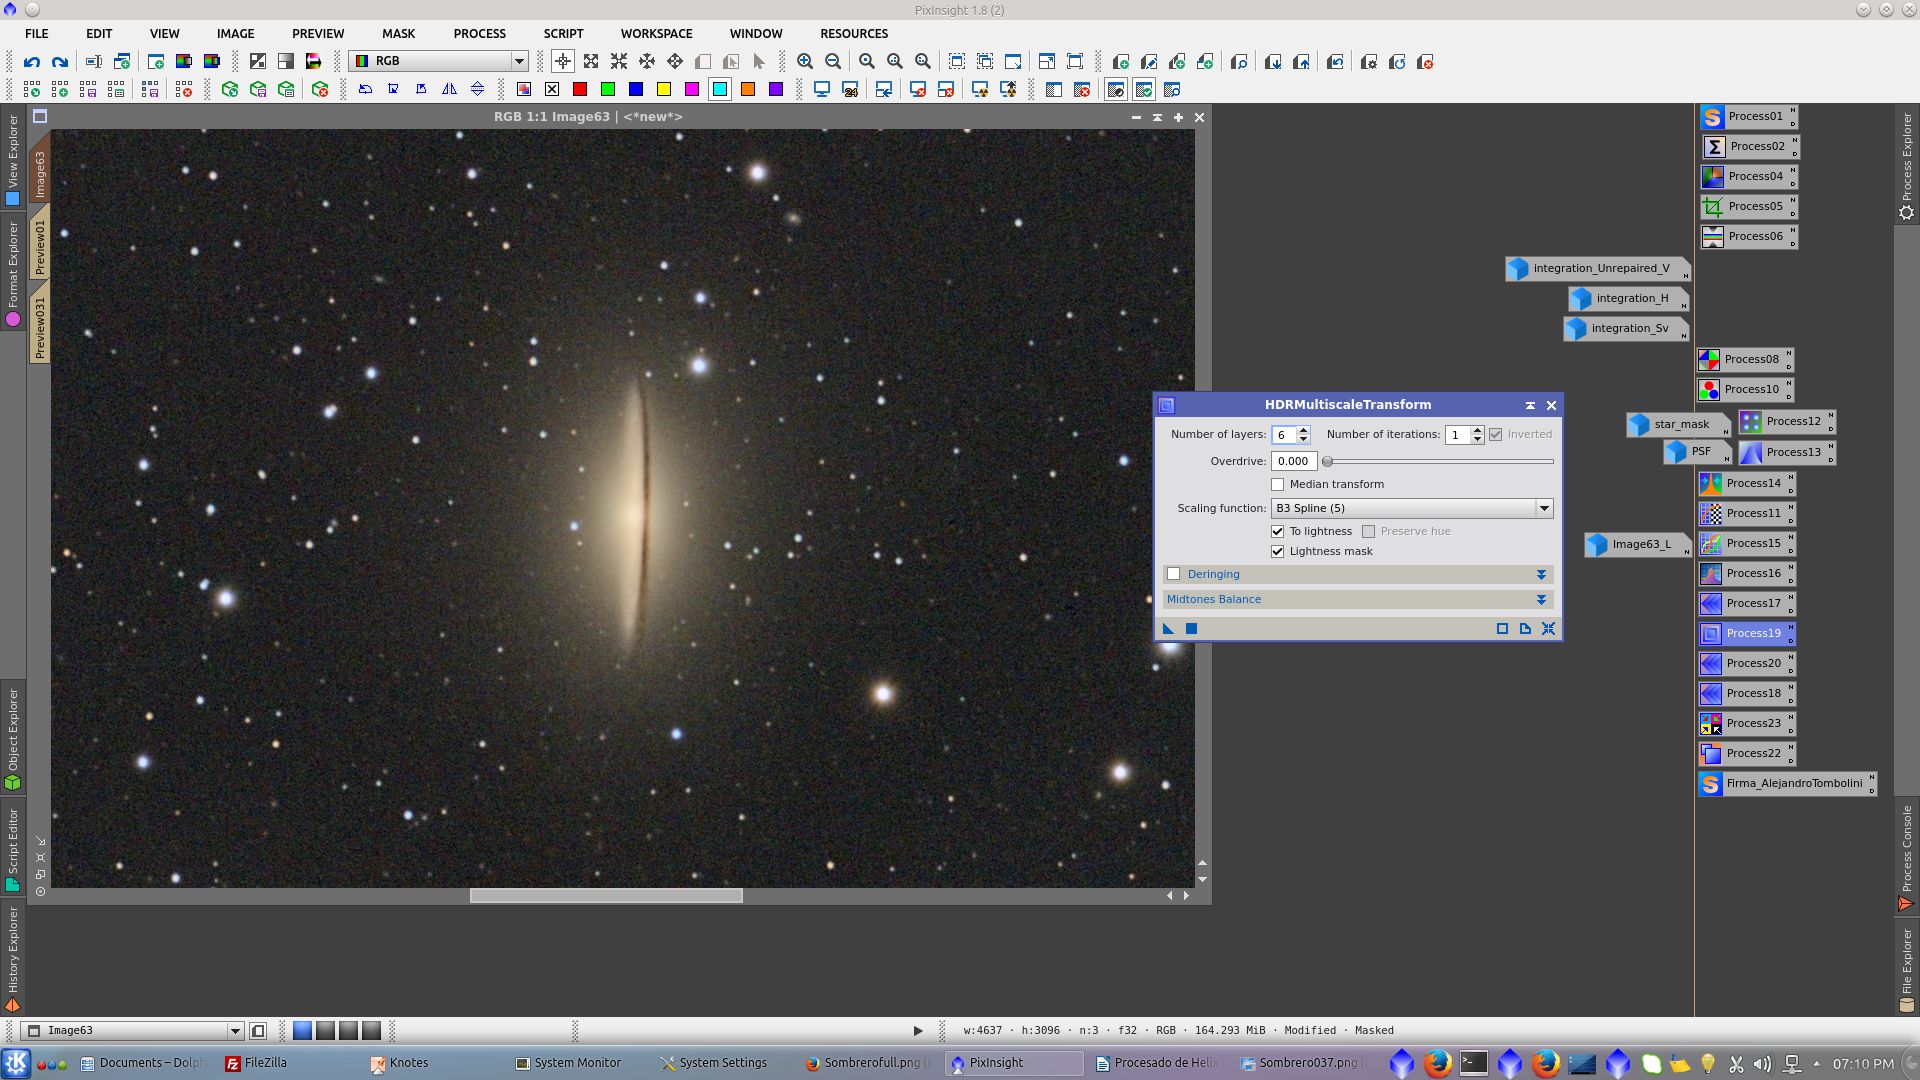
HDRMultiscaleTransformation to inscrease contrast and details in the galaxy. (before)

HDRMultiscaleTransformation to inscrease contrast and details in the galaxy. (after)
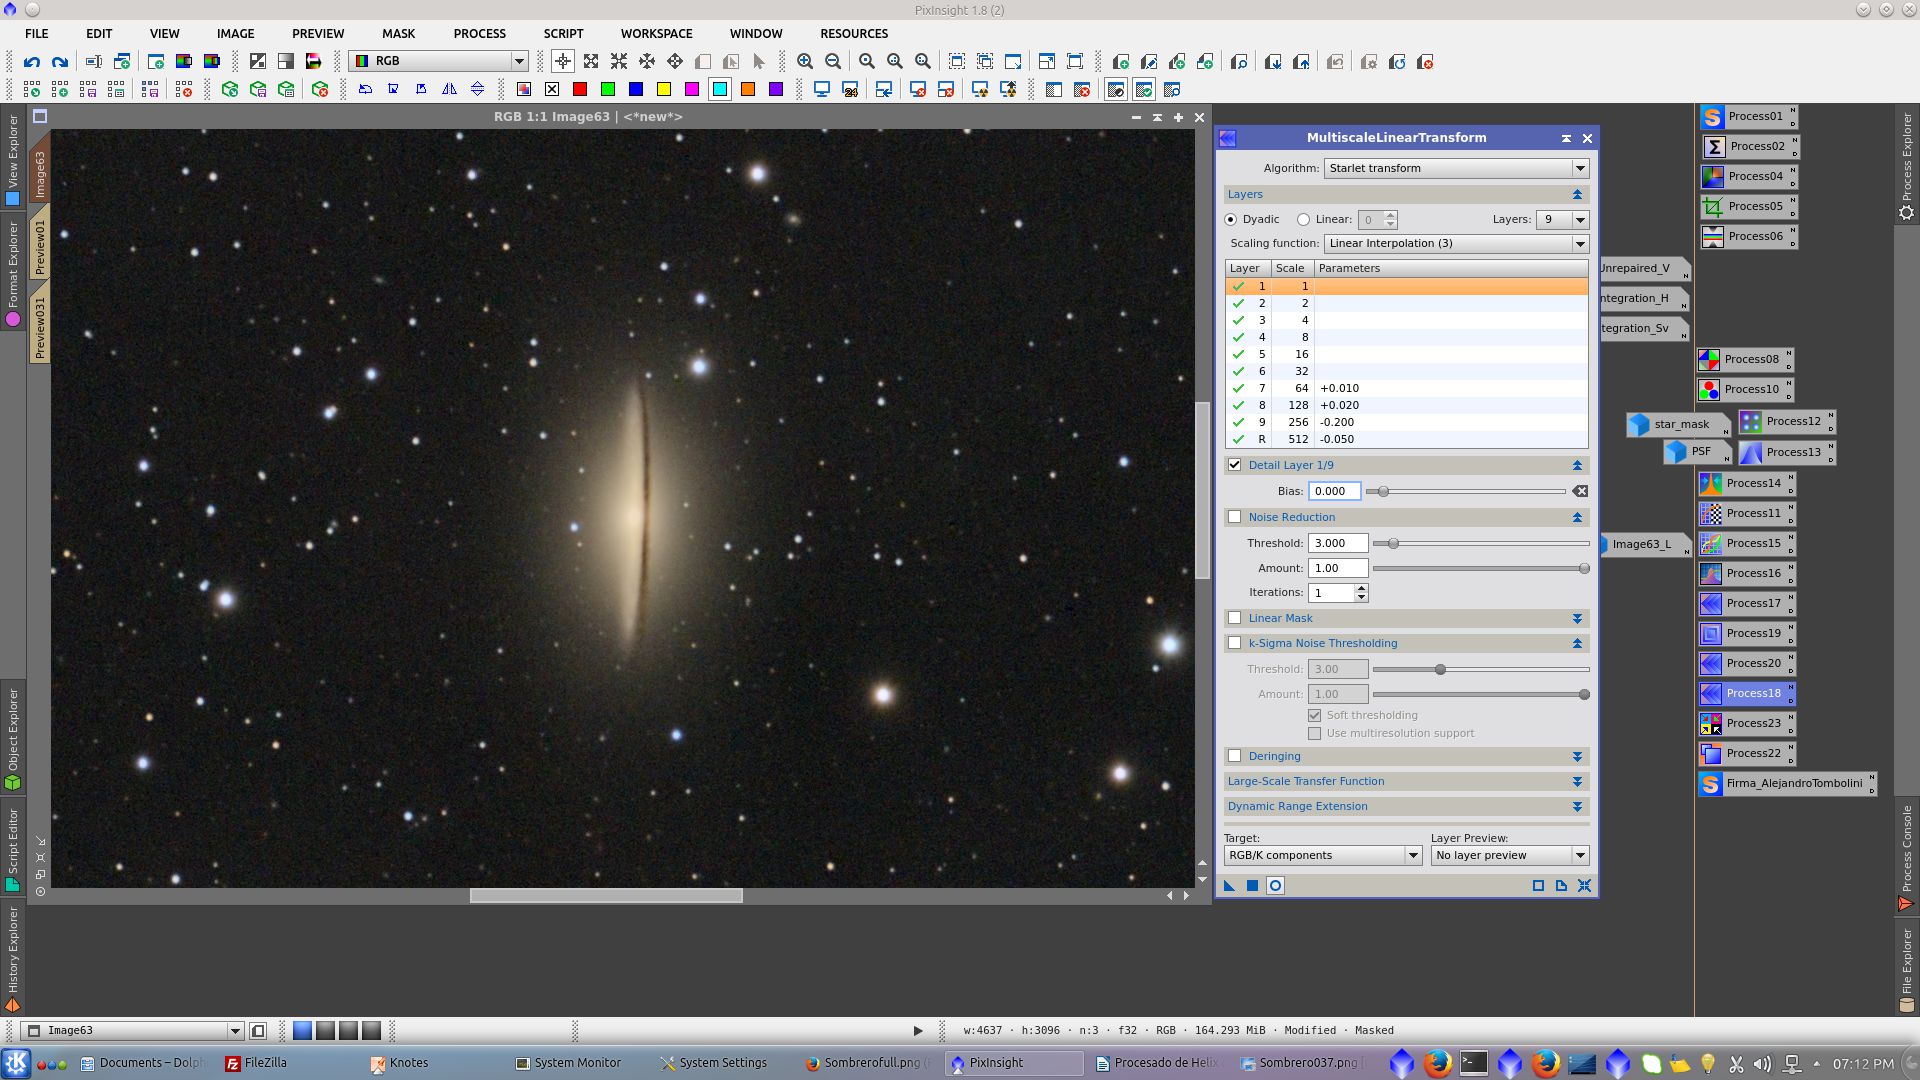
Protecting stars and galaxy with the previous Ligthness mask, apply MultiscaleLinearTransform to noise reduction in the background
Finally more contrast in big scale applying MultiscaleLinearTransform
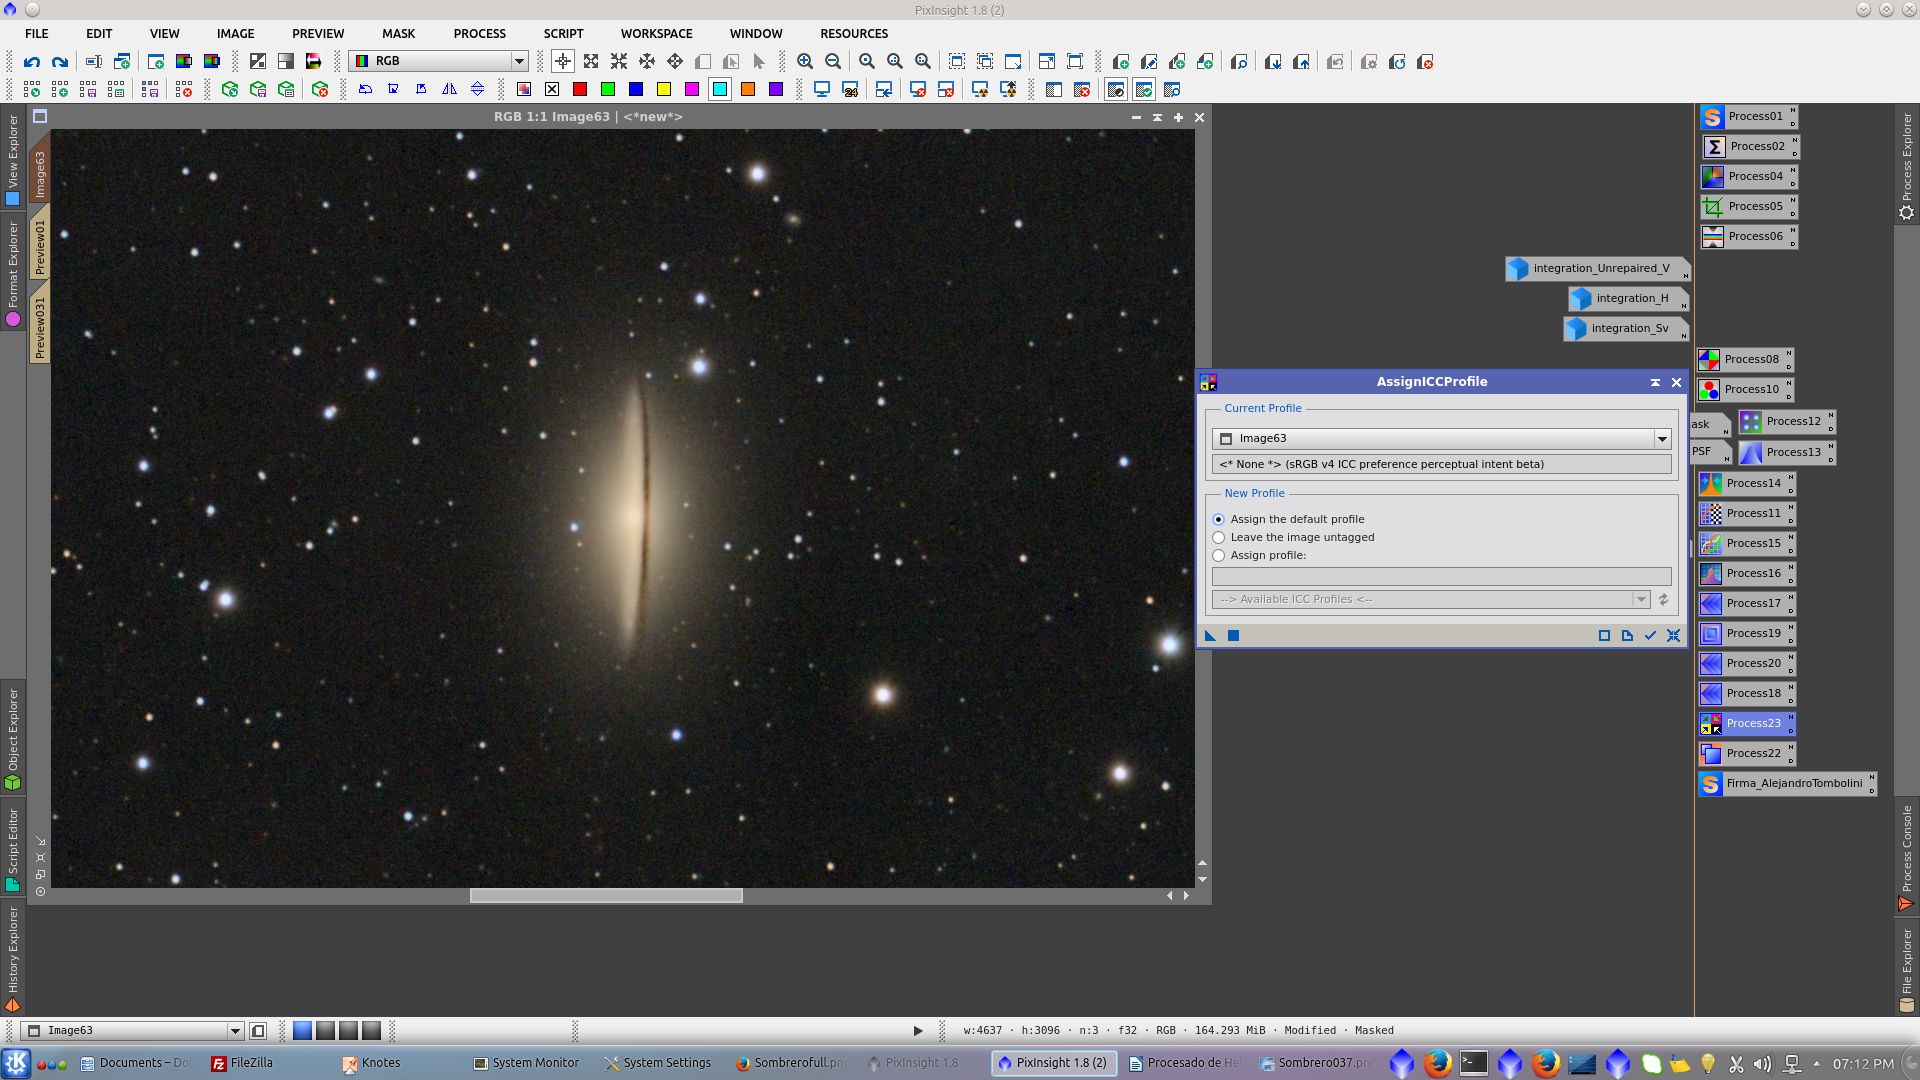
Assign profile for web publication
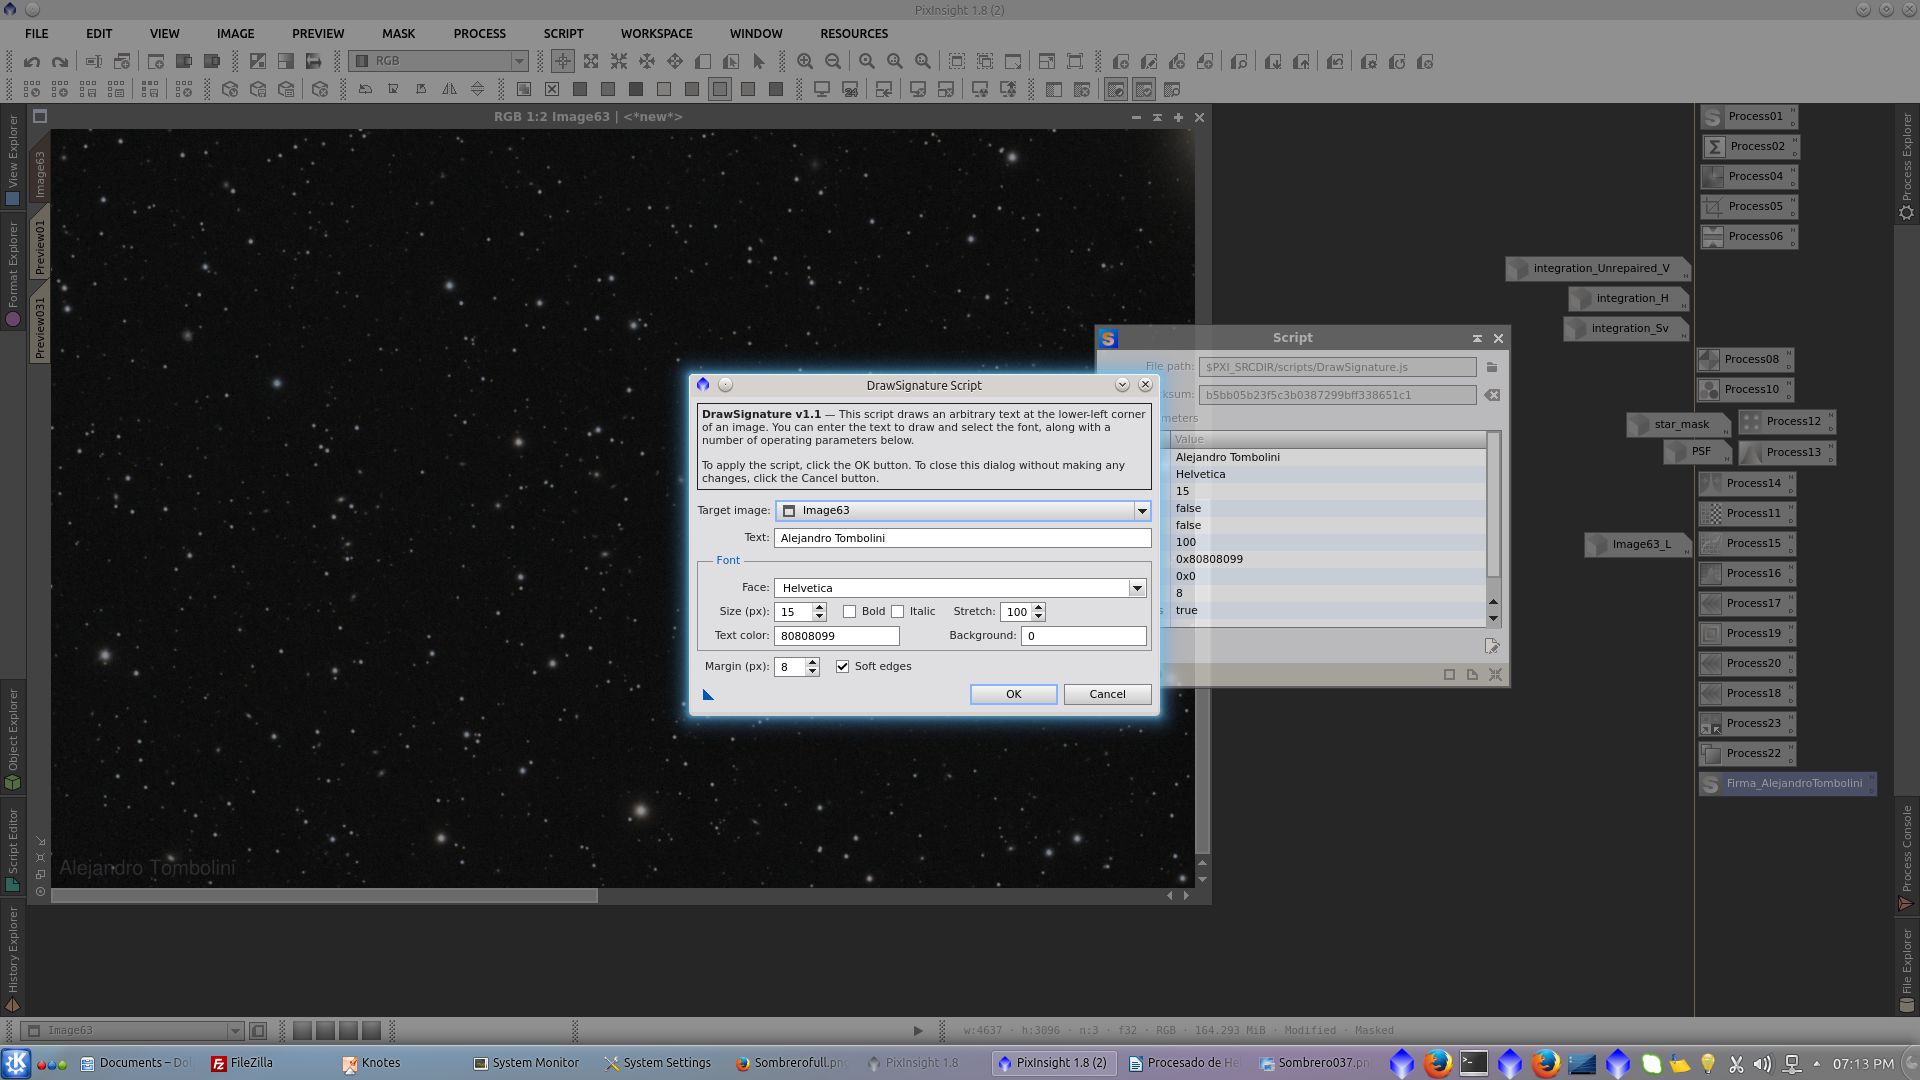
Add Signature
Final image: (link to full resolution image)